Applications
An application is a logical unit that lets you divide a project into independent subsystems. Each application has its own permissions, roles, and administrators. For small projects, a single application is usually sufficient – additional applications can be added at any time.
Multiple applications are useful when a project has subsystems with different access requirements. For example, a game might have one application for moderation (with roles for moderators and community managers) and a separate application for a marketplace (with roles for managing transactions, refunds, and inventory). Each application is fully independent and does not affect the others.
Create New Application
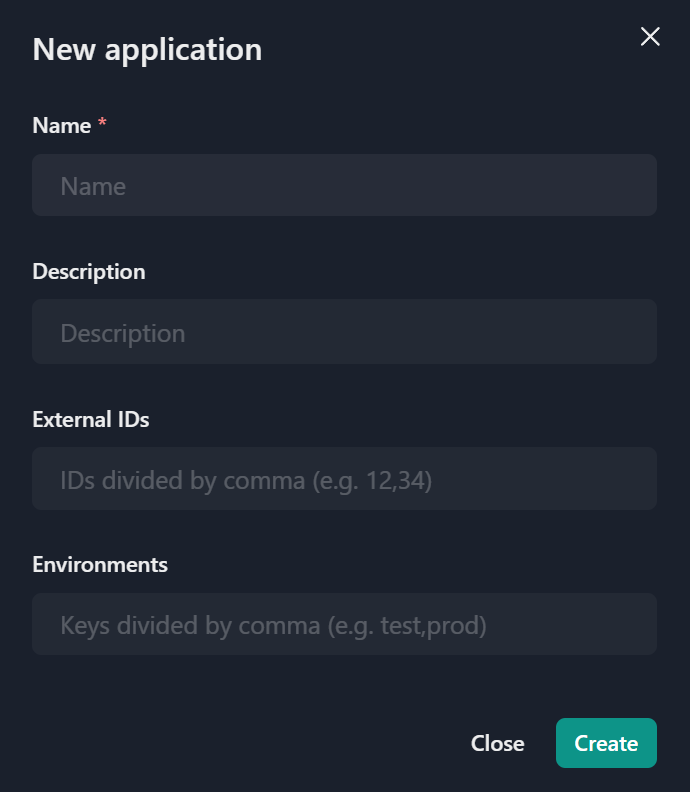
Click the Create application button.

Enter the application name (Latin letters, numbers, and spaces are allowed) and click Create.
Application Roles and Permissions
Click the application to open it.
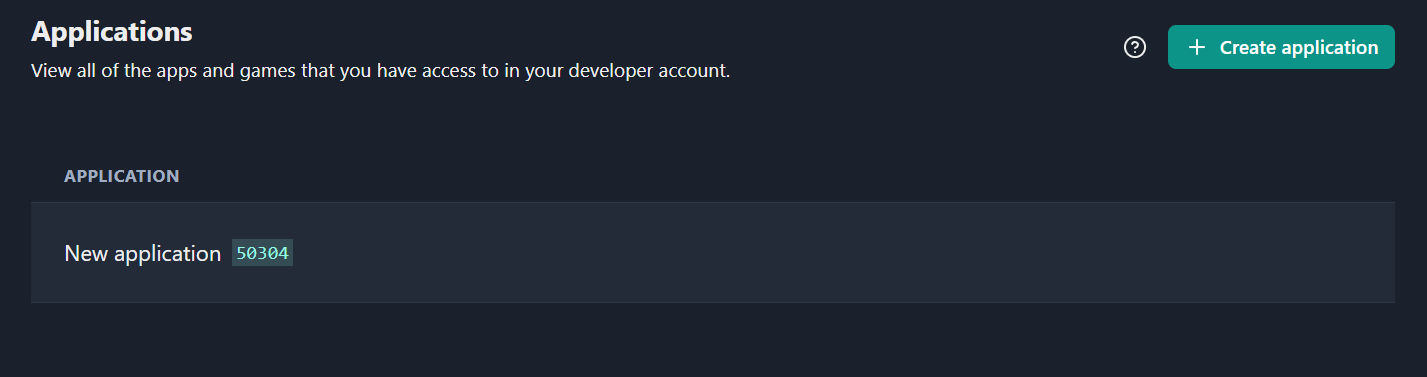
The application has no users yet. Add yourself as an administrator by clicking Add yourself as an administrator at the bottom of the page.
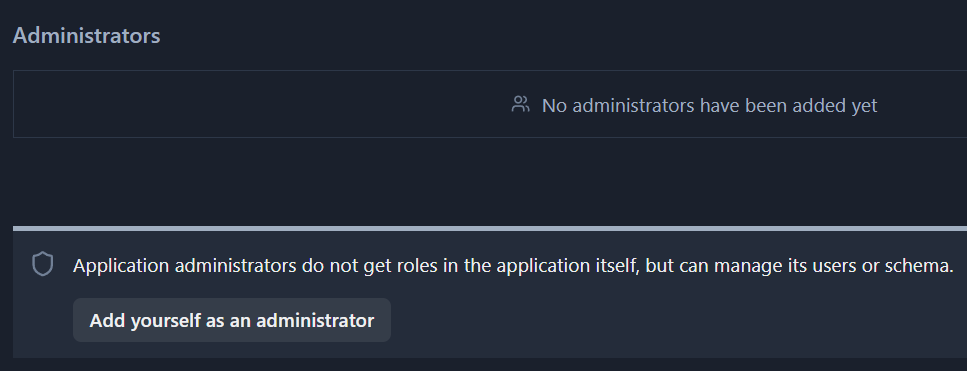
Open the Users page. You are the only user listed, with no roles or permissions assigned – because no application schema has been defined yet.
To set up access control, define an application schema. The quickest way is to import a ready-made schema and customize it later, or you can build one from scratch.
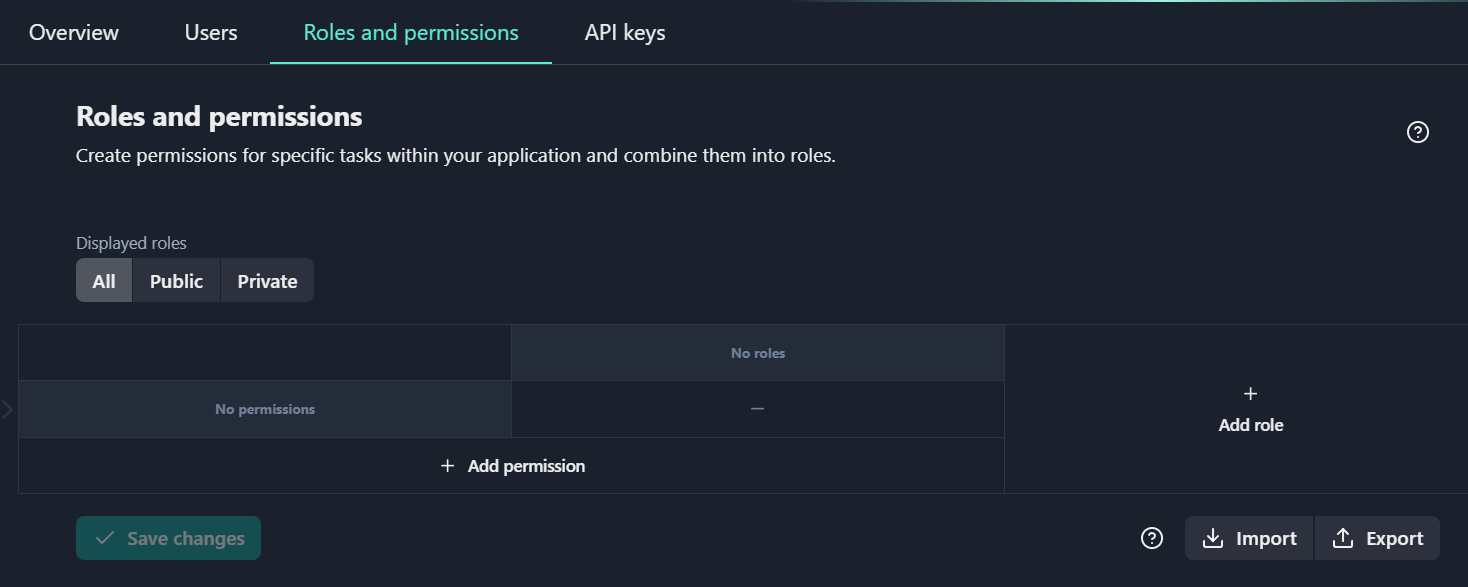
Go to the Roles and permissions page and import the sample schema:
Click the Import button.
Paste the schema into the form.
Sample schema
{
  "roles": {
    "moderator": {
      "name": "moderator",
      "description": "",
      "protected": true,
      "permissions": [
        {
          "name": "user.kick",
          "value": true
        },
        {
          "name": "user.mute",
          "value": true
        }
      ]
    },
    "lead support": {
      "name": "lead support",
      "description": "",
      "protected": true,
      "permissions": [
        {
          "name": "inventory.edit",
          "value": true
        },
        {
          "name": "inventory.view",
          "value": true
        },
        {
          "name": "user.ban",
          "value": true
        }
      ]
    },
    "god": {
      "name": "god",
      "description": "",
      "protected": true,
      "permissions": [
        {
          "name": "inventory.edit",
          "value": true
        },
        {
          "name": "inventory.view",
          "value": true
        },
        {
          "name": "user.ban",
          "value": true
        },
        {
          "name": "user.kick",
          "value": true
        },
        {
          "name": "user.mute",
          "value": true
        }
      ]
    }
  },
  "permissions": {
    "user.kick": {
      "name": "user.kick",
      "value": false,
      "description": "Can kick user from game session",
      "protected": true
    },
    "user.mute": {
      "name": "user.mute",
      "value": false,
      "description": "Can mute a user permanently or for limited time",
      "protected": true
    },
    "user.ban": {
      "name": "user.ban",
      "value": false,
      "description": "Can ban a user from the game login",
      "protected": true
    },
    "inventory.edit": {
      "name": "inventory.edit",
      "value": false,
      "description": "Can edit a player inventory content",
      "protected": true
    },
    "inventory.view": {
      "name": "inventory.view",
      "value": false,
      "description": "Can view a player inventory",
      "protected": true
    }
  }
}
Click Import data.
The application schema is now displayed as a table.
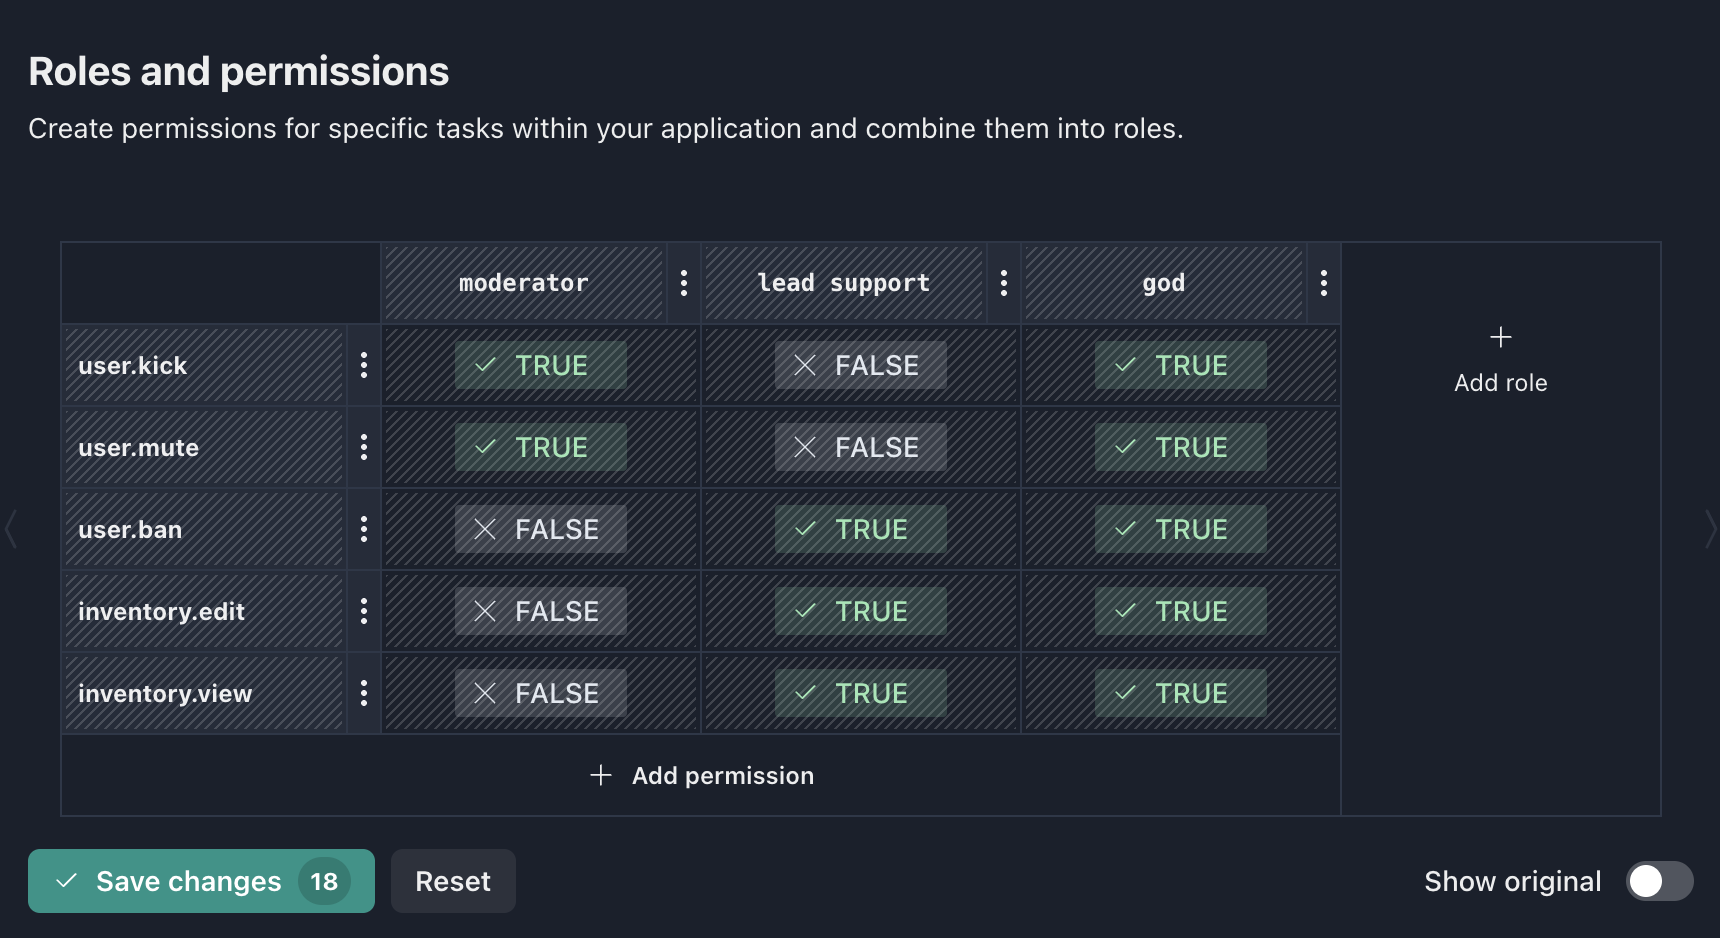
Click Save changes.
Note
The counter on the Save changes button shows the number of pending changes that will be applied to the schema.
Click Apply to confirm.
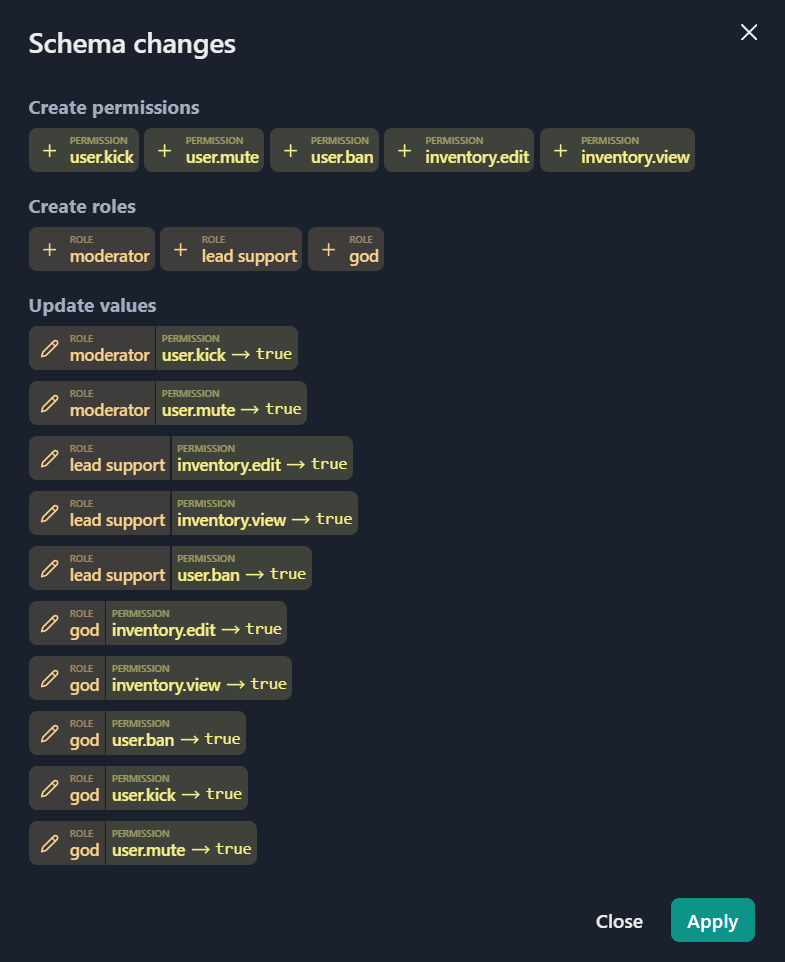
Tip
You could create all permissions and roles manually, one by one, but it is much faster to import a ready-made schema.
The table shows permissions as rows and roles as columns. Permissions define what actions are available in the application – for example, kicking a user from a session or editing inventory. Roles group permissions by task and are assigned to users.
A user can hold multiple roles, so there is no need to create large
all-encompassing roles. Create focused, complementary roles and combine them
per user as needed. For example, if you add user.ban to the moderator role,
all users with that role immediately gain the ban permission.
Permissions work as a data layer: the application requests the permission set for a given user and receives a list of allowed actions. Enforcing those permissions is the responsibility of the application itself.
User Management
Return to the Users page. Assign roles to users by selecting the corresponding checkboxes in the table.
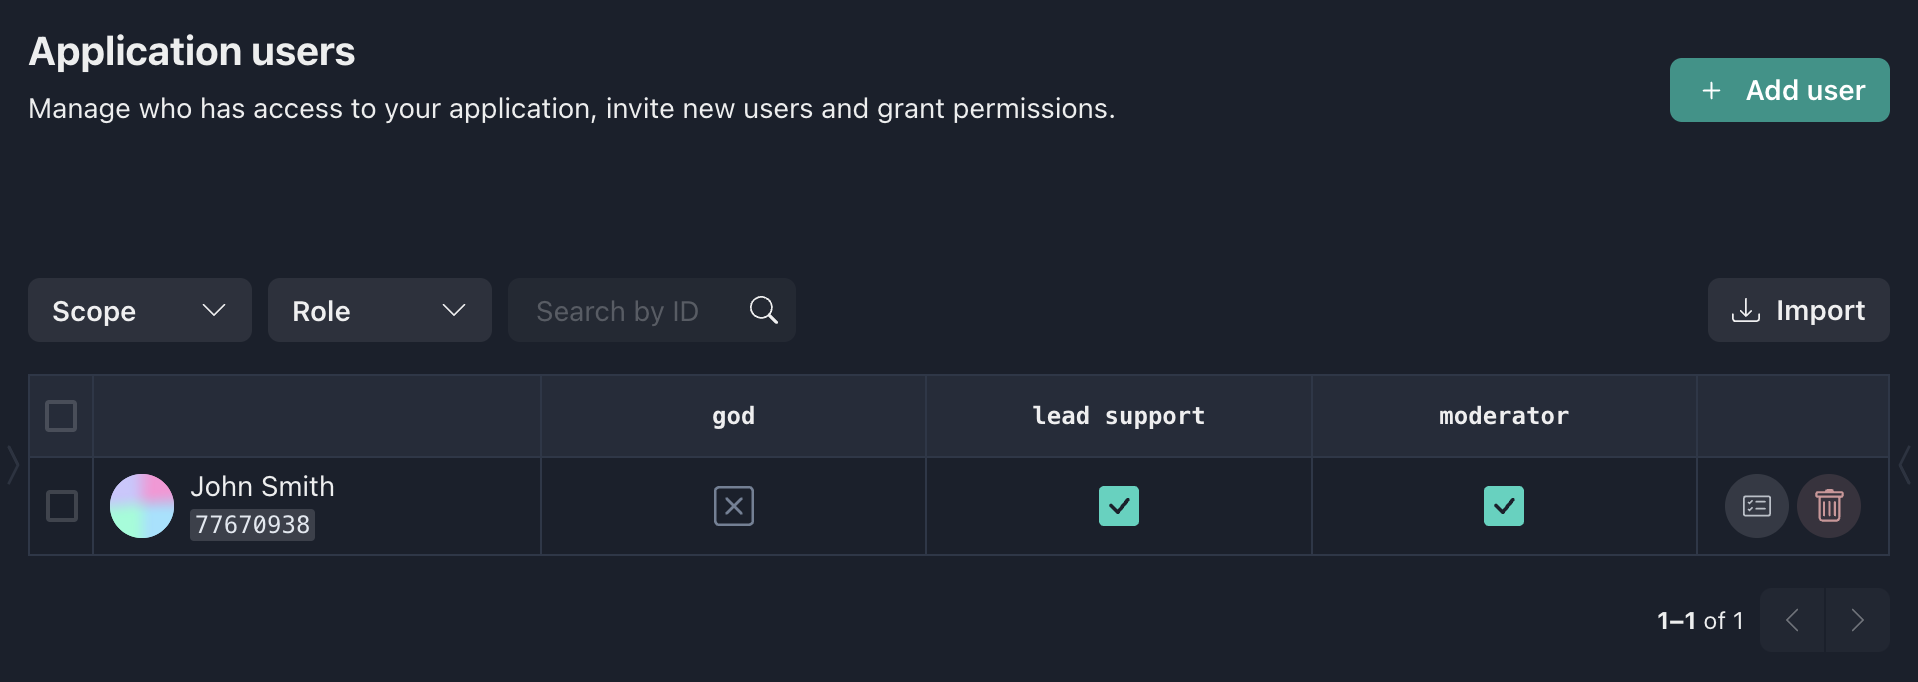
To add other users or grant them administrative access, follow the same process as for project administrators.
API Keys
To make authorized requests to the GAP API on behalf of the application, generate an API key on the API keys page.
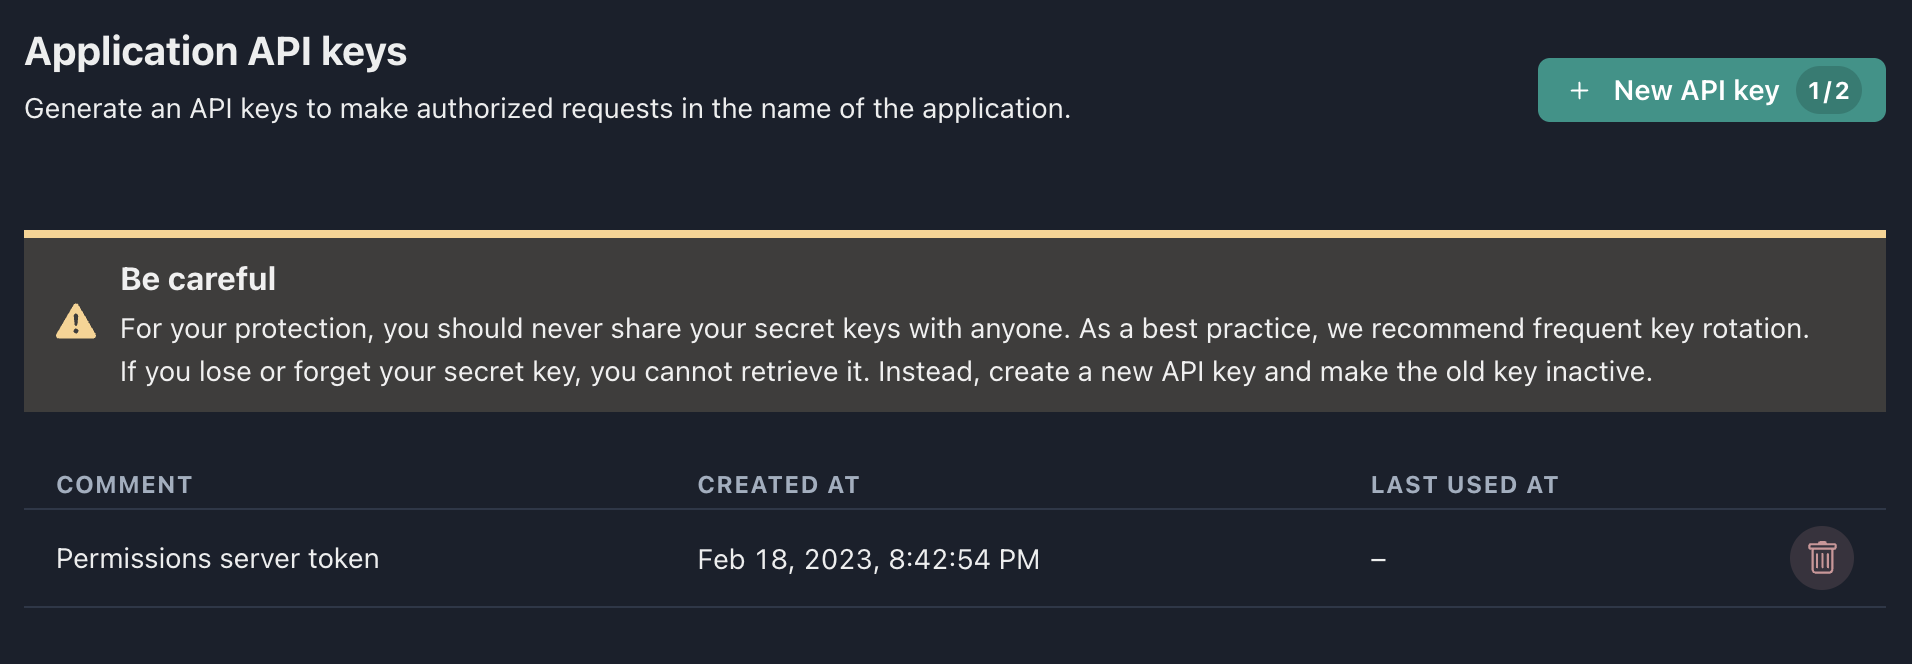
A maximum of two active tokens are allowed at the same time. This lets you rotate keys without downtime: generate a new token, update your application, then revoke the old one.
Save the token immediately after generating it – it cannot be retrieved later. Generate a token only when you actually need it.