
Microdetails
About Microdetails
Microdetails are fine-detail textures, such as skin pores, wood grain veins, grains of sand, and moss leaves. They are used to add extra detail to both unique textures on objects and tiling textures.
Currently, microdetails are employed in two main project areas:
War Thunder-based projects
daNetGame-based projects
Microdetails in War Thunder
Technology
Microdetails for assets are no longer sourced from levelname.blk, but are
instead retrieved from a separate list located at
<project_name>/develop/gameBase/config/_assetsMicroDetails.blk.
Index |
Entity |
|---|---|
0 |
|
1 |
|
2 |
|
3 |
|
4 |
|
5 |
|
6 |
|
7 |
|
8 |
|
9 |
|
10 |
|
11 |
|
12 |
|
If a particular microdetail is missing, such as concrete, you can add it to
the list as entries 12, 13, 14, and so on, without any limit. These indices are
determined by their order in the list.
Microdetails for Terrain
The technology for terrain microdetails incorporates a “layered” approach: from the stone base layer up to the top moss layer. This method is known as the “layer cake” system, which looks like this:
Index |
Entity |
Color in R-Channel |
|---|---|---|
0 |
Stone |
0 |
1 |
Small stones (gravel) |
23 |
2 |
Sand |
46 |
3 |
Soil (or snow) |
69 |
4 |
Unique for map 1 (often ice) |
93 |
5 |
Grass |
116 |
6 |
Moss/leaves |
139 |
7 |
Unique for map 2 |
162 |
8 |
Unique for assets 1 (often wood) |
186 |
9 |
Unique for assets 2 (often liquid/metal) |
209 |
10 |
Unique for assets 3 (often noise) |
232 |
11 |
Unique for assets 4 (often granules) |
255 |
Microdetails appear on terrain according to their corresponding entities. For example, grass microdetails appear on grass, stone microdetails on stone, and sand on sand.
This is controlled by the “color in the R-channel”, effectively acting as an index for the microdetails stored in the B-channel of the texture.
On each map, level designers can also specify a general scale for the microdetails.
This is set in the
level.blkfile and typically appears in the following format:
micro_details{
  micro_detail:t=microdetail_stone_a_tex_n
  micro_detail:t=microdetail_scan_gravel_a_tex_n
  micro_detail:t=microdetail_sand_a_tex_n
  micro_detail:t=microdetail_soil_a_tex_n
  micro_detail:t=microdetail_generic_granules_a_tex_n
  micro_detail:t=microdetail_grass_a_tex_n
  micro_detail:t=microdetail_forest_floor_a_tex_n
  micro_detail:t=microdetail_generic_granules_a_tex_n

  micro_detail:t=microdetail_wood_a_tex_n
  micro_detail:t=microdetail_liquid_a_tex_n
  micro_detail:t=microdetail_snow_a_tex_n
  micro_detail:t=microdetail_generic_granules_a_tex_n

  land_micro_details_uv_scale:r=0.51
}
Important
There are two types of level.blk files:
Files ending in
.level.blk, such asavg_berlin.level.blk.Files located in
<project_name>/develop/gameBase/levelsthat do not end with.level.blk, such asavg_berlin.blk.
For microdetail configuration, you should refer to the second type.
If you’re working in the SDK, the files you need can be found in
C:\WarThunder\WarThunderCDK\levels, such as empty_location.blk.
Enabling Microdetails in Tools
Because microdetails vary between maps, they will display correctly in the daEditor (as it opens the maps). However, in Asset Viewer, microdetails must be enabled manually.
If the guides for Asset Viewer or daEditor aren’t sufficient, select the
appropriate level.blk for your map in the Asset Viewer’s sun tool:
Important
By default, microdetails are disabled in Asset Viewer, and assets using them
will appear black. To resolve this, ensure the correct level.blk is loaded.
Microdetails in daNetGame-based Projects
The system in daNetGame-based projects is similar to War Thunder but with key differences.
Microdetails on terrain function similarly but are not applied to assets.
On assets, character-specific microdetails are used and are not part of the “layer cake” system.
Index
Entity
0
Fine noise
1
Fabric
2
Coarse fabric (burlap)
3
Felt
4
Knitted wool
5
Leather
6
Metal
7
Wood
There are no issues with applying these microdetails: simply use the ones that fit your needs. They remain consistent.
For this reason, no manual configuration is necessary in the tools: microdetails are always active.
Note
In addition to standard character microdetails, you can also add custom microdetails, provided there is enough texture memory available.
These microdetails can also be used for rendinst object types. The only
limitation is that their size must be 256x256, which matches the size of the
older microdetail textures. Pre-existing textures are usually found in
<project_name>/develop/assets/common/textures/character_microdetails.
To add your new textures, include them in the following file:
<project_name>/develop/gameBase/config/character_micro_details.blk.
Add a line like this in the character_micro_details{} block:
micro_detail:t=your_texture_name_tex_n*
Important
When testing new textures in Asset Viewer, remember that changes to textures will not update automatically. After making any changes, you must reload Asset Viewer to see the latest results.
Shader Settings
Different types of objects and shaders have their own specific configurations. In most cases, these settings are consistent across projects, with only rare exceptions (which will be discussed separately).
Shader: simple_aces/rendinst_simple for Rendinst and simple_aces for Prefabs (or dynamic_masked_chrome_bump for Destrs)
This shader uses the first UV channel for mapping. Since the UV layout is usually unique, two issues may arise:
Seams may appear on the model due to unstitched UV shells.
Microdetails may appear stretched along one axis, as microdetail textures are always square, while the object’s texture may be rectangular.
The following three parameters are used for configuration:
script:t="micro_detail_layer=11": Where11is the microdetail layer index, ranging from0to11.script:t="micro_detail_layer_uv_scale=75.17": Defines the tiling of the microdetail. A higher value results in a finer pattern.script:t="micro_detail_layer_v_scale=0.5": Scales the microdetail along the vertical axis, addressing the issue of rectangular UV mapping on the asset.
Shader: rendinst_perlin_layered for Rendinst (or dynamic_perlin_layered for Destrs)
The configuration is similar to
rendinst_simple.
Shader: rendinst_layered for Rendinst
Microdetails are applied to material tiles that use the third UV channel. This
channel is typically procedural with stitched UV shells, preventing the issues
seen in the simple_aces shader.
The following four parameters are used for configuration:
script:t="micro_detail_layer1=0": Microdetail index for detail layer 1. The default value is-1, which disables it.script:t="micro_detail_layer2=3": Microdetail index for detail layer 2. The default value is-1, which disables it.script:t="micro_detail_layer1_uv_scale=5.17": Tiling of microdetail layer 1. A higher value results in a finer pattern.script:t="micro_detail_layer2_uv_scale=5.13": Tiling of microdetail layer 2. A higher value results in a finer pattern.
Shader: layered_static for Prefabs
This shader differs slightly from
rendinst_layered, but microdetail
configuration is done in the same way (see above).
Shader: land_mesh_height_decal for Decals
Decals derive their microdetails from the terrain they are applied to. However, there are a few additional settings:
script:t="write_vtexmask=4095"script:t="alpha_gamma=0.2,0.01,1,1"
The
write_vtexmaskparameter specifies which channels of the virtual texture should not be written to.The first 4 bits (1111) correspond to the diffuse (RGB) + alpha.
The second 4 bits (1111) correspond to the normal (RG) + microdetail (B) + alpha.
The third 4 bits (1111) correspond to AO ®, translucency (G), smoothness (B), and alpha.
In binary, each decimal value has a corresponding binary representation:
r = 1 =
1g = 2 =
10b = 4 =
100a = 8 =
1000
Example:
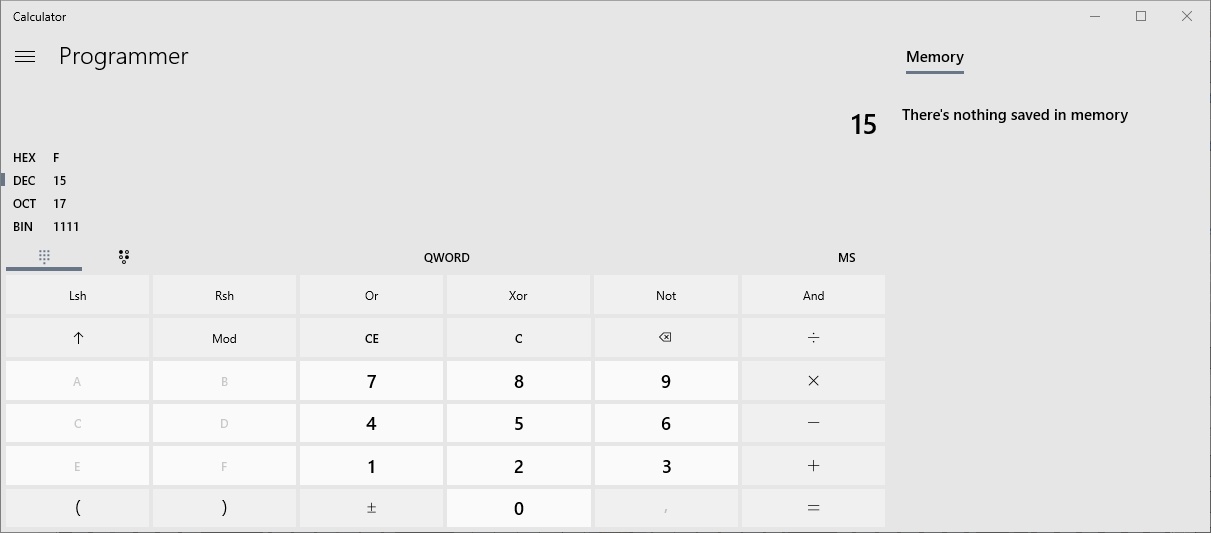
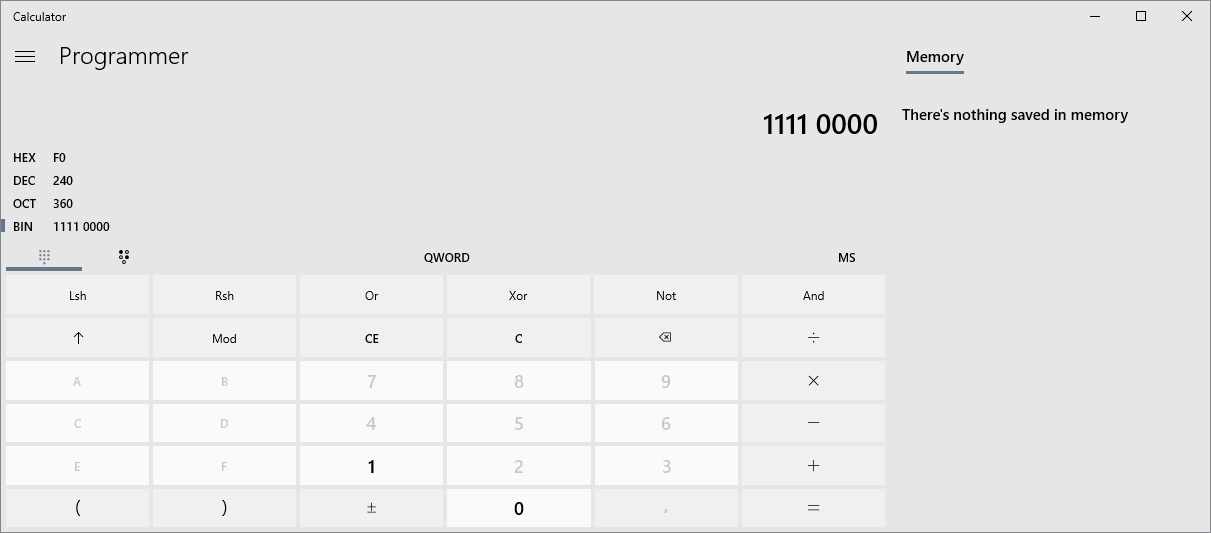
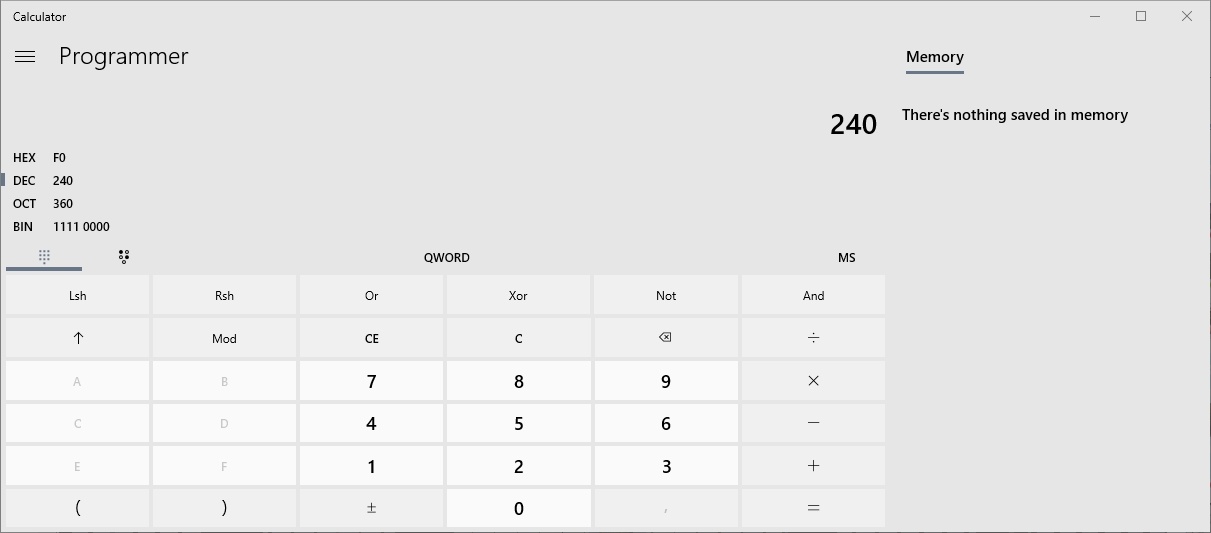
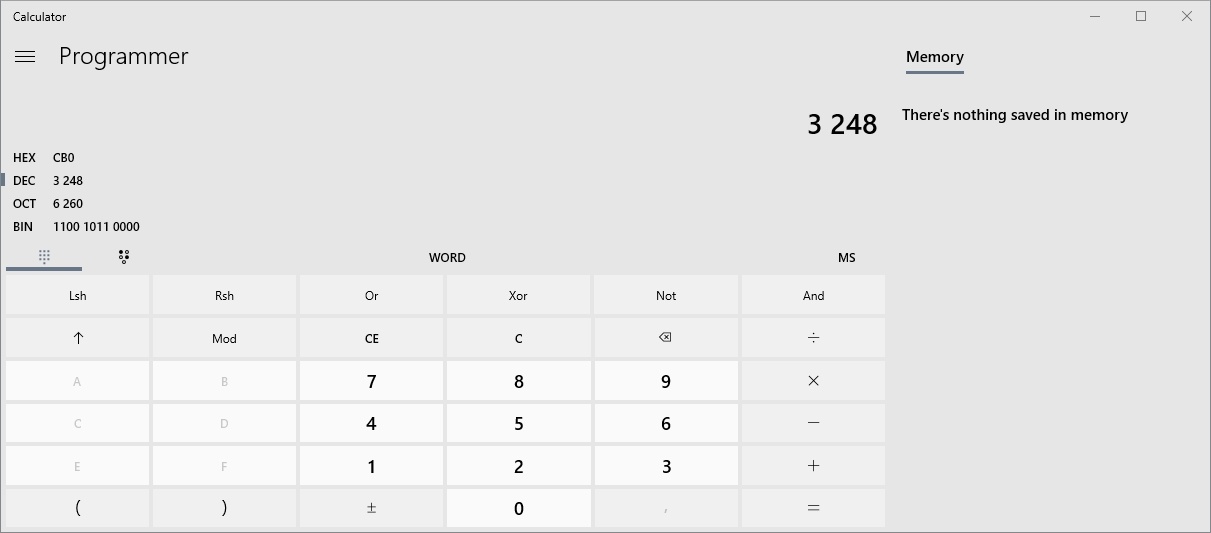
write_vtexmask=15:(1+2+4+8)writes only the diffuse and alpha (1111 0000 0000).write_vtexmask=240:(1+2+4+8)*16writes only the normal, microdetail, and alpha (0000 1111 0000).write_vtexmask=176:(1+2+8)*16writes only the normal and alpha (0000 1101 0000).write_vtexmask=3248:(1+2+8)*16 + (4+8)*256writes only normal+alpha and smoothness+alpha (0000 1101 0011).write_vtexmask=4095:(15+15*16+15*256)writes everything (default, no need to specify).
You can calculate these values using a programmer’s calculator. Enter the bits you want to write, as described in the examples above. Keep in mind that the calculator displays bits in reverse order, but the sequence described here remains consistent.
Examples:
To write only the diffuse + alpha, use the first 4 bits (
1111), convert to binary, and then to decimal – which equals15.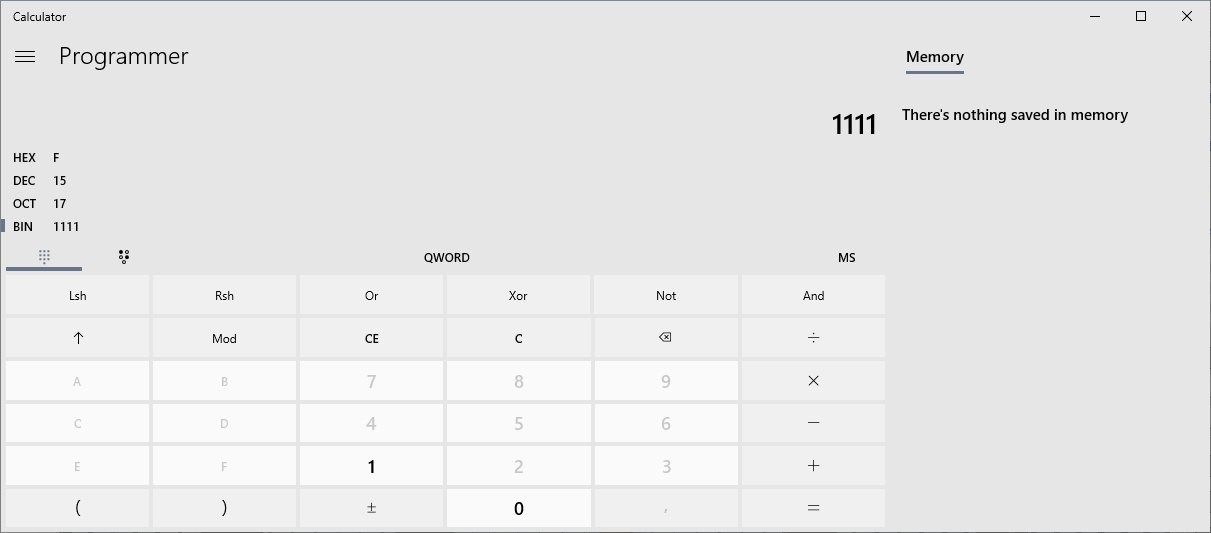
To write only normal, microdetail, and alpha, the first 4 bits (diffuse+A) are all zeros, and the second 4 bits are all ones.
To write only normal and smoothness, the first 4 bits (diffuse+A) are
0000, the second 4 bits are1101(normal+alpha without microdetail), and the third 4 bits are0011(smoothness+alpha without AO and translucency).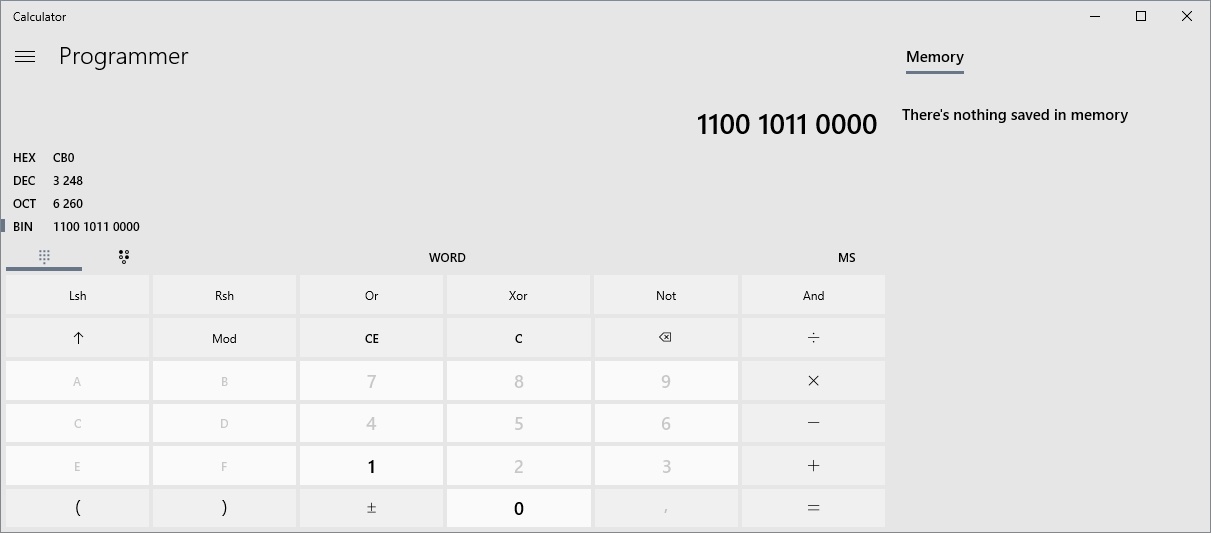
The
alpha_gammaparameter adjusts the strength of various decal attributes. By default, it’s set toalpha_gamma = 1,1,1,1.First value: Diffuse
Second value: Normal and microdetail
Third value: Smoothness, AO, and translucency
Fourth value: Displacement
Each value represents a gamma (power) function. Lower values increase the intensity of the parameter they affect.
For example,
alpha_gamma = 1,0.01,1,1makes the normal and microdetail very sharp (alpha 0.5becomes0.5^0.01 = 0.993). Conversely,alpha_gamma = 8,1,1,1makes the diffuse very faint (0.5^8 = 0.004).
Microdetail Configuration in daNetGame-based Projects
Rotating Microdetails by 90 Degrees
In daNetGame-based projects, there’s an option to rotate the microdetail orientation by 90 degrees, useful when the asset’s UV mapping is incorrect. The rotation can only be applied at 90-degree increments.
Use the parameter script:t="micro_detail_layer_swap_uv=1" to achieve this.
For all rendinst shaders that use microdetails, this parameter swaps the U and V coordinates during microdetail application.
0: Default, no changes to coordinates.1: Swaps the U and V coordinates, effectively rotating the microdetail by 90 degrees.
This works in all prop shaders within daNetGame-based projects.
Adjusting Microdetail Intensity
In daNetGame-based projects, you can also adjust the intensity of microdetails.
The parameter script:t="micro_detail_layer_intensity=1" allows control over
intensity, with a range from 0 to infinity (the default value is 1).