User Management
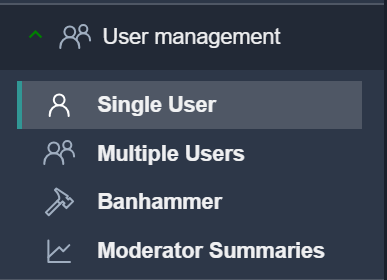
The User Management section provides access to a set of administrative tools used to search, review, and manage user accounts within the Dev Portal service. The navigation menu includes the following items:
Single User: Opens the interface for locating and managing an individual user account. This tool allows administrators to view profile data, inspect account status, and perform user-specific administrative actions.
Multiple Users: Provides functionality for bulk operations. Administrators can perform multi-user searches or apply actions to multiple accounts simultaneously.
Banhammer: Contains tools for managing user access restrictions, including issuing bans, lifting bans, and reviewing ban history.
Moderator Summaries: Displays aggregated moderation data, including reports, actions taken by moderators, and summary statistics.
Single User
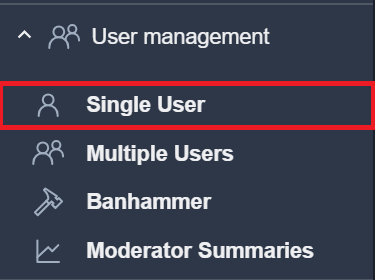
The Single User section provides tools for locating and inspecting an individual user account. To access it, select the corresponding menu item:
Note
This interface displays data collected from multiple platform services. Availability of certain information may depend on the user’s activity and service-specific configurations.
You can search for a user by the following identifiers:
useridnickloginsteamid
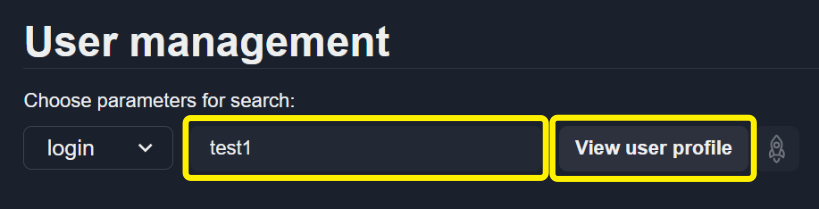
Enter one of the available identifiers in the search field and click View user profile to get the user information:
Switching Between Users
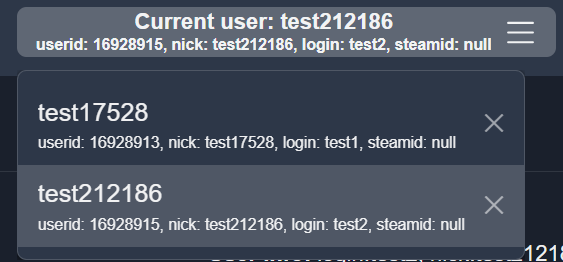
When you search for a user that has not been queried before, the system adds that user to the selection menu.
This allows you to quickly switch between previously viewed users.
You can select any user from the history list to load their profile instantly, or clear the search history by clicking the icon.
After retrieving the user data, the User management window displays the following sections:
My favorite actions: Frequently used actions for the selected user.
User’s data by services: User-related information aggregated from platform services:
userstat
profile
contacts
inventory
currency
User’s history: User activity and event history.
Bans: Information about active and historical restrictions.
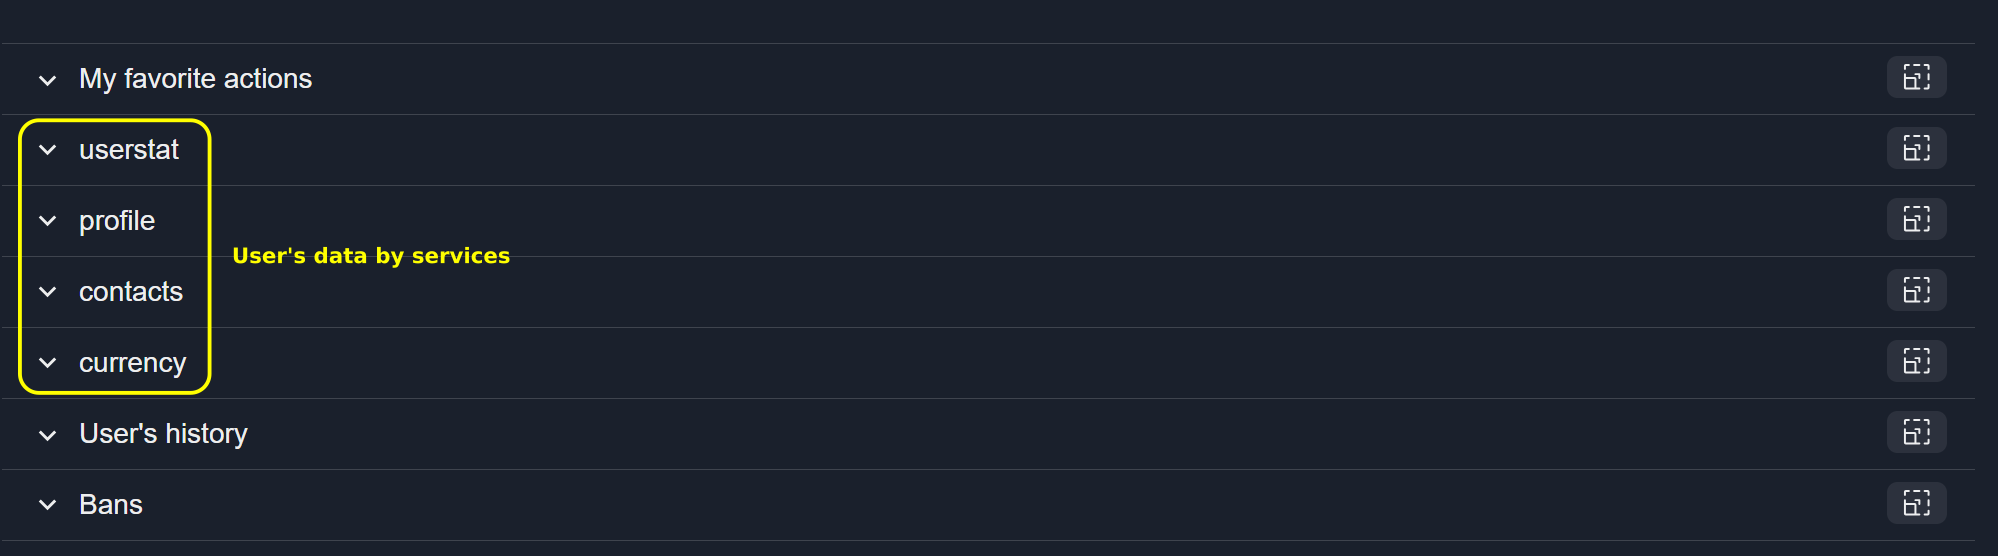
Each section header includes the Open fullscreen mode button that expands the selected section into full-screen mode:
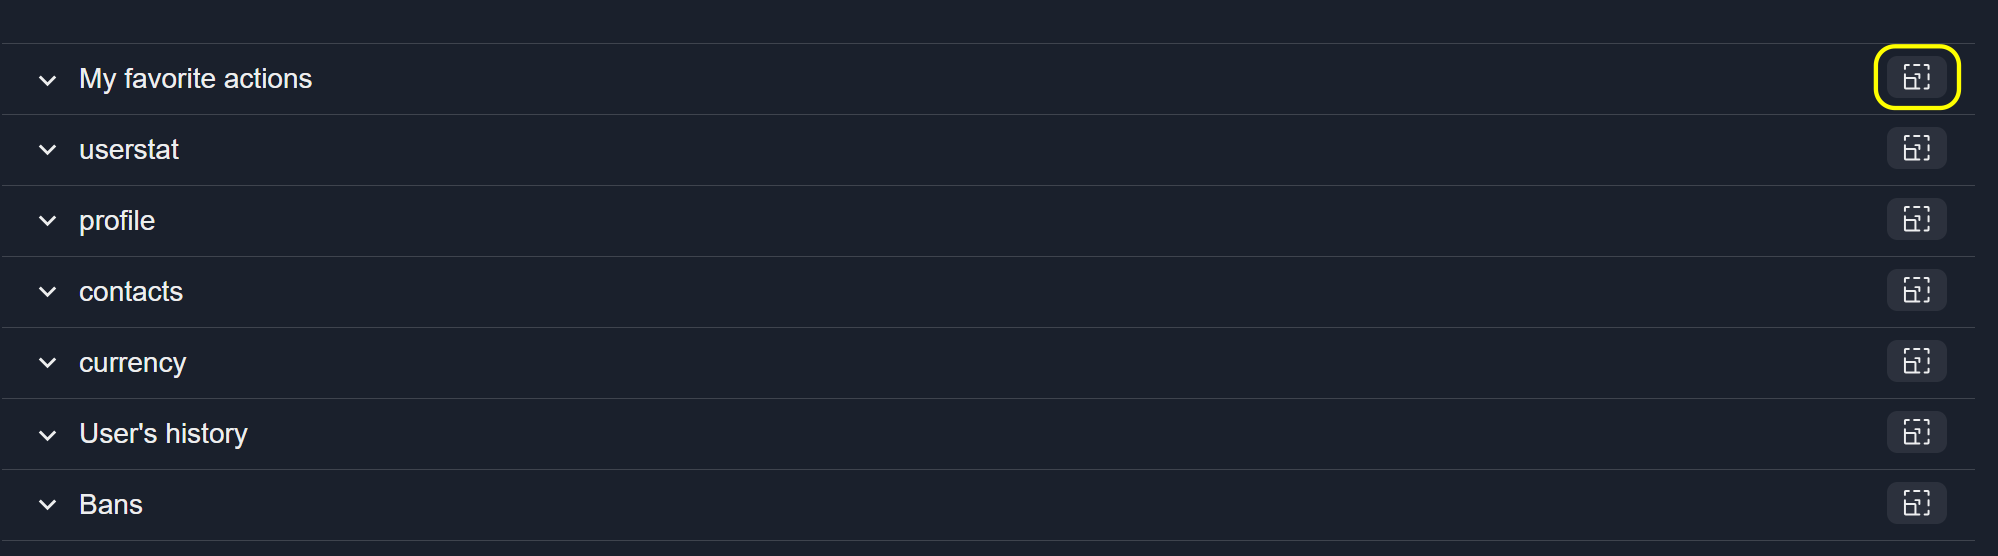
Favorite Actions
See also
For more information, see Actions.
User Data
The User Data section displays detailed information aggregated from the following services:
userstat
profile
contacts
inventory
currency
Data is presented in a structured tree-view format, allowing administrators to inspect nested keys and values:
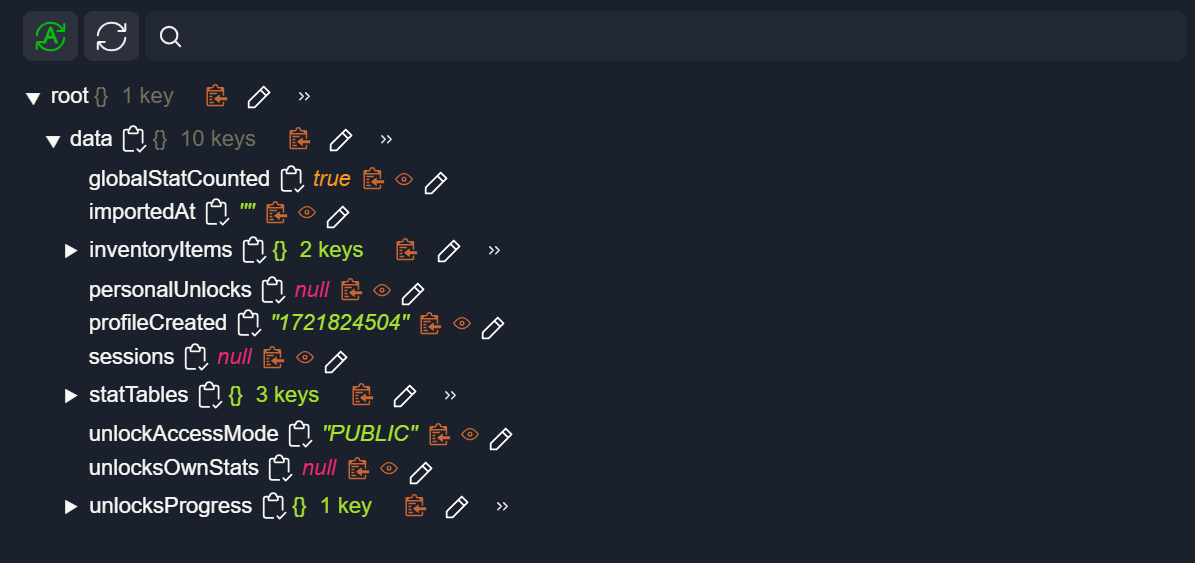
Search Within User Data
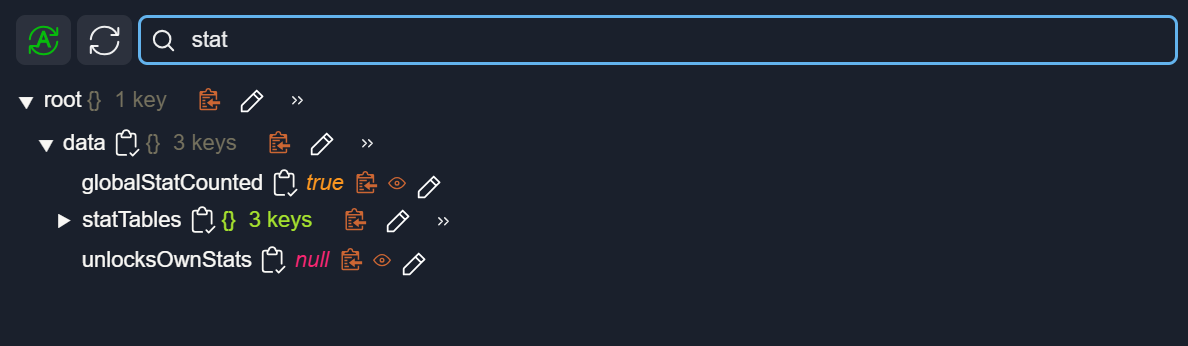
To search for parameters or values, enter your query into the search field above the tree:
Note
The search applies to all tree nodes, including collapsed ones.
Reload User Data
To manually reload the user data, click the Reload icon:
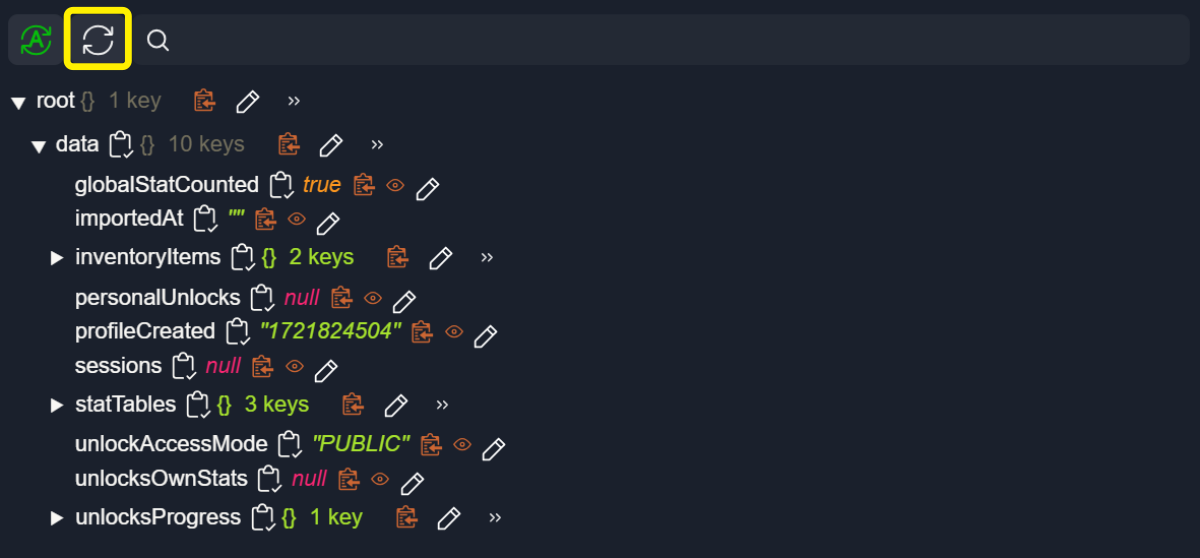
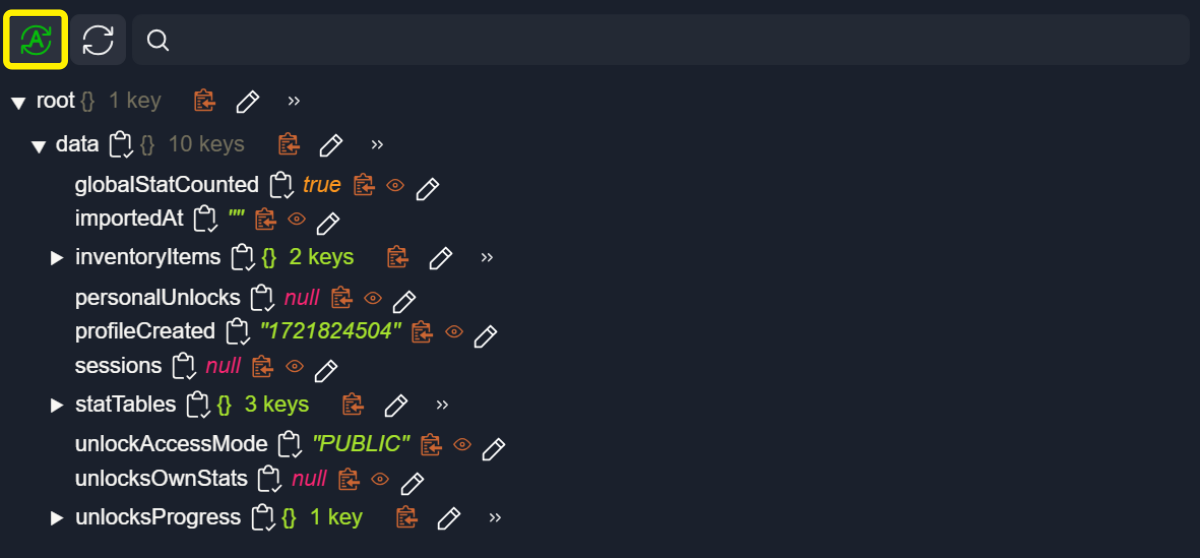
User data is automatically refreshed after performing actions that modify the user. To disable automatic reload, click the Auto-Reload icon:
Copy Parameters and Values
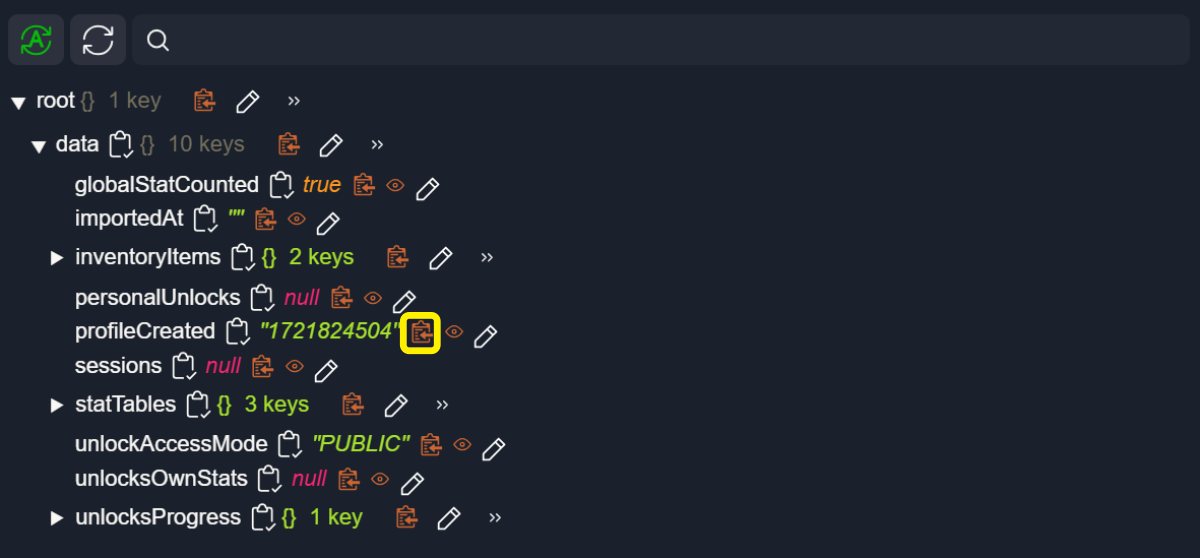
You can copy parameter names and values directly from the tree view.
To copy a parameter name, click the Copy icon next to the name:
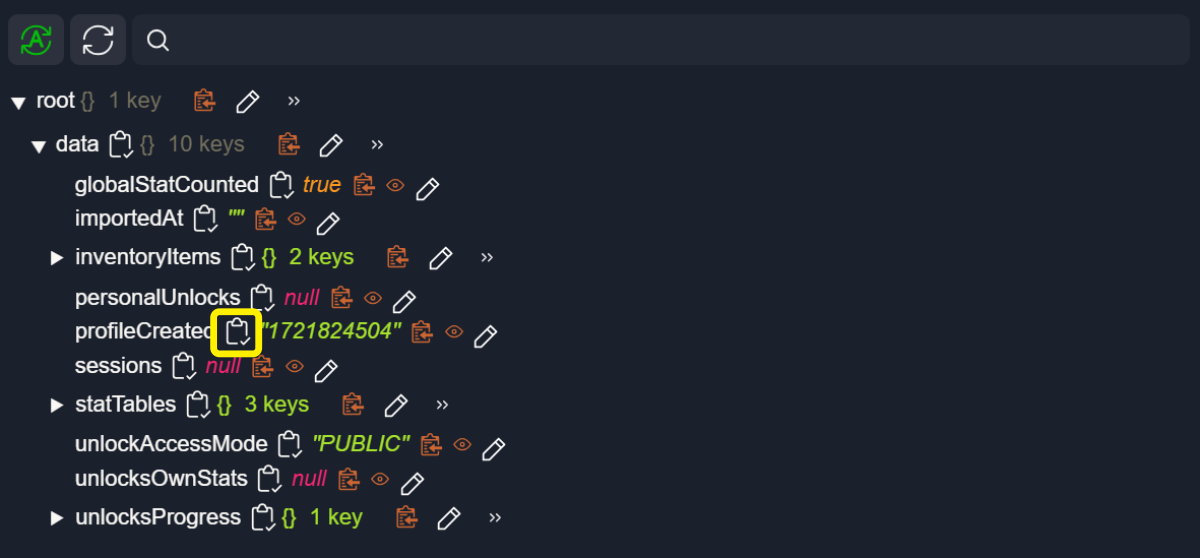
To copy a parameter value, click the Copy icon next to the value:
View Data Size
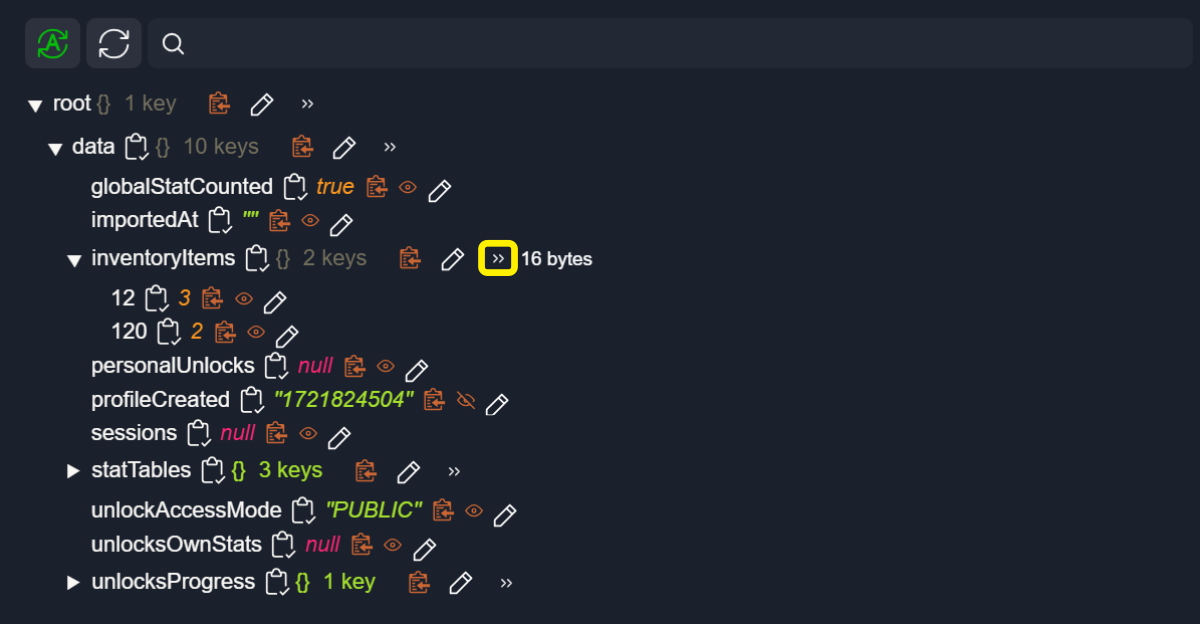
To display the size of a parameter’s payload (bytes, KB, MB), click the Size icon:
Edit Service Data
Note
Editing service data requires the appropriate permissions.
Edit Parameters
To edit a parameter in the tree, click the Edit icon next to the parameter.
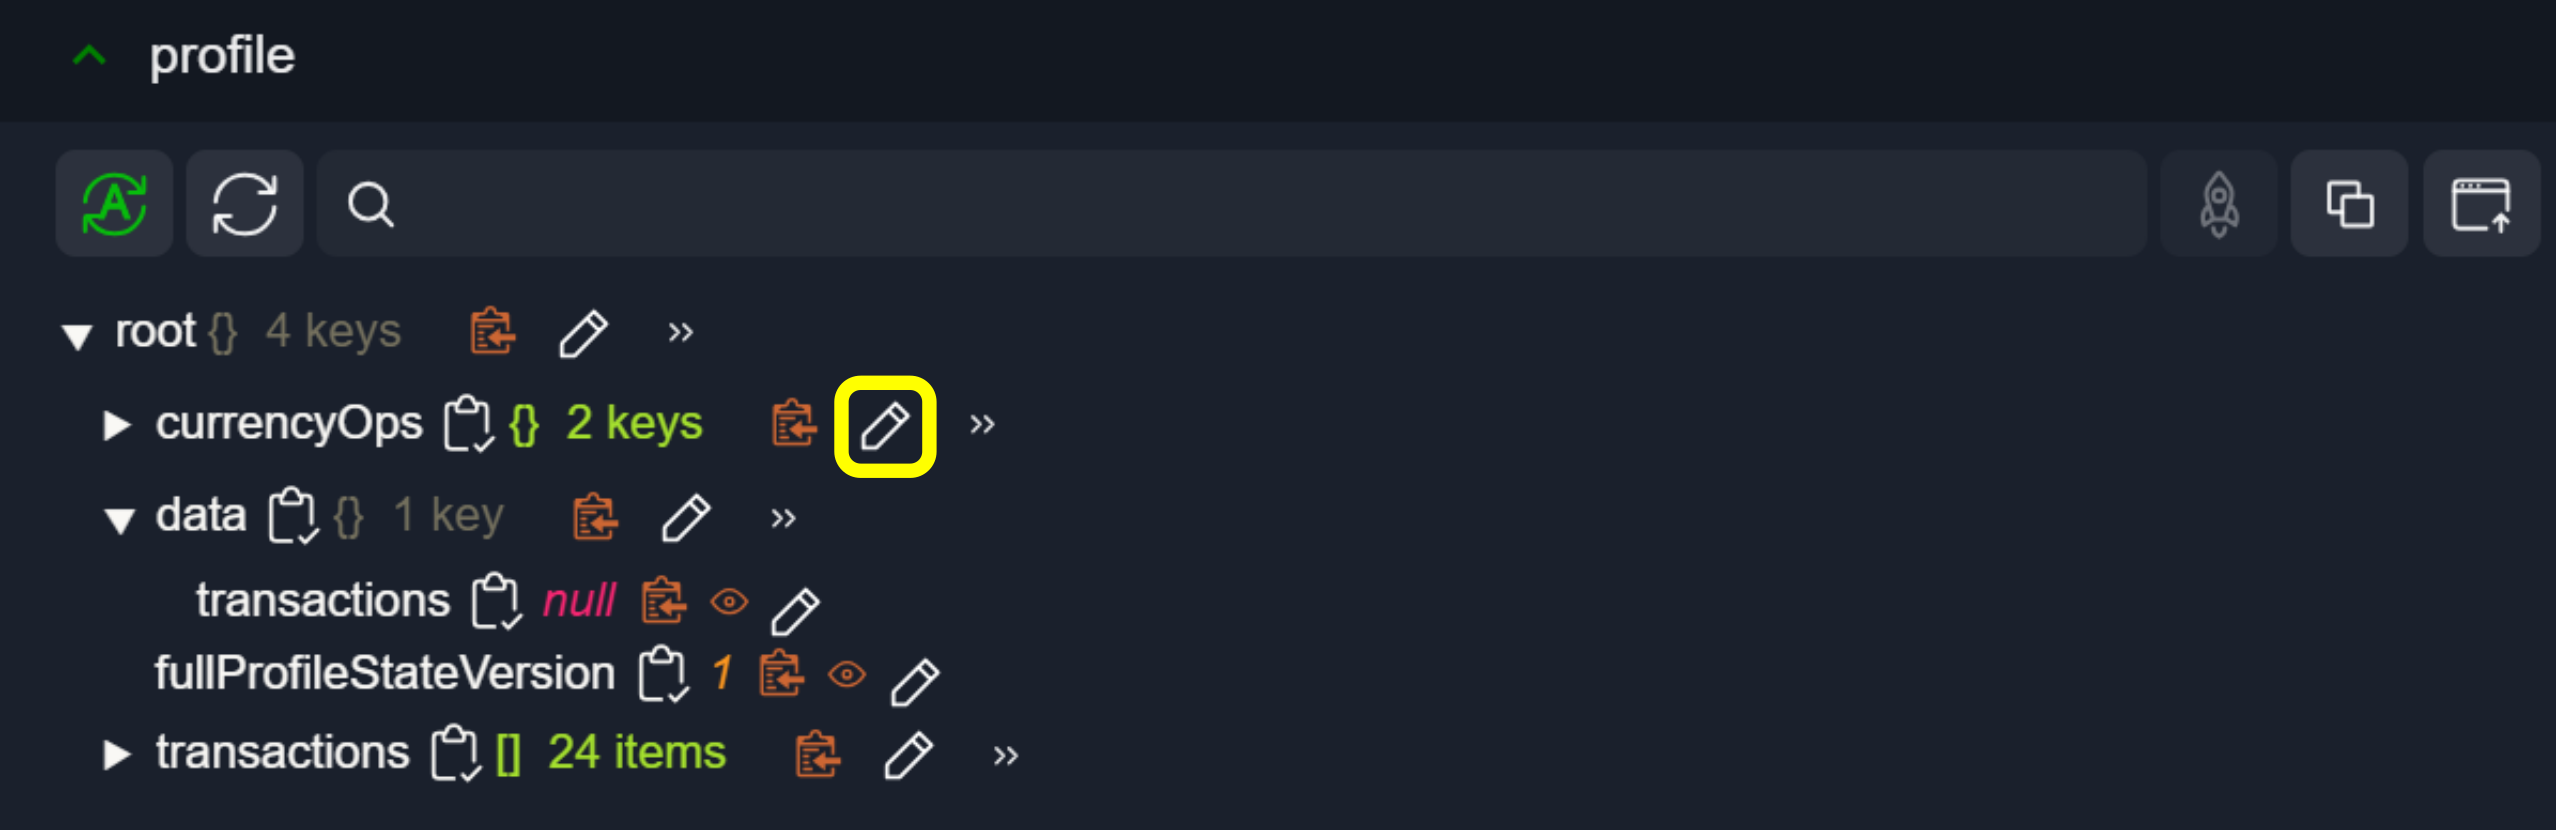
In the modal window, you can update the parameter value and review the differences compared to the default value.

To switch to full-screen mode, click the Full screen button.

To apply the changes, click Apply changes.

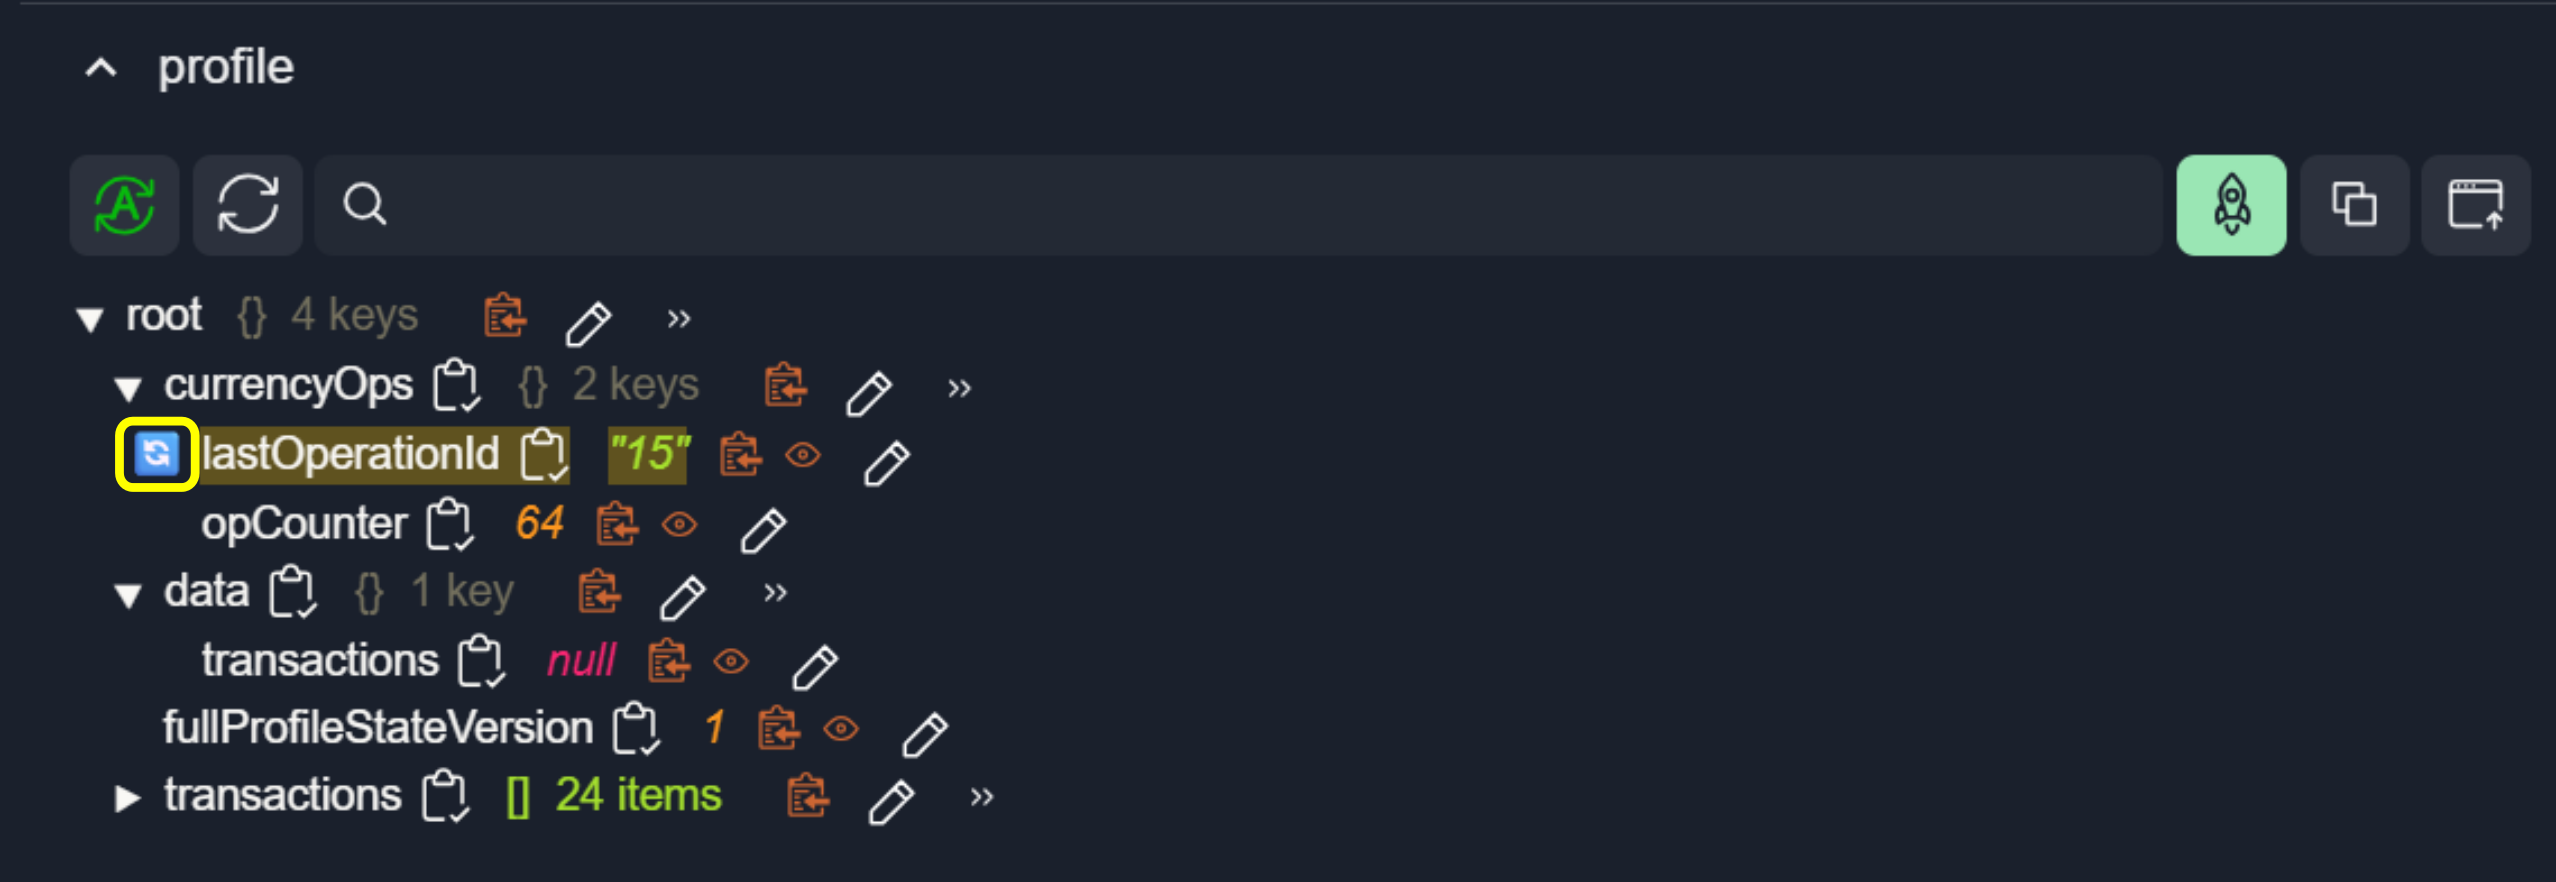
Modified parameters are highlighted in the tree.
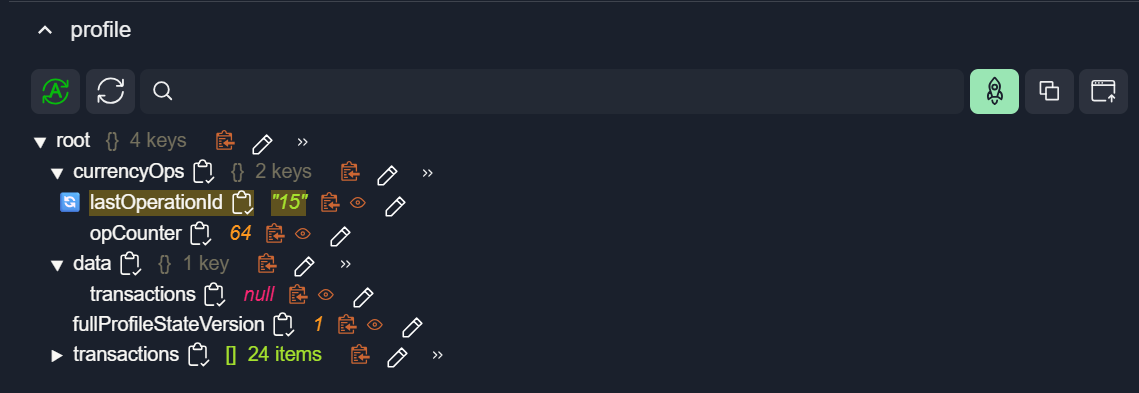
To revert changes click to the icon.
Save Changes
To submit the modified data, click Send.
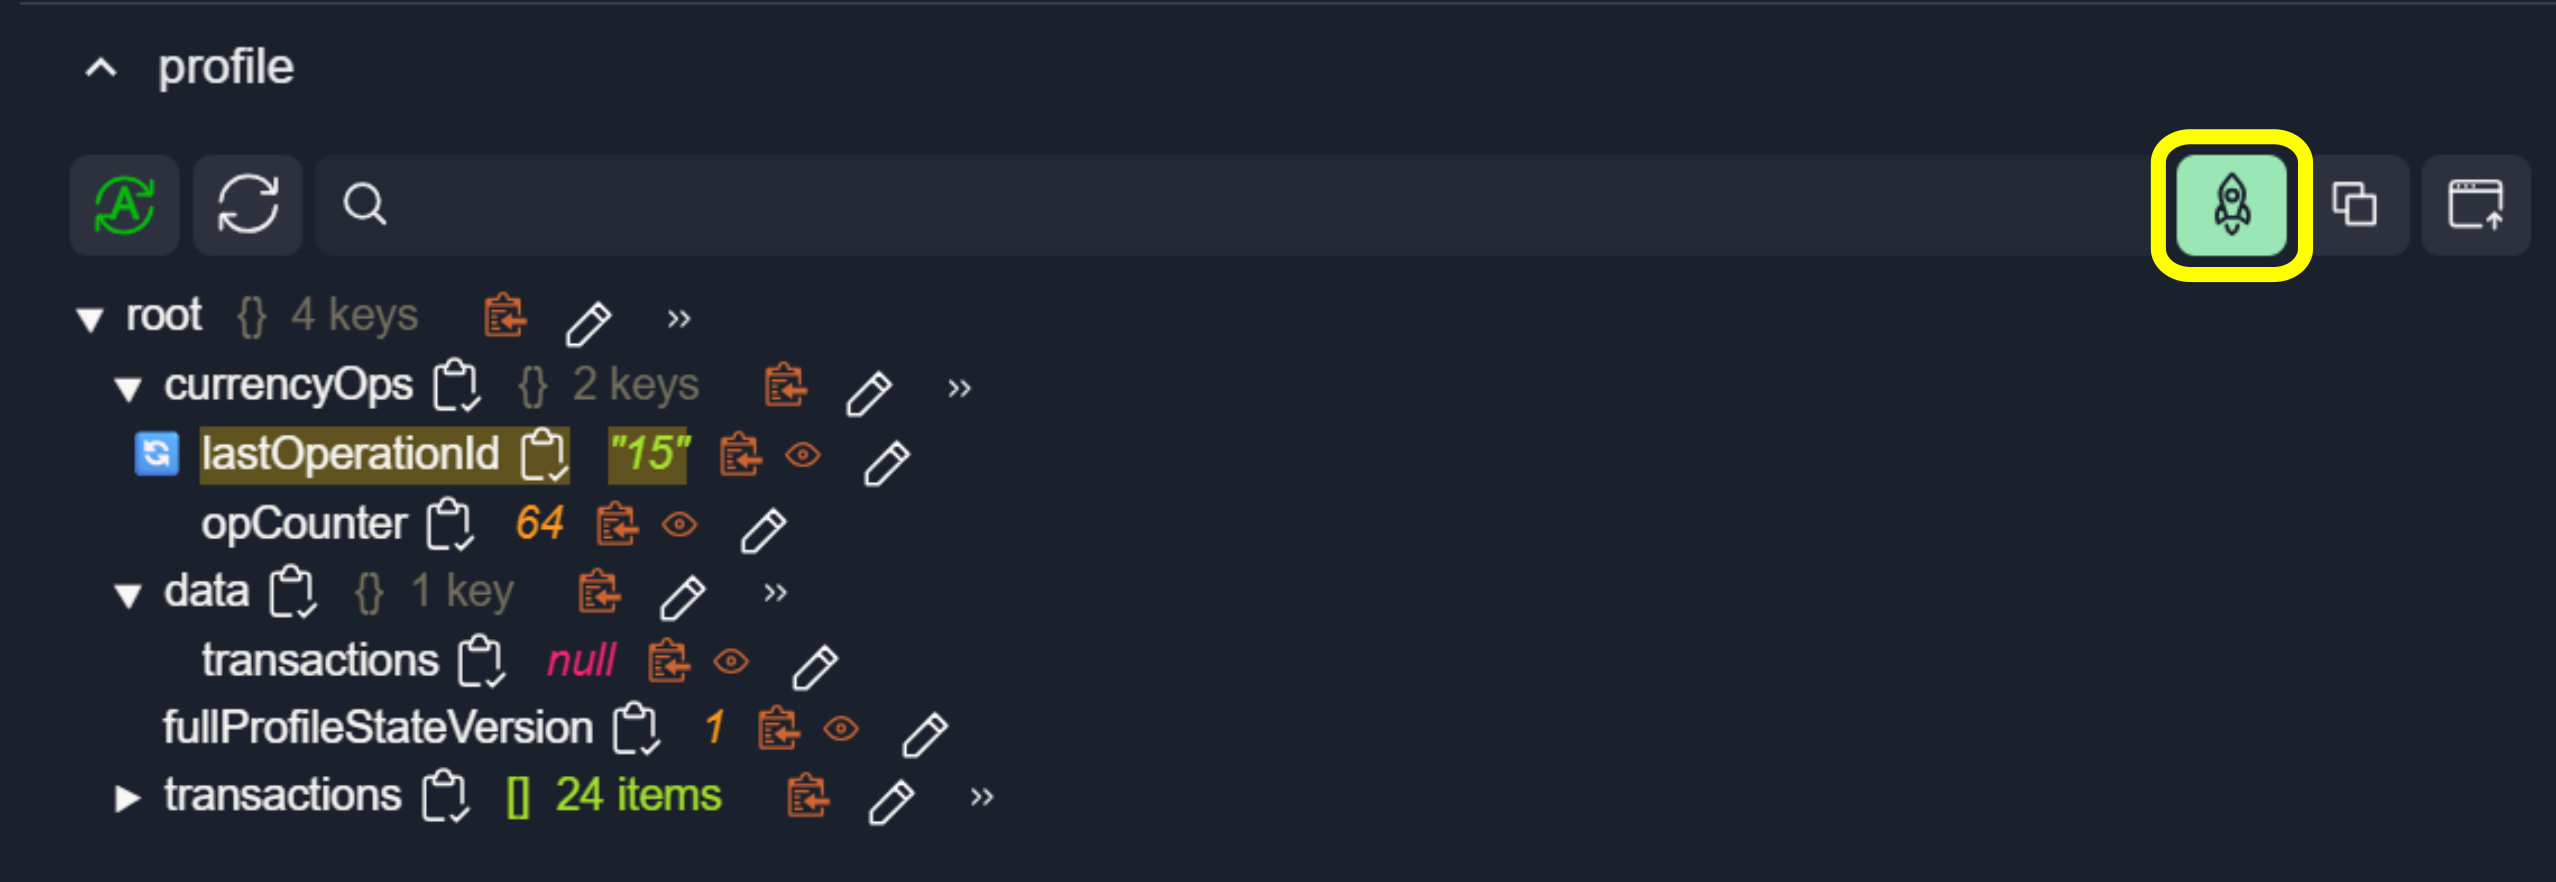
Before saving, review the differences between the current and previous values. To save the changes, click Save profile.
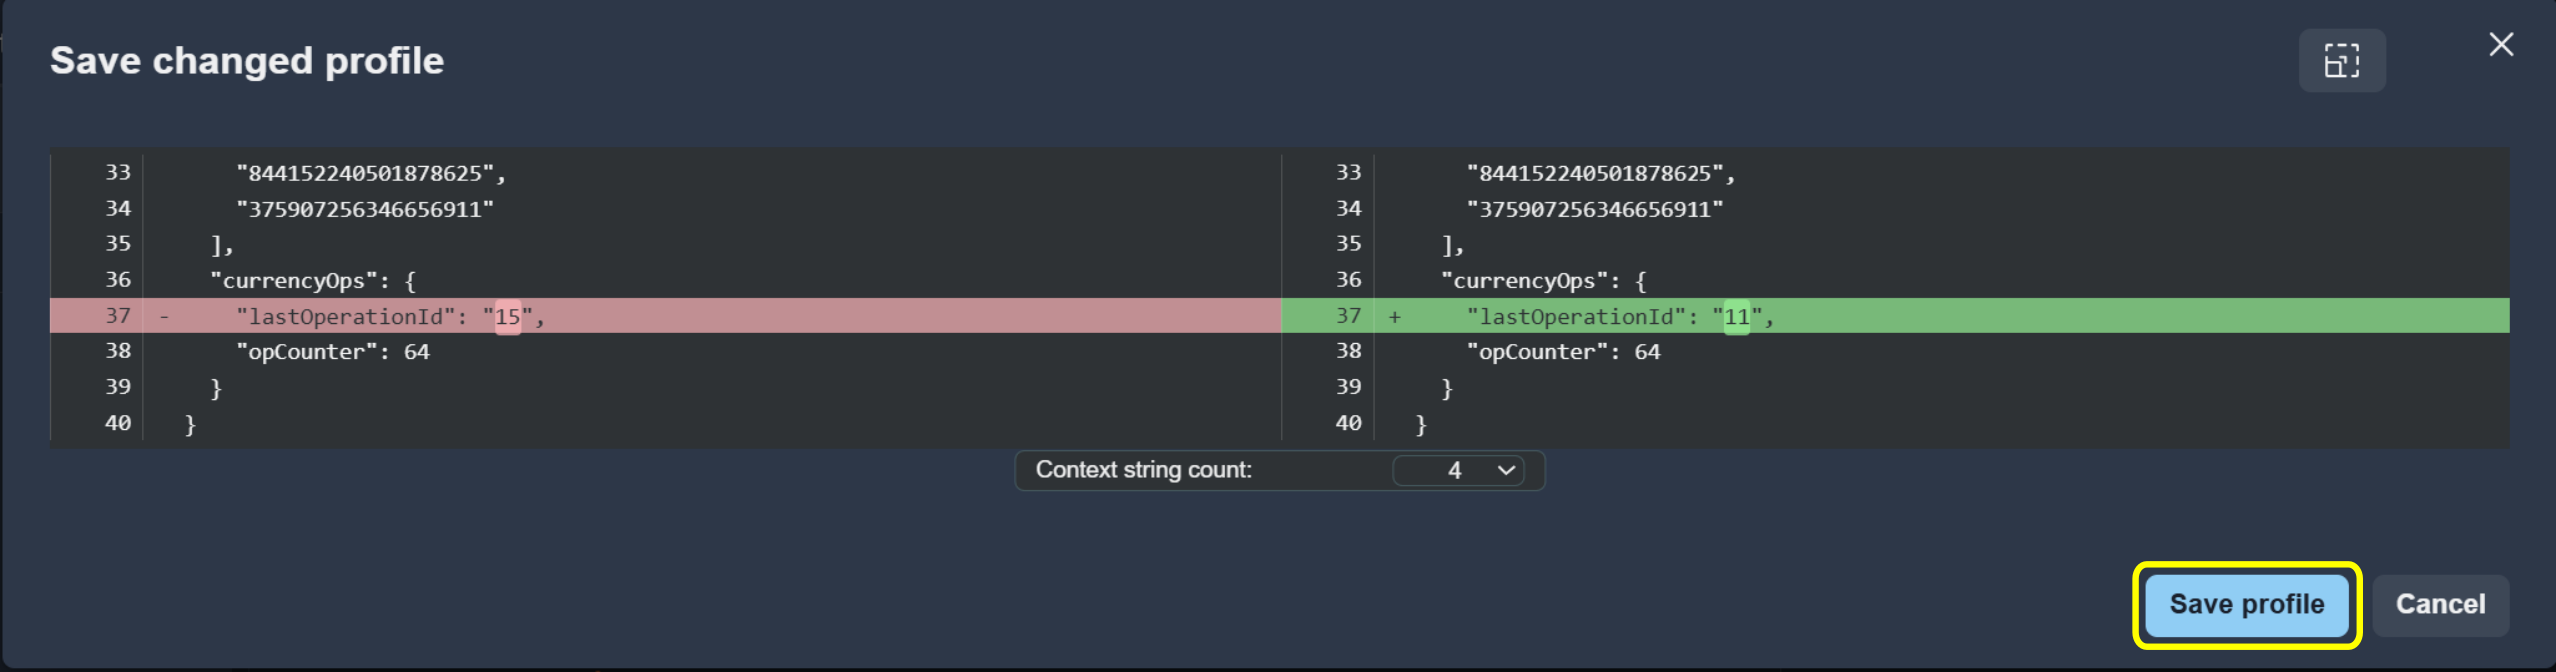
To open the editor in full-screen mode, click the Full screen button.
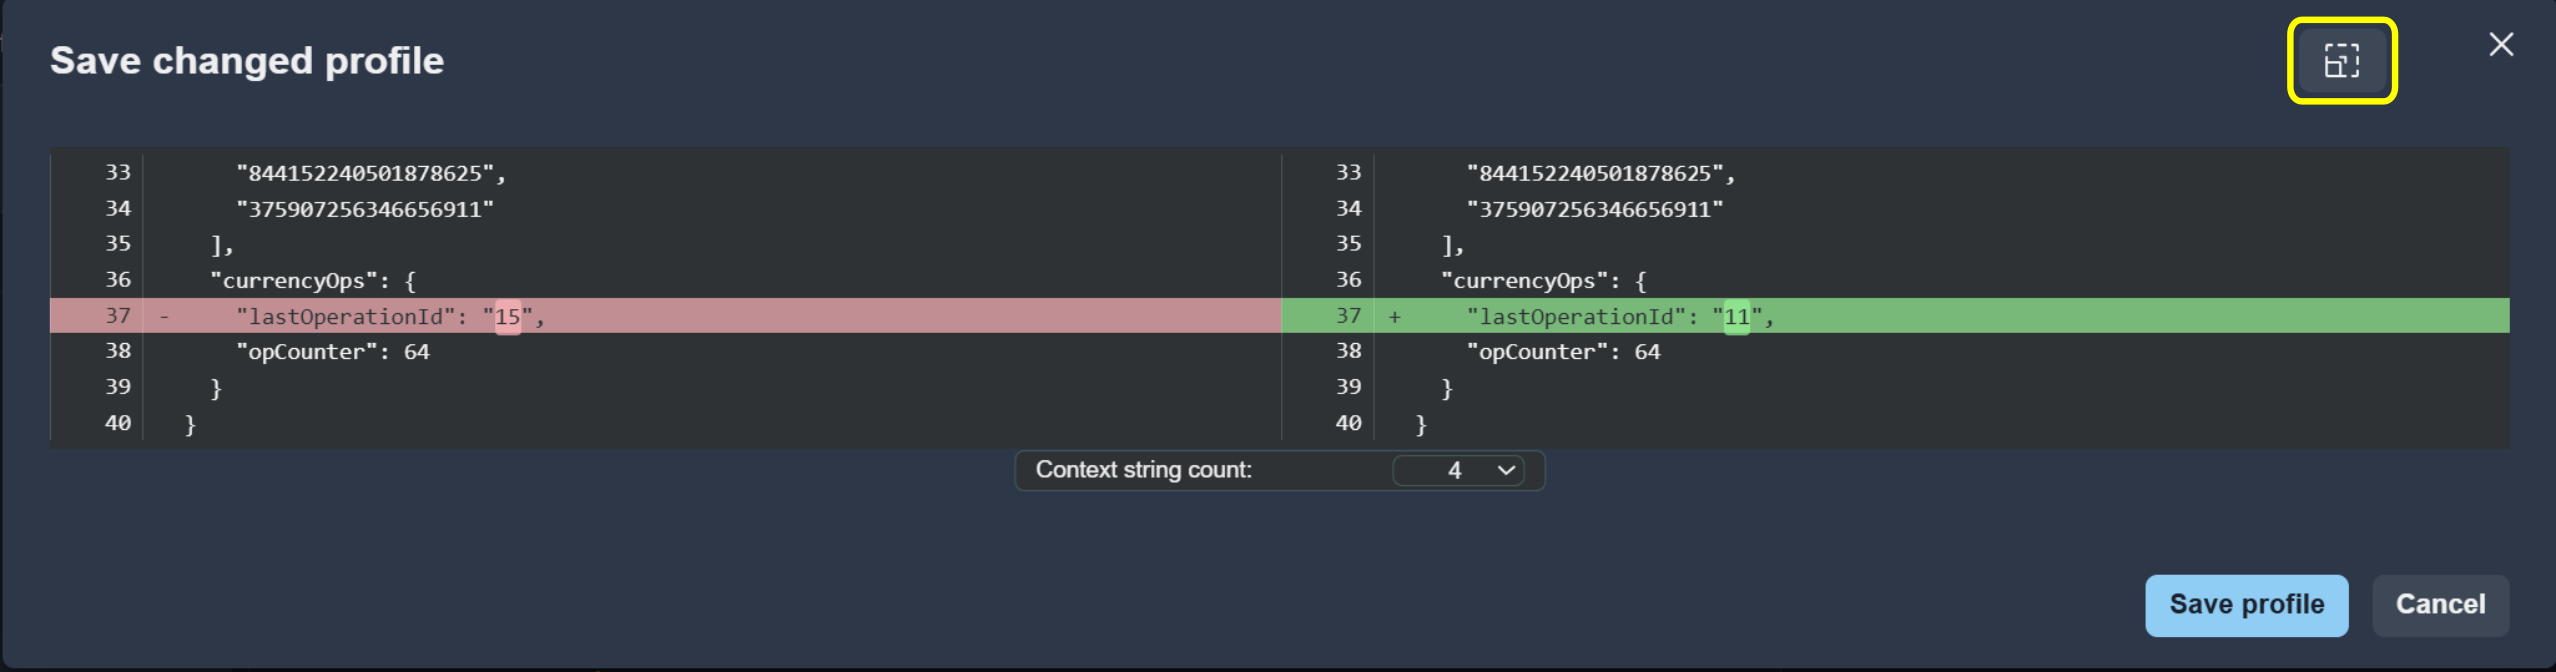
Apply Changes to All Services
To submit modified data for all services, click Send to all services.

To save the changes for all services, click Save all.
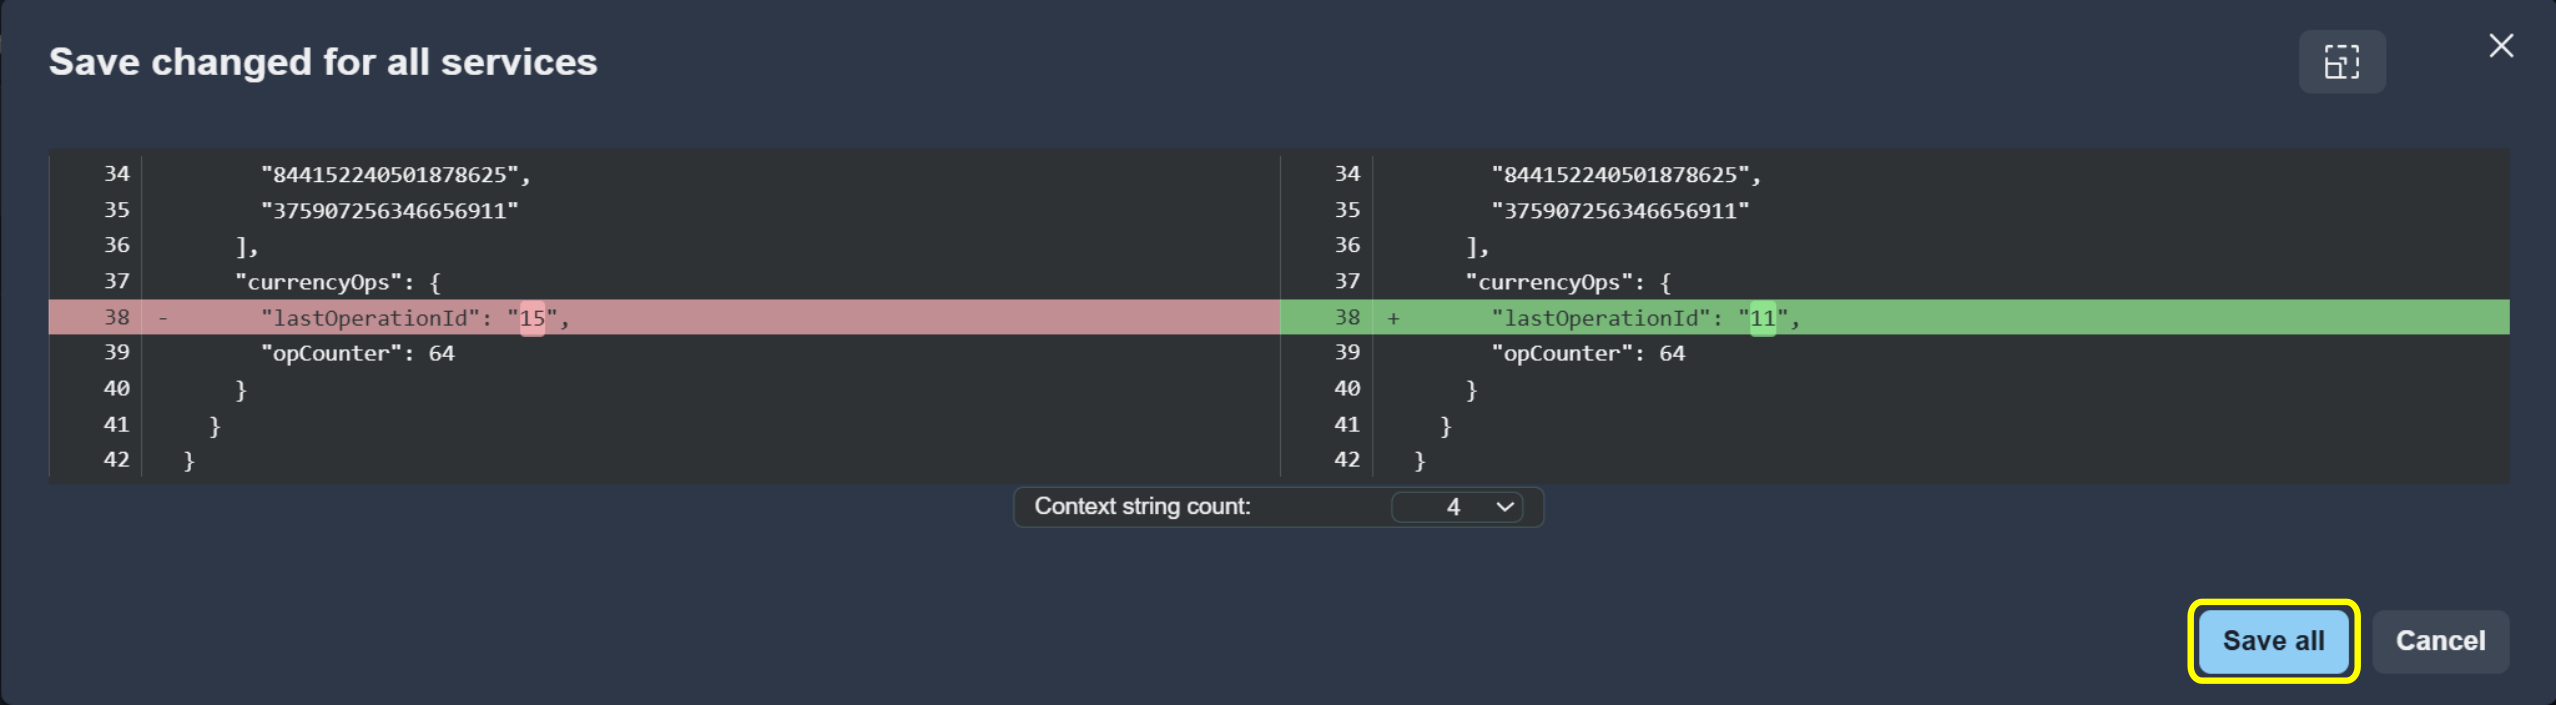
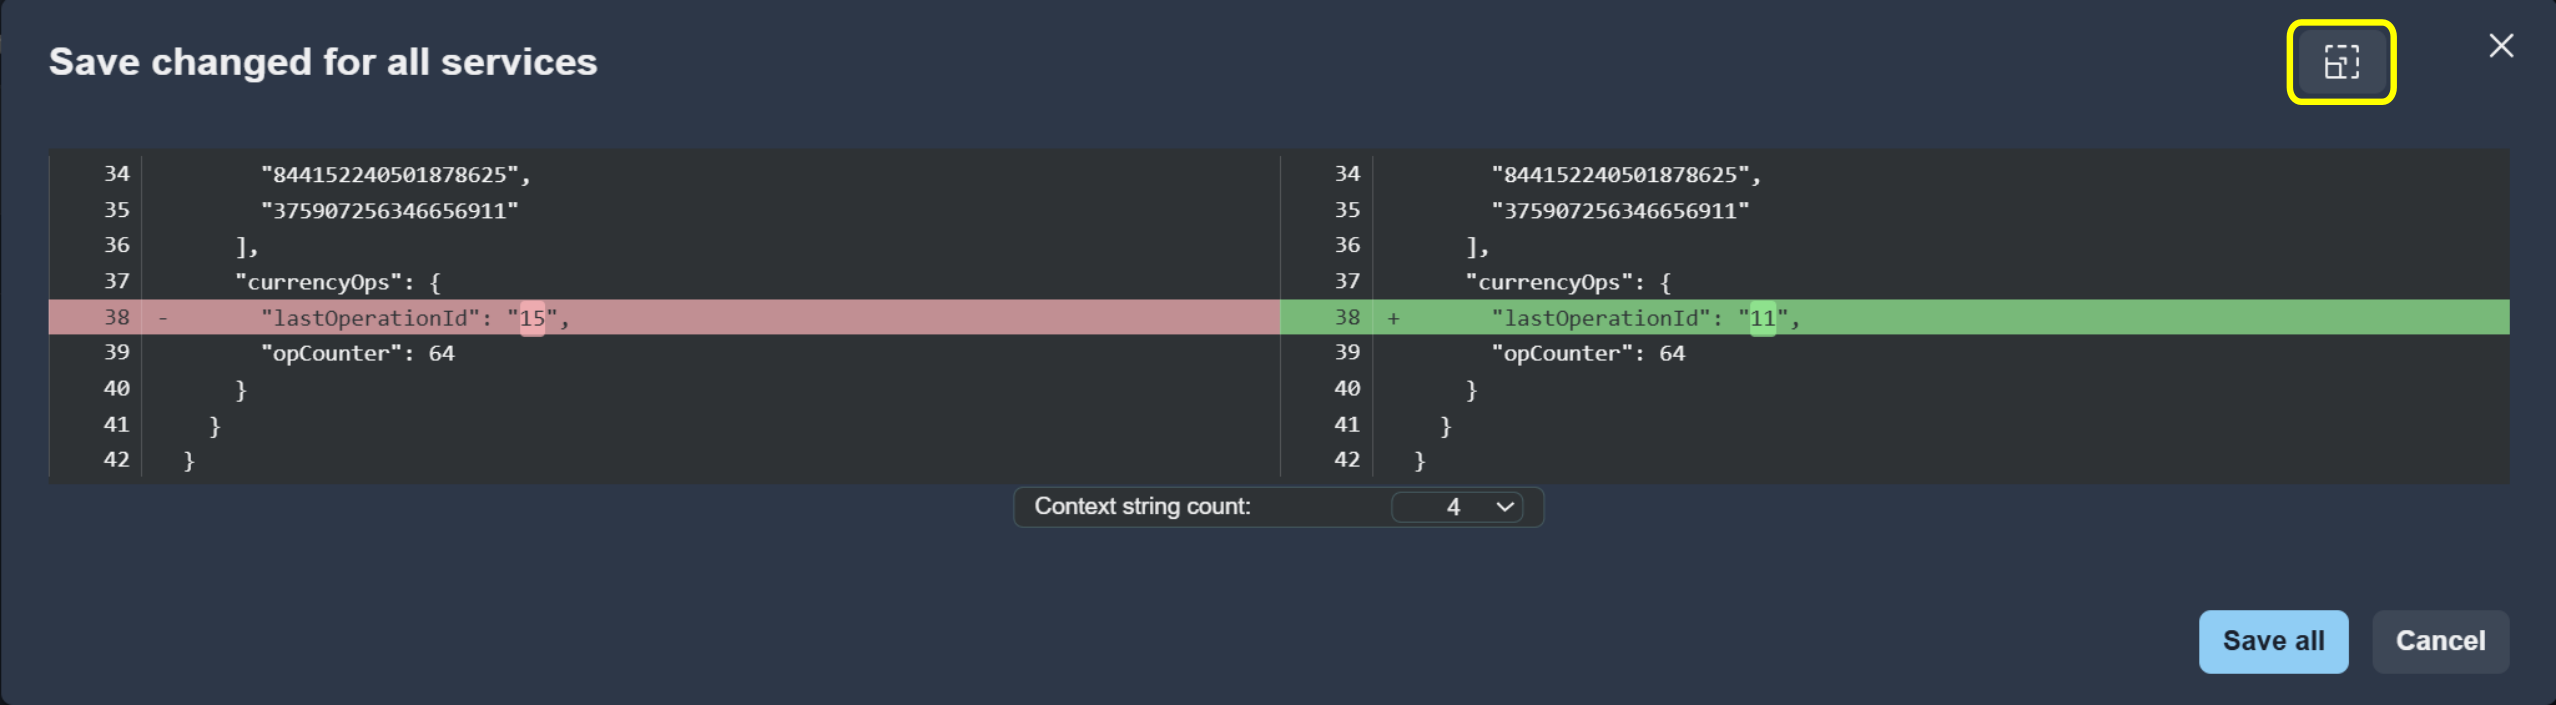
To open the editor in full-screen mode, click the Full screen button.
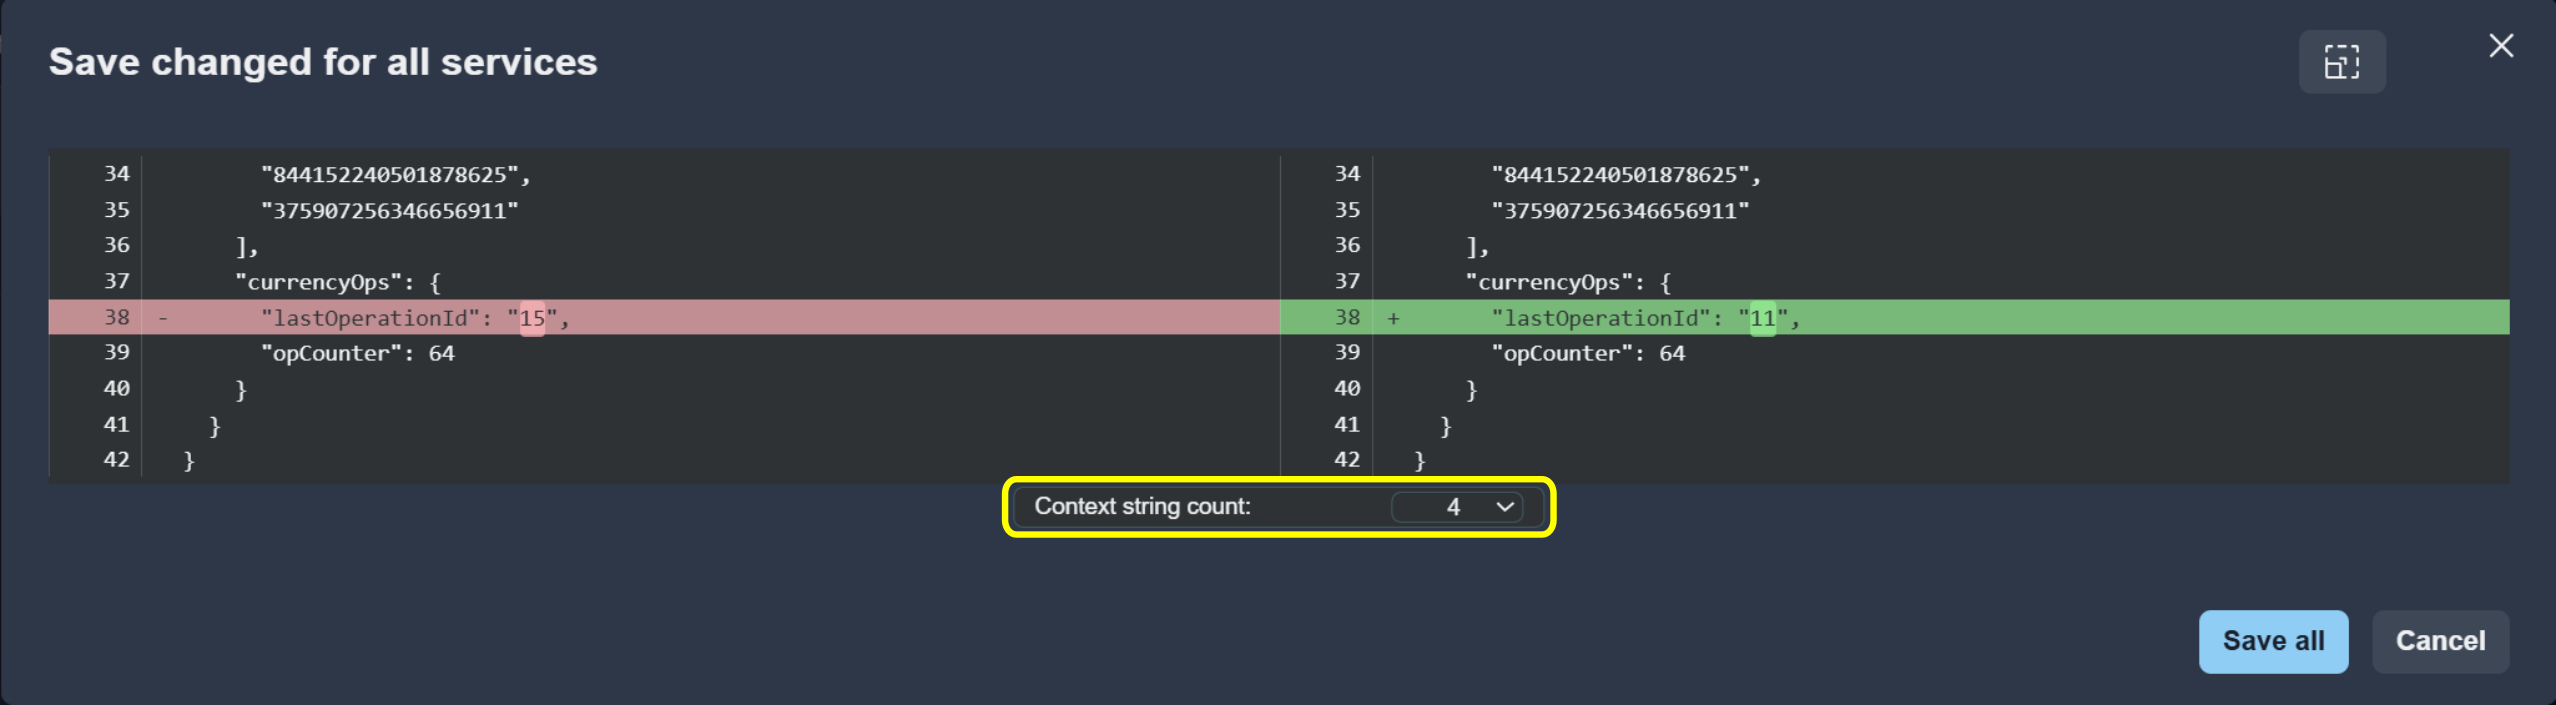
Large blocks of identical lines are collapsed by default. Use the context selector to display additional unchanged lines.
Import and Export
Service data can be exported and imported using JSON format.
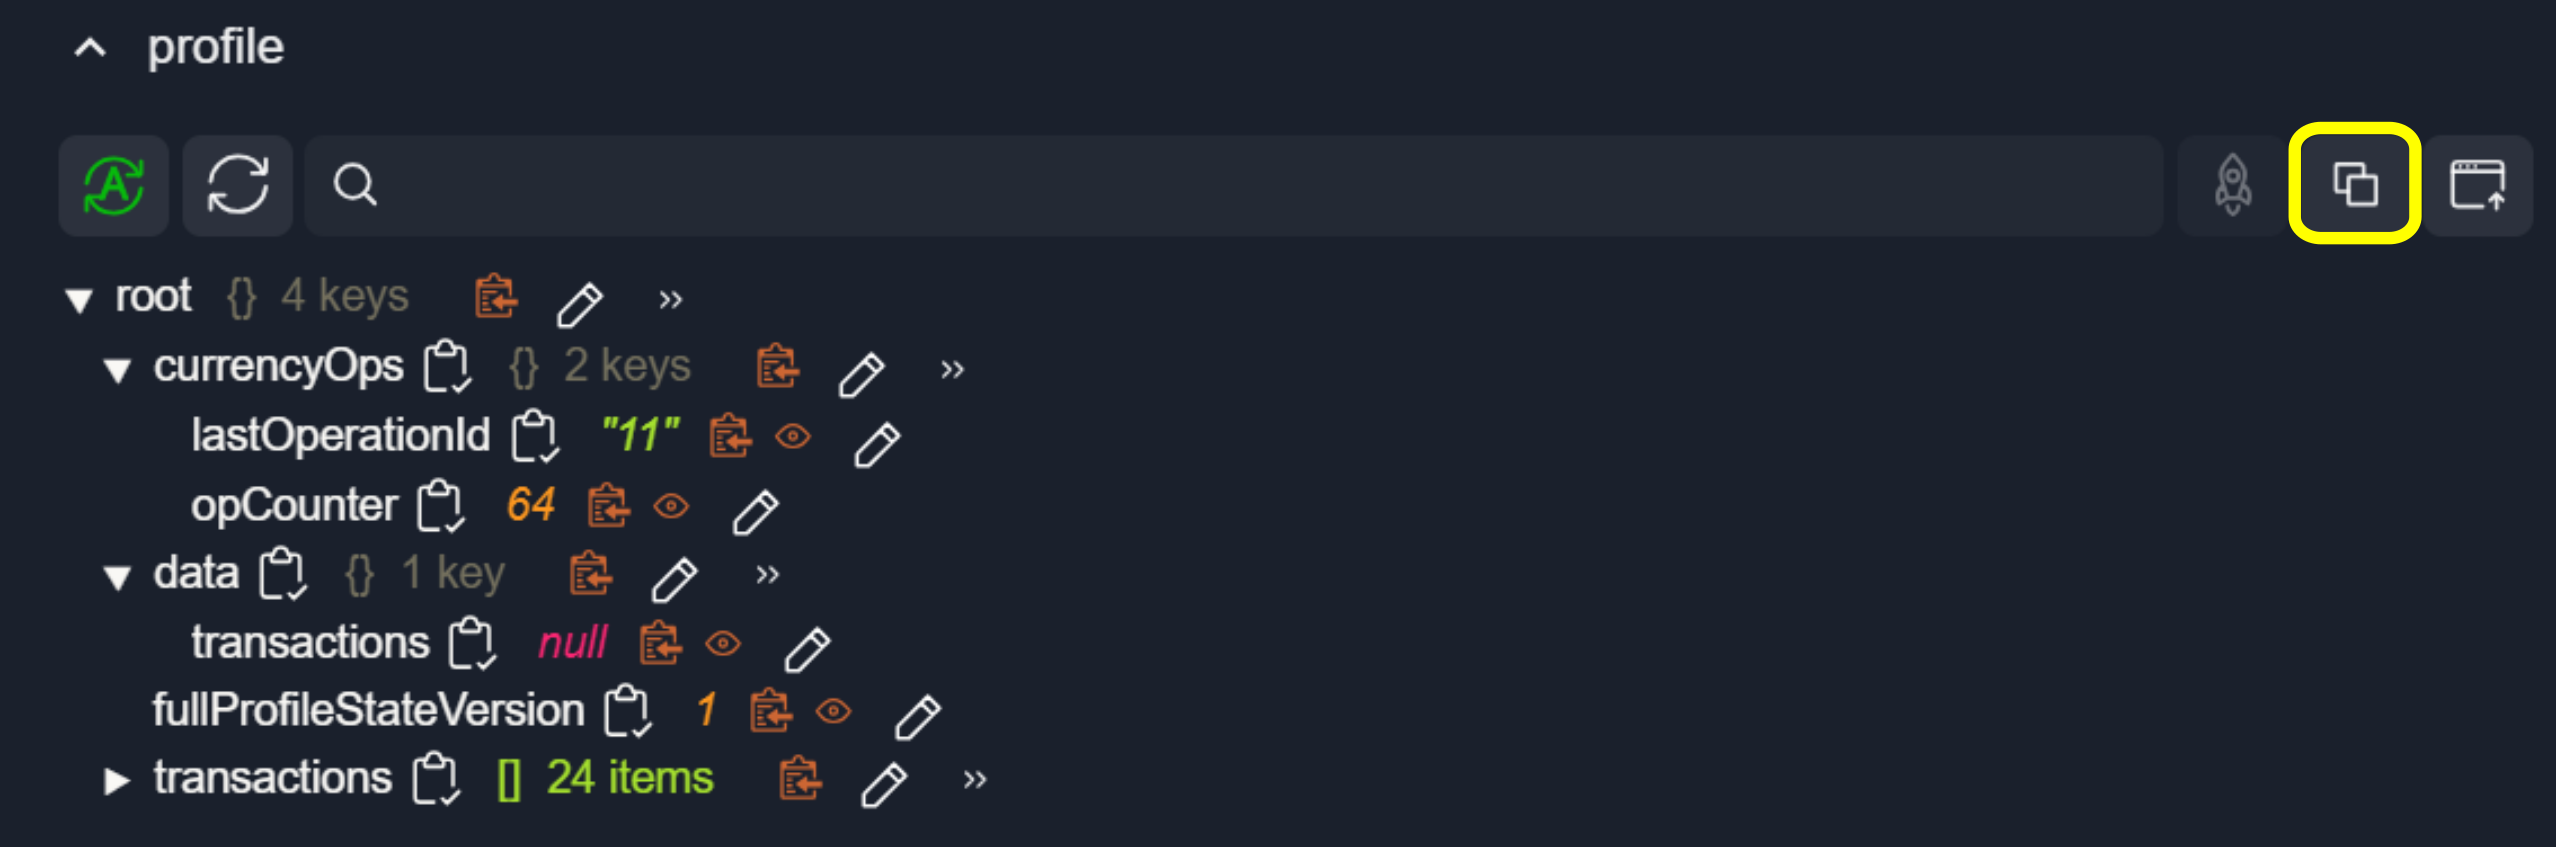
To copy the current service data, click Copy.
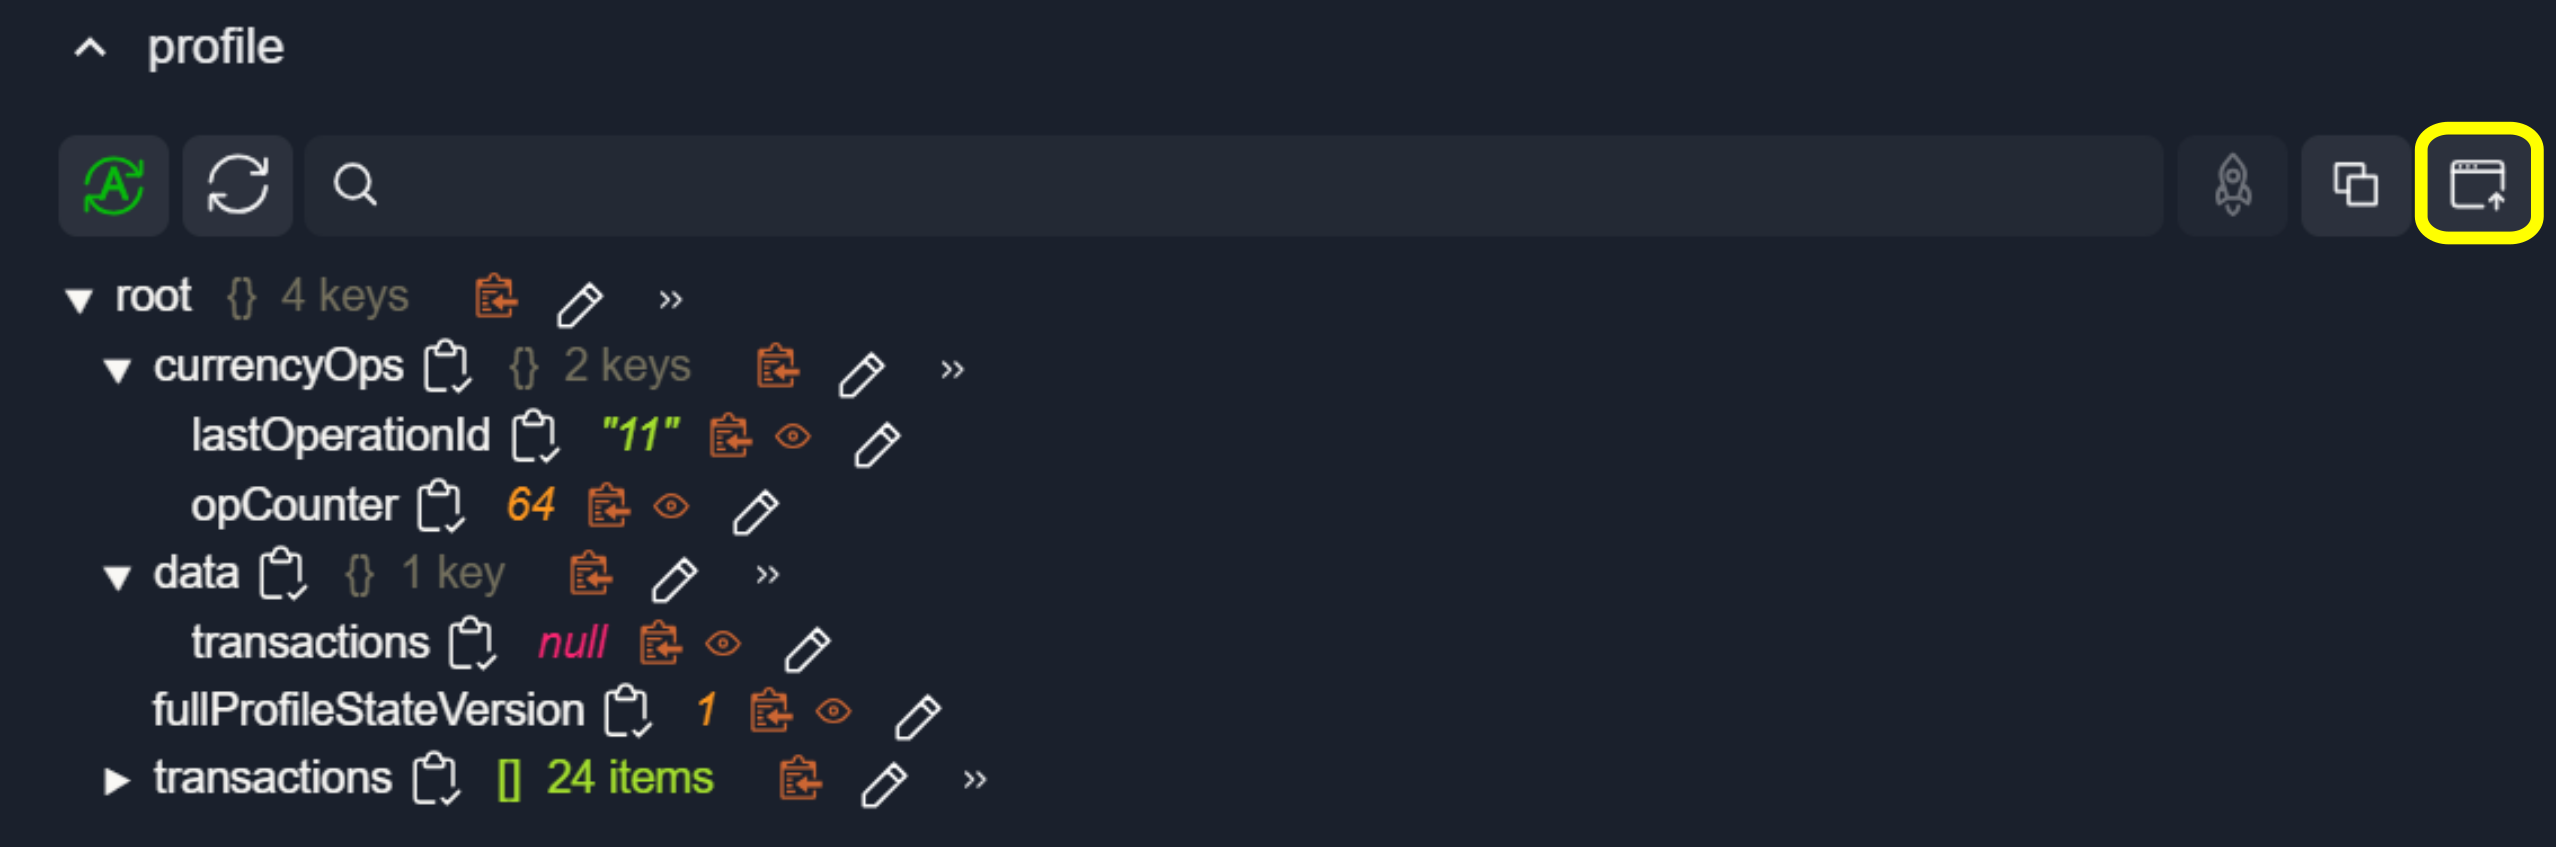
To upload service data from a JSON file, click Upload JSON button.
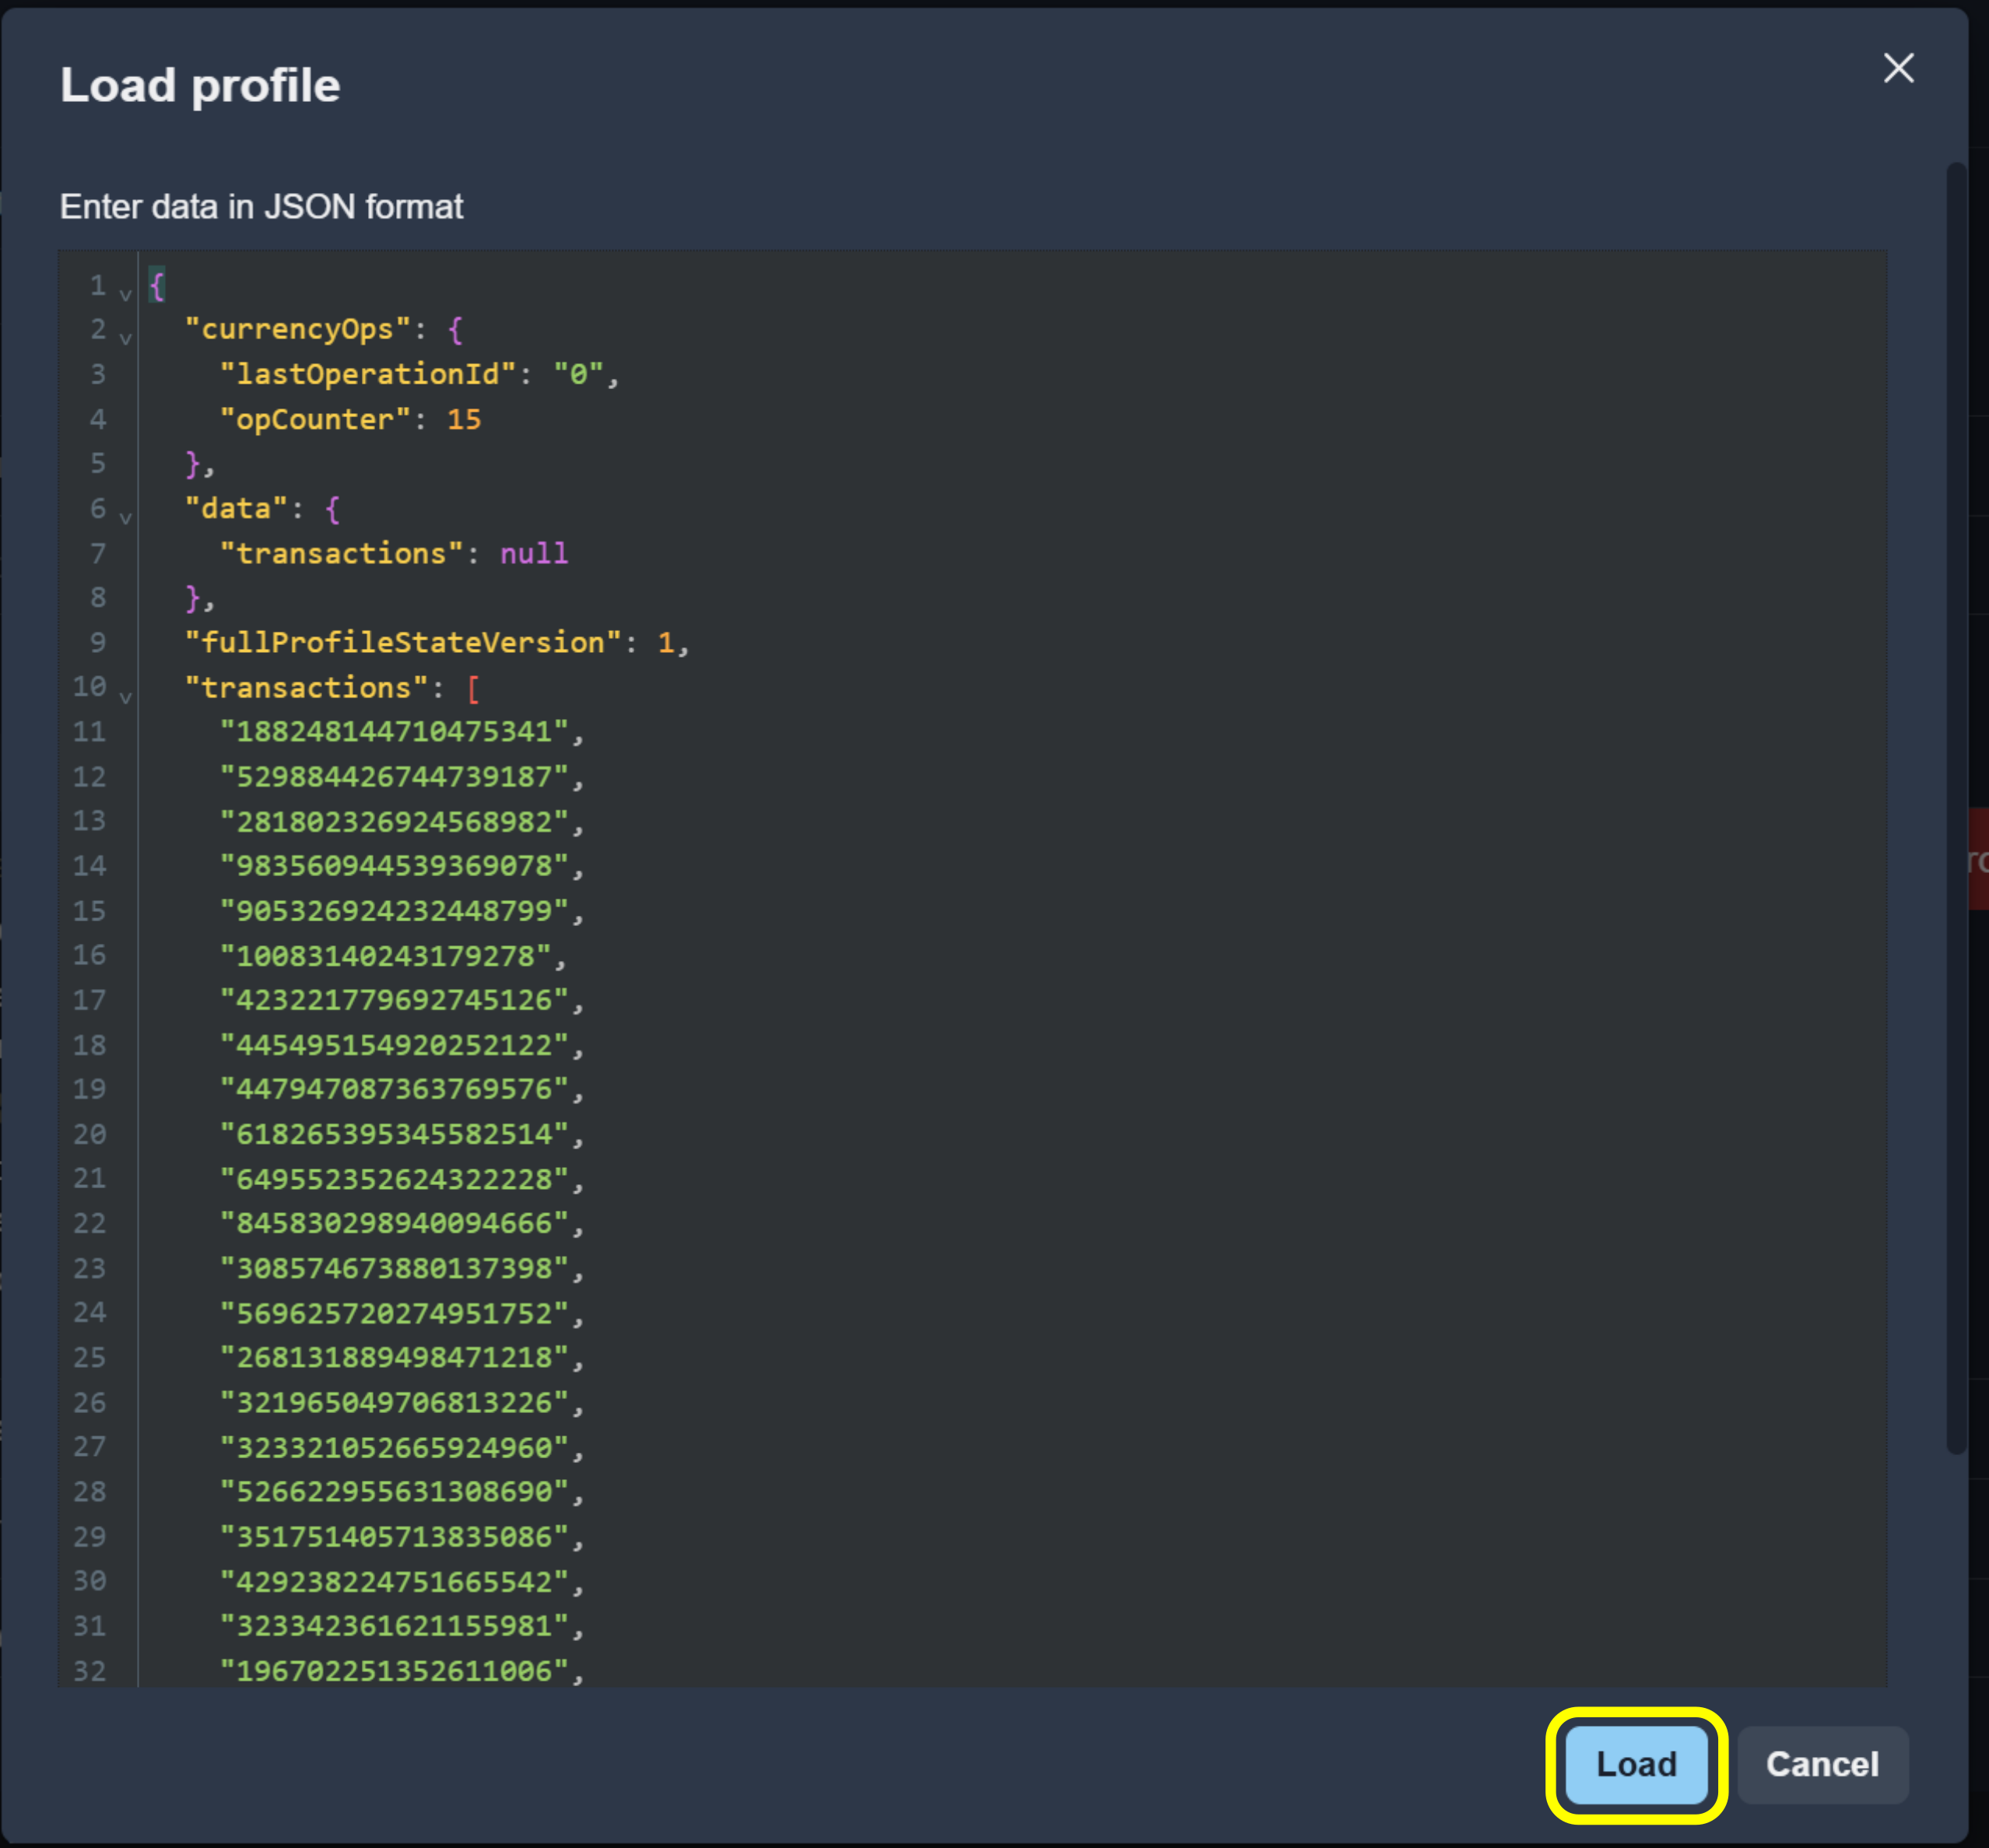
Paste the JSON content into the input field and click Load.
Manage Watched Values
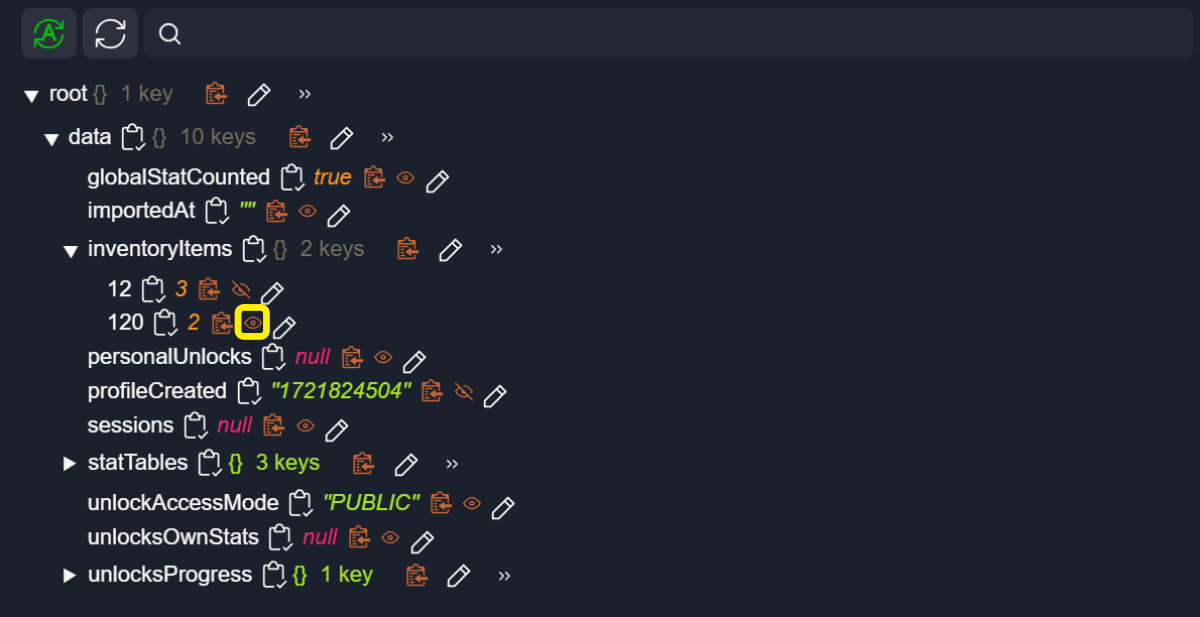
The Watched feature allows you to track frequently used or critical data fields.
To add a value to the watched list, click the Add icon:
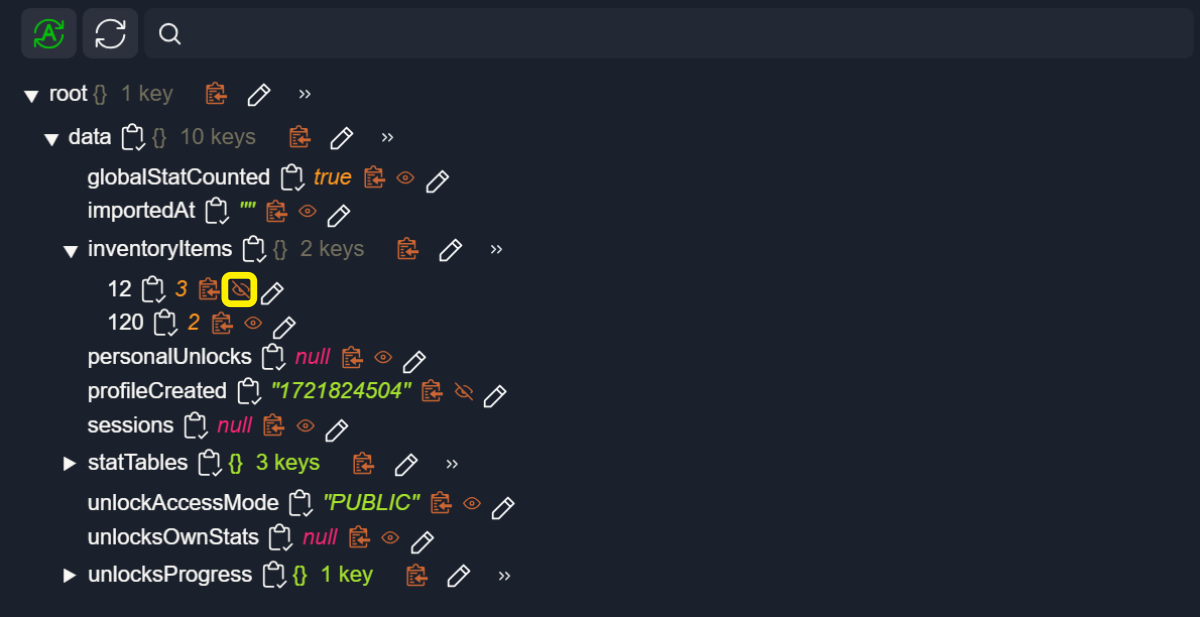
To remove a value from the watched block, click the Remove icon:
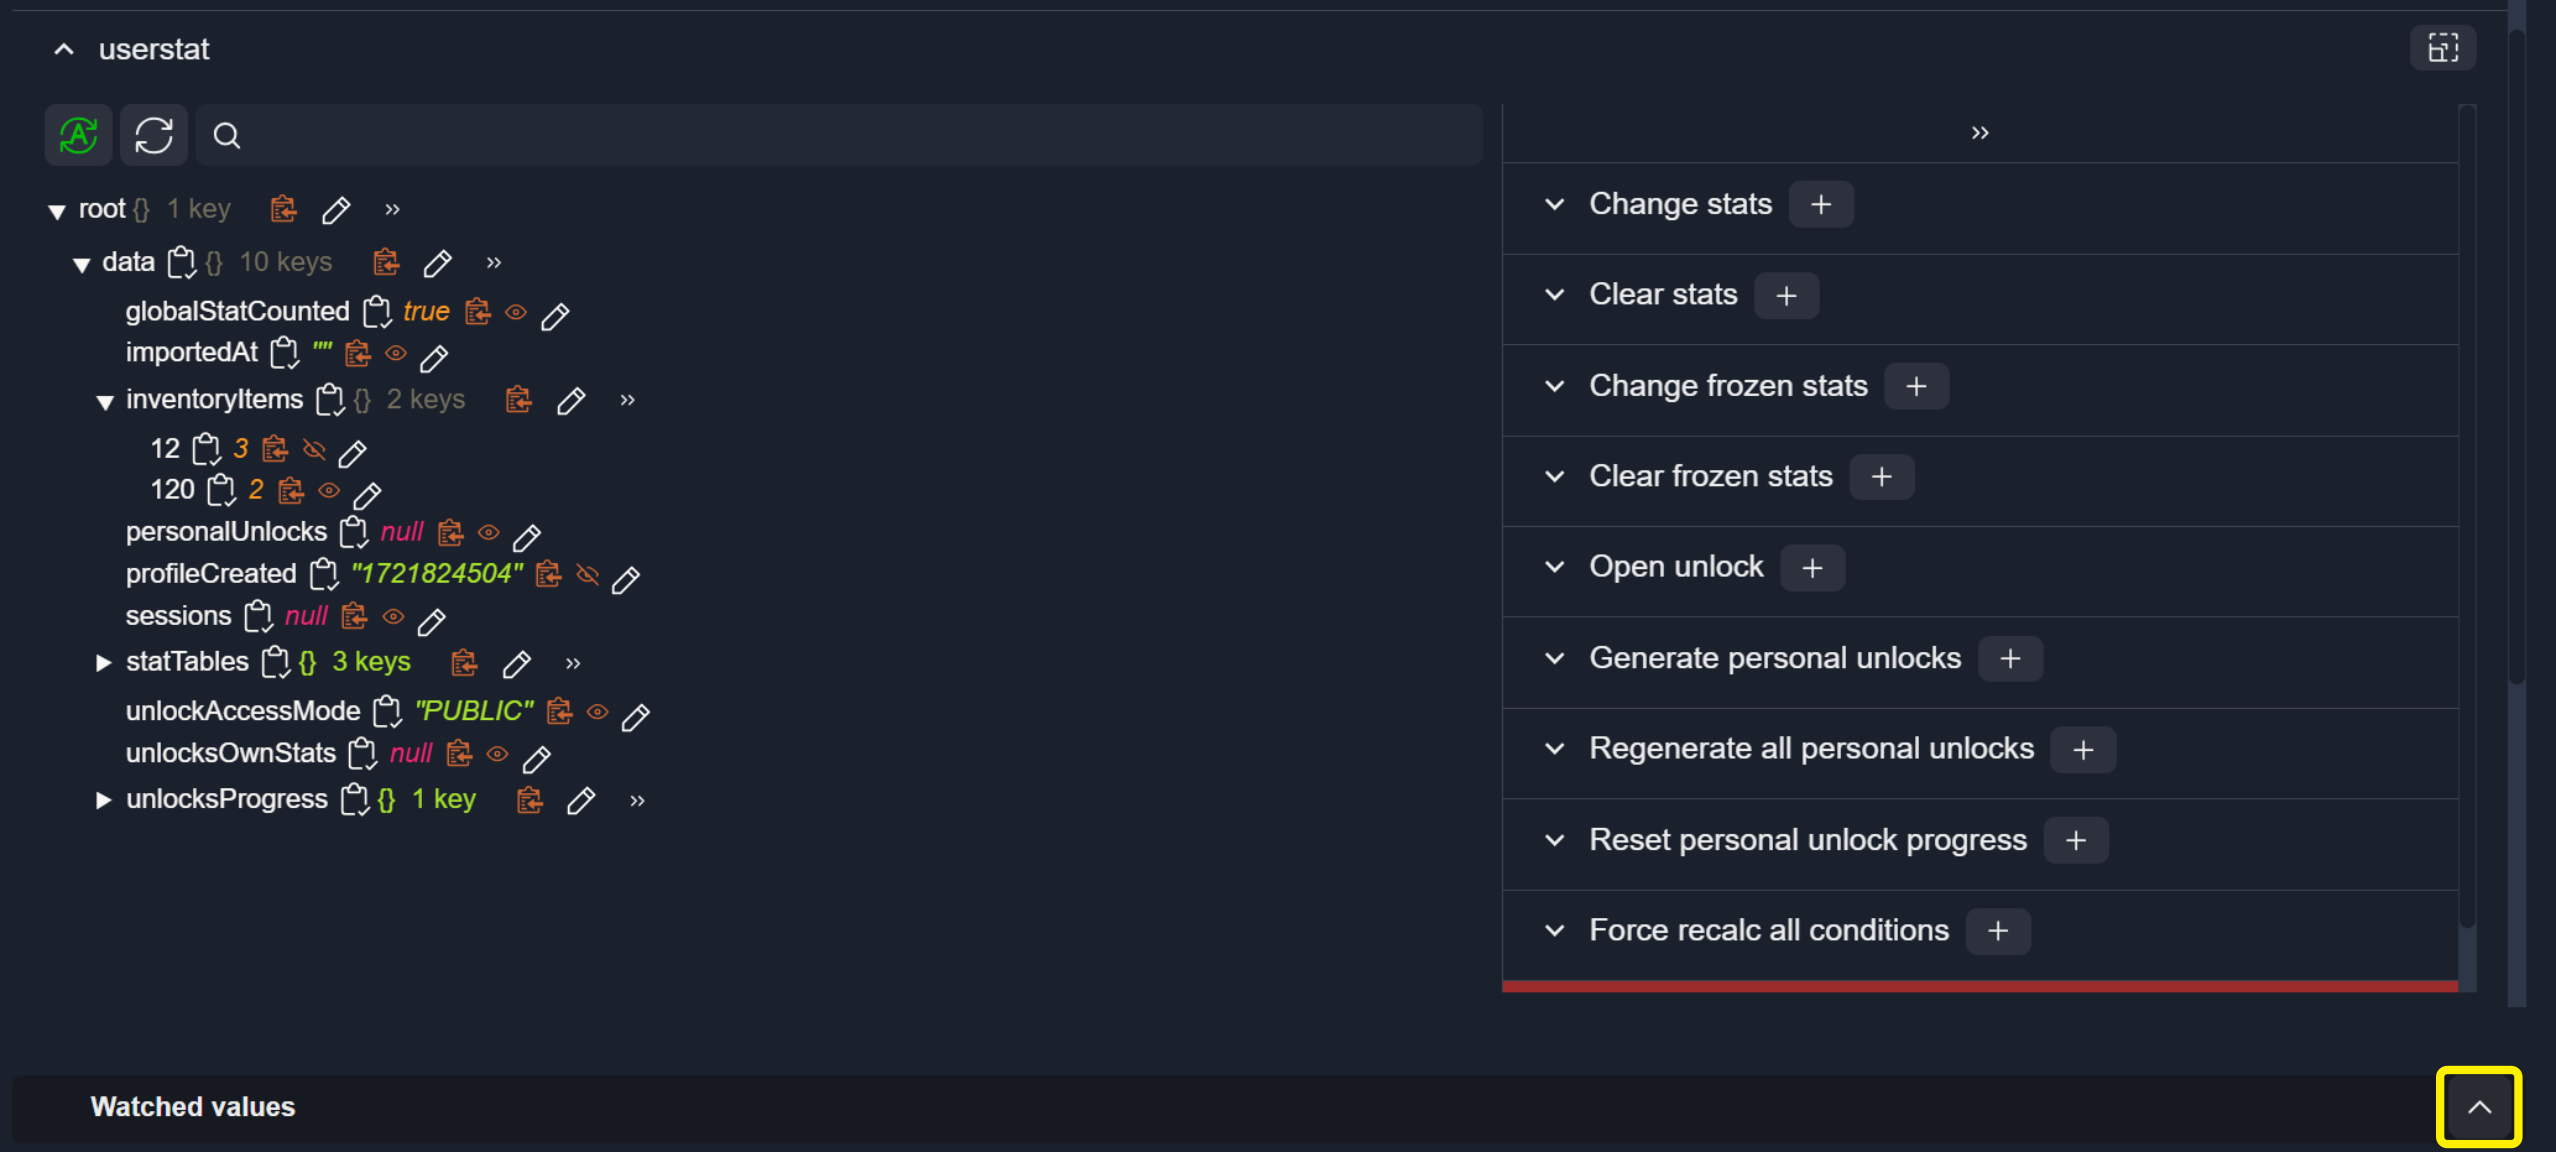
To view all watched values, click the button next to the watched section:

Actions
Admin Actions
Available actions are grouped by their corresponding backend services (userstat, profile, contacts, inventory, currency, etc.):
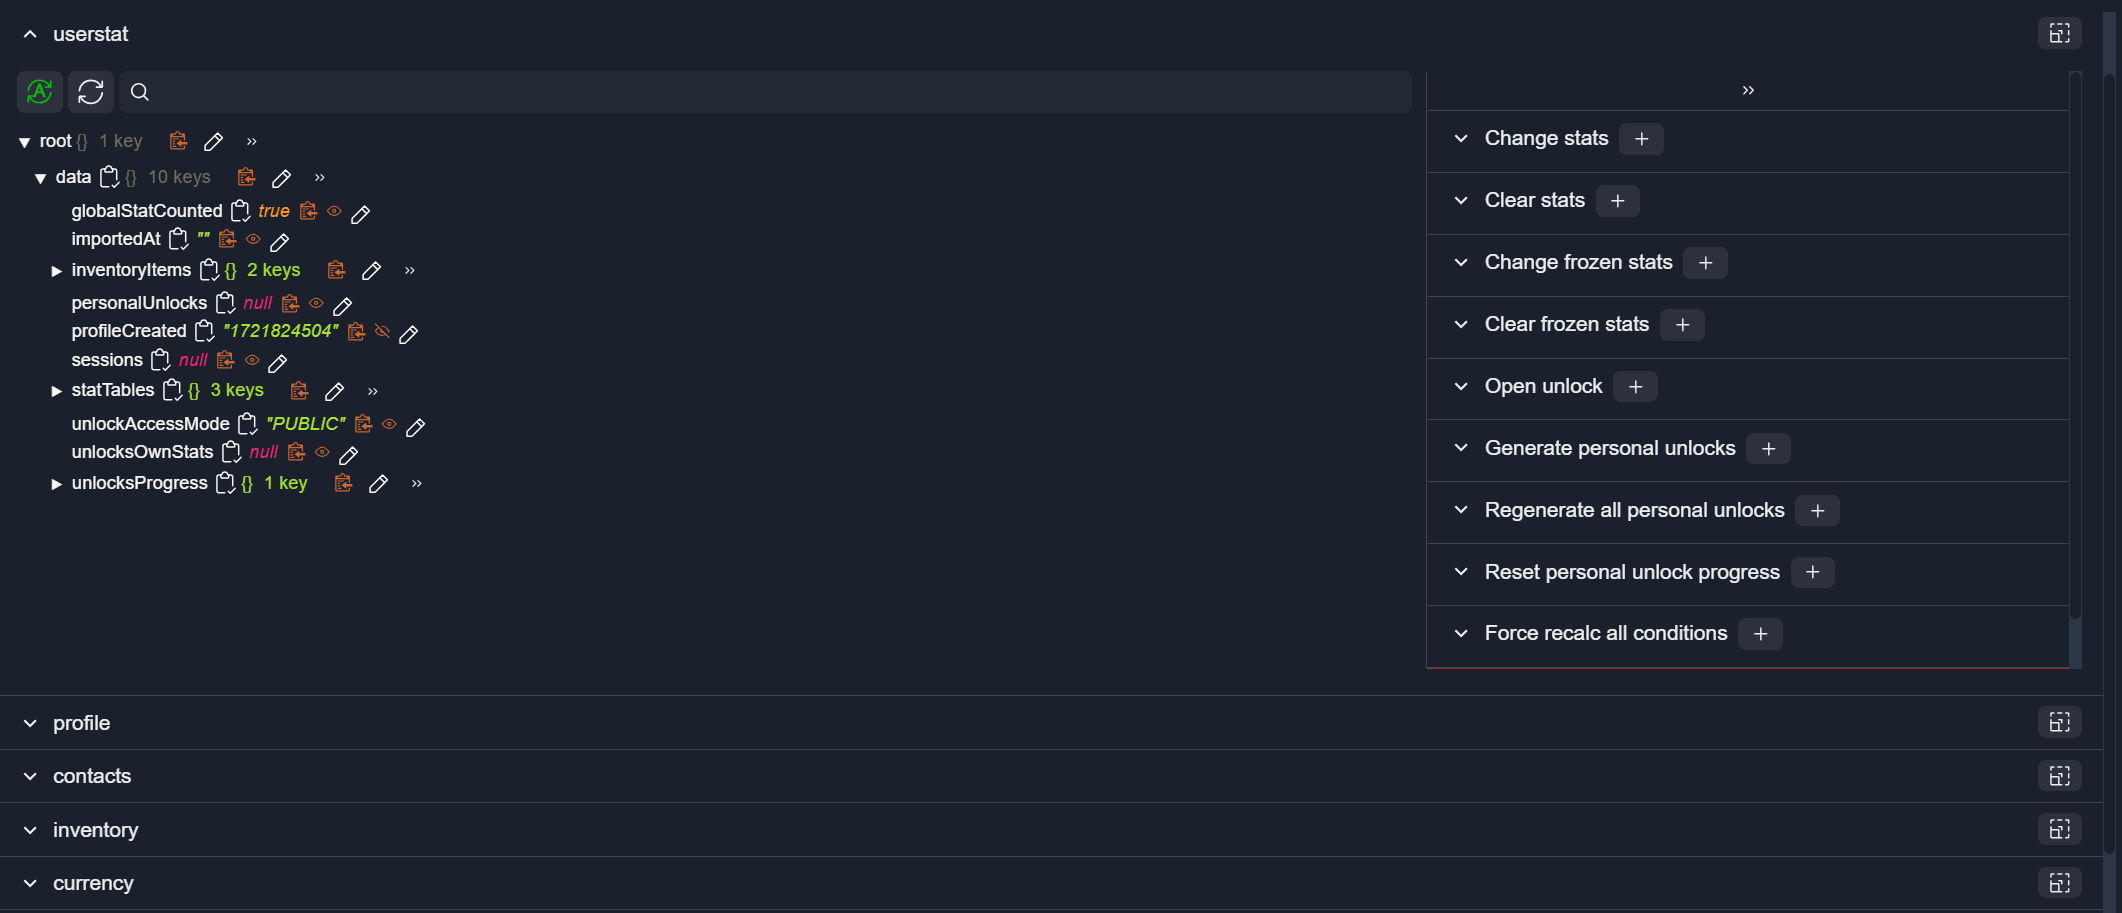
Important Actions
Administrative actions that may lead to irreversible changes or have a high operational impact are visually marked in red:

Safe Actions
Safe actions are marked in green

Actions Description
To view an action’s description, click the button

Favorite Actions
Frequently used actions can be pinned to the Favorite Actions block for quick access.
To add an action to favorites, click the Add to favorite actions icon next to the action:
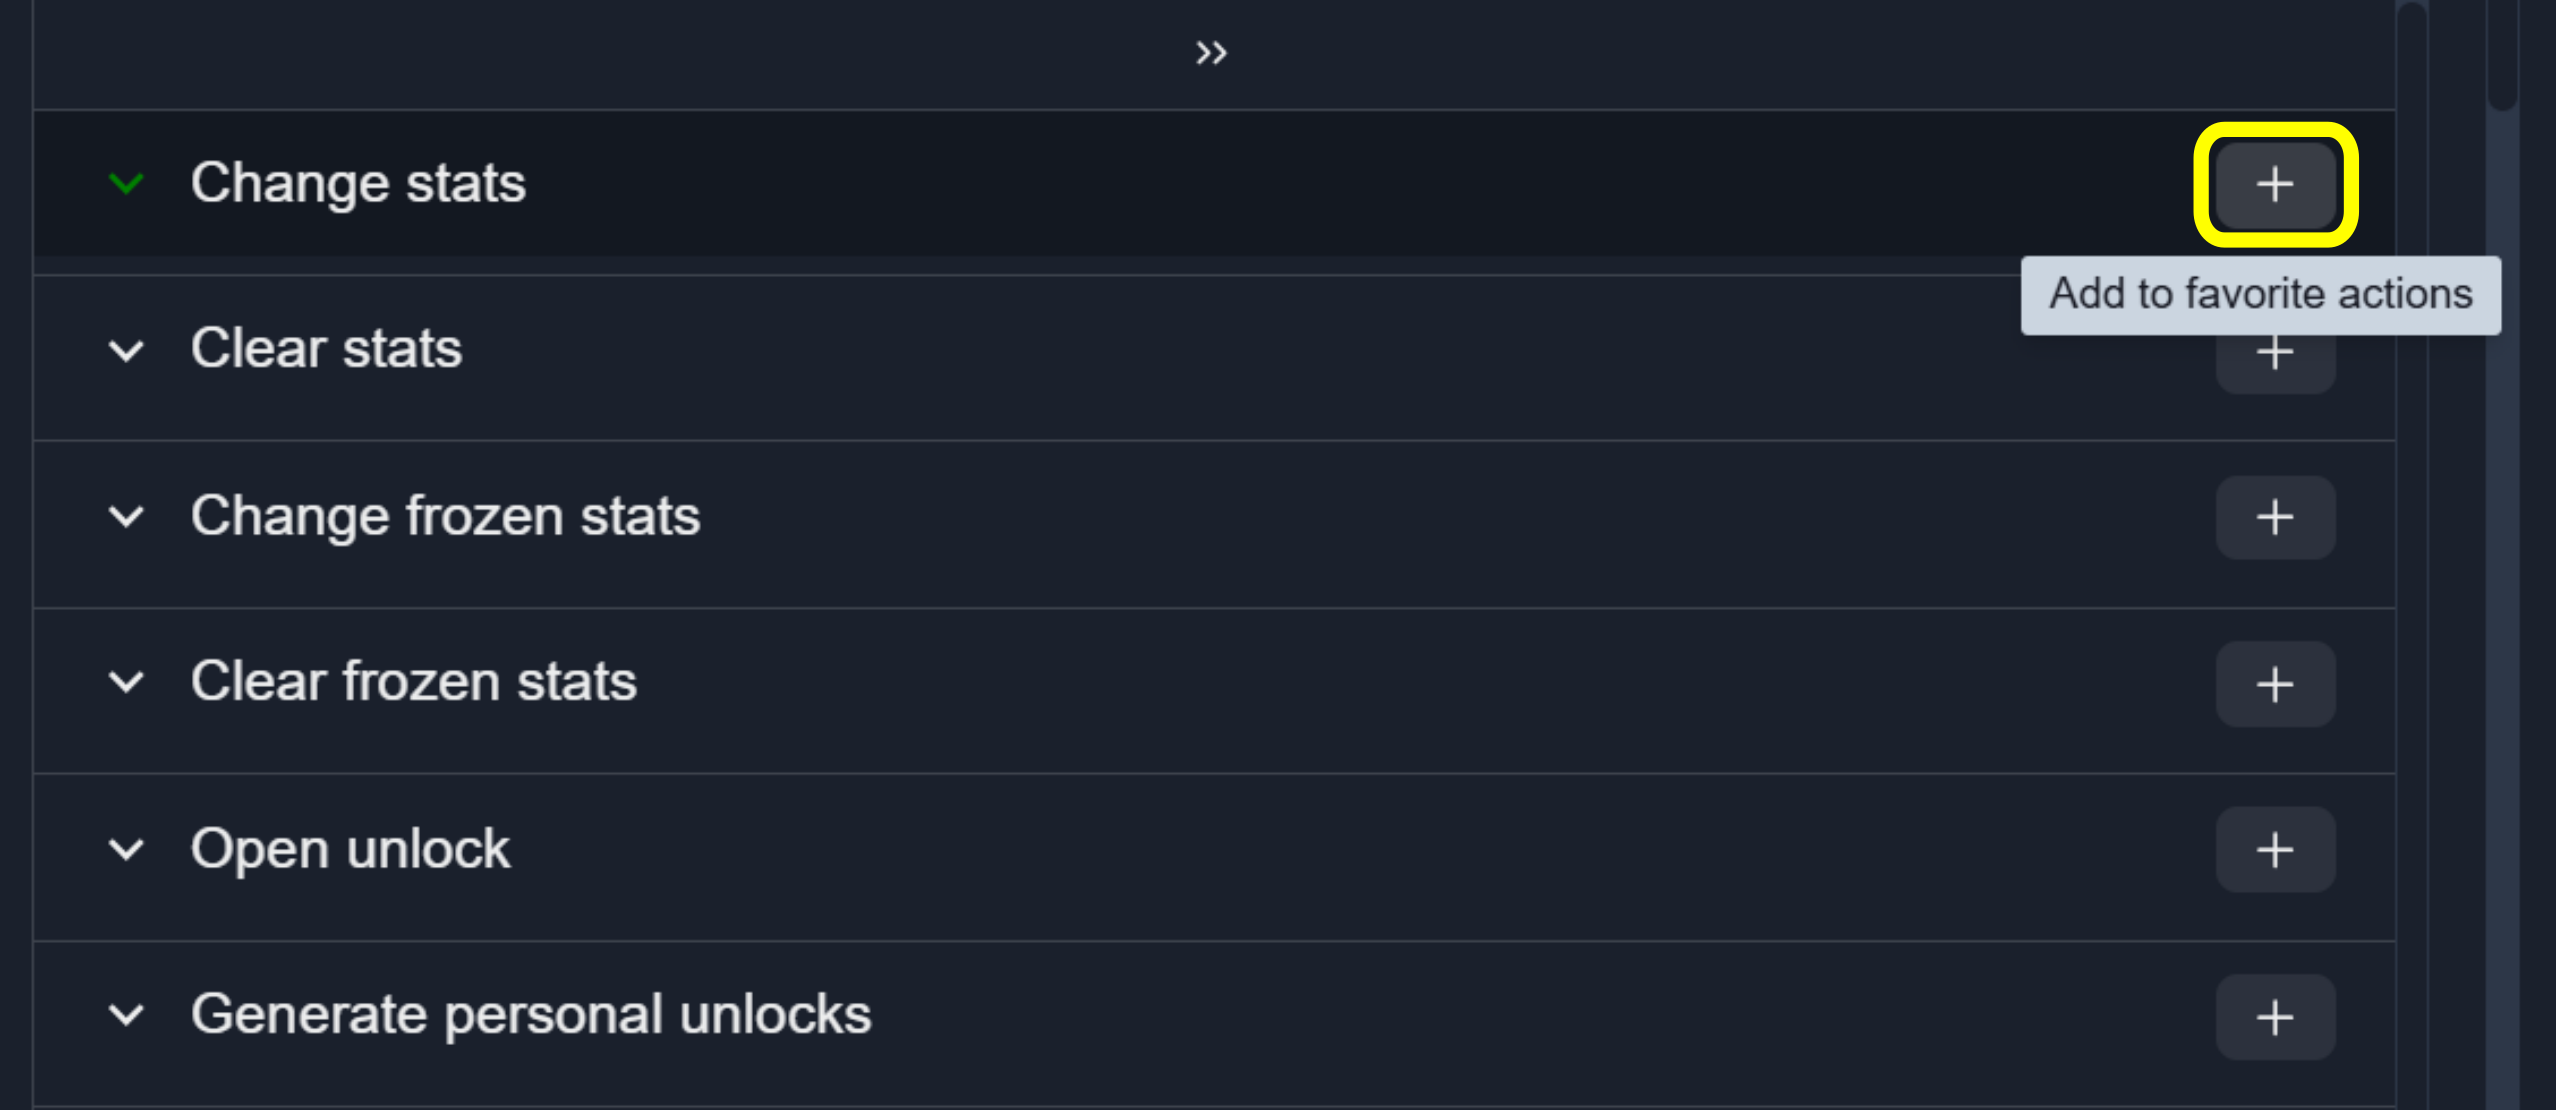
Pinned actions appear in the first panel of the Admin Actions section.
To remove an action from favorites, click the Remove from Favorites icon:

Profile Admin Actions
To enable profile actions in the admin panel, the action definition in
daScript must include the admin_panel tag.
See also
For more information, see: Action declaration on daScript.
To execute a profile action:
Select the action, for example:
das.admin_add.Fill in the required action parameters:
2.Click Send action.
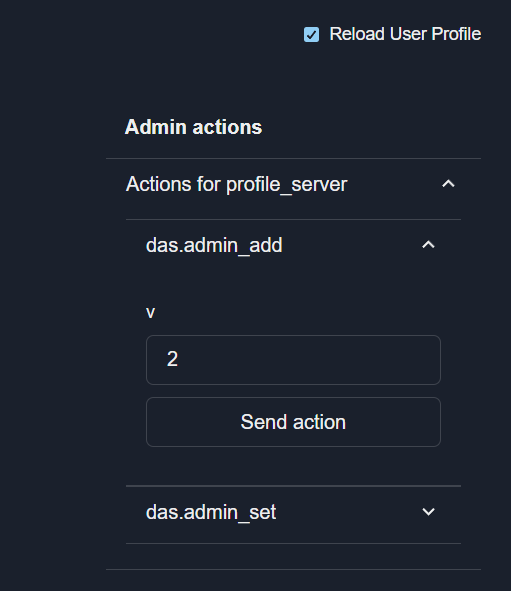
The result of the executed action is displayed in the console output:

User’s History
The User’s History section provides a chronological overview of user-related events and actions. You can filter, expand, inspect, and copy individual event details directly from the table.
Load History
To load history records:
Select the desired Time Range.
Click the Load button.
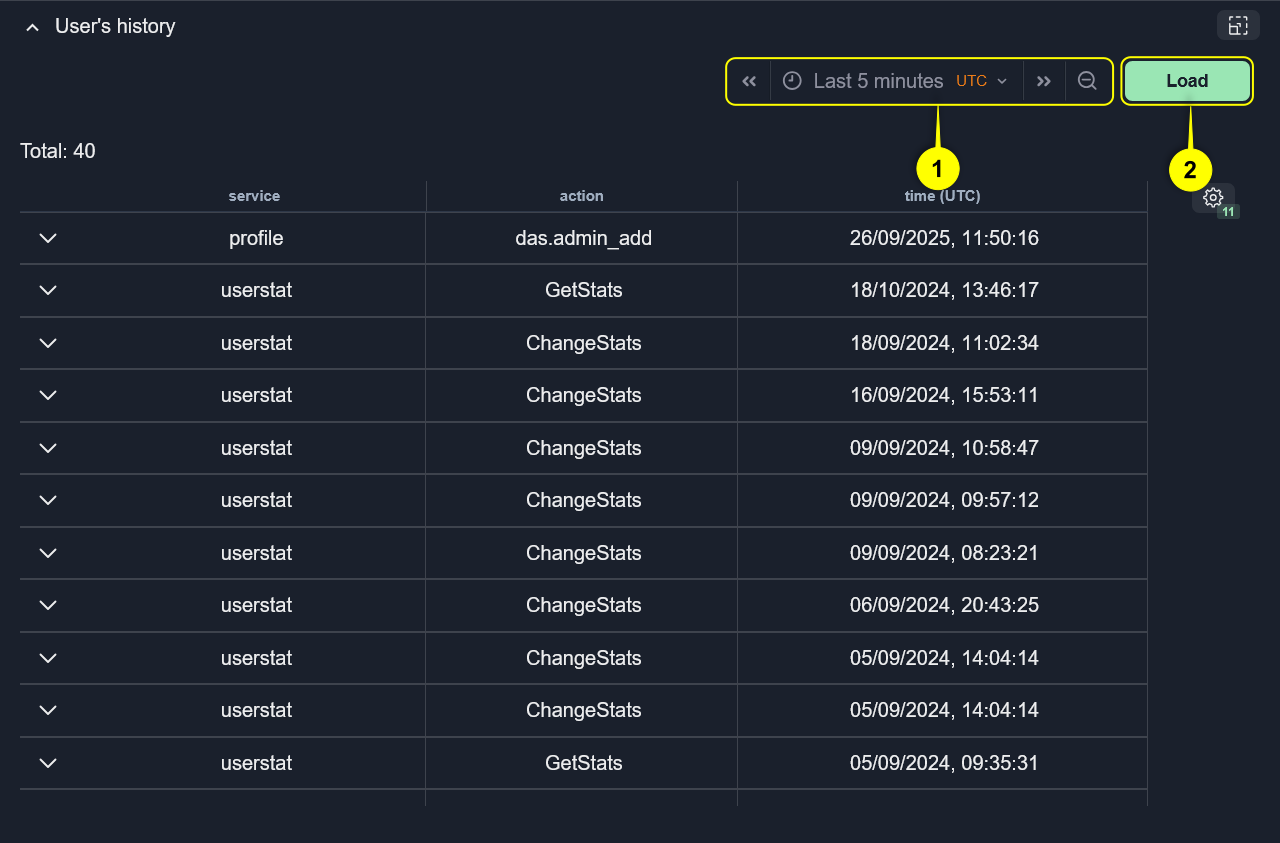
Note
The visibility and ordering of columns follow the settings defined in Table Settings.
Expand History
To view detailed information for a specific history entry, click the Expand Row icon:
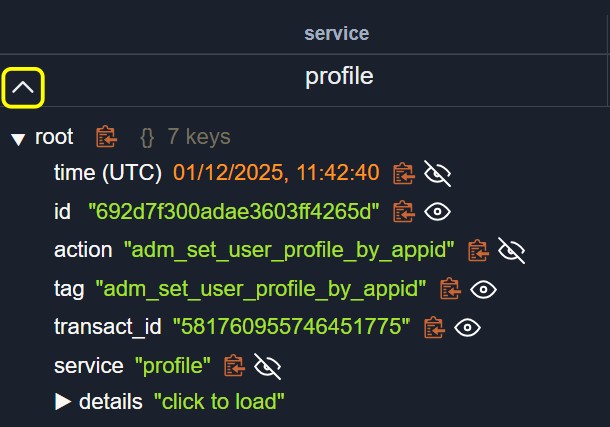
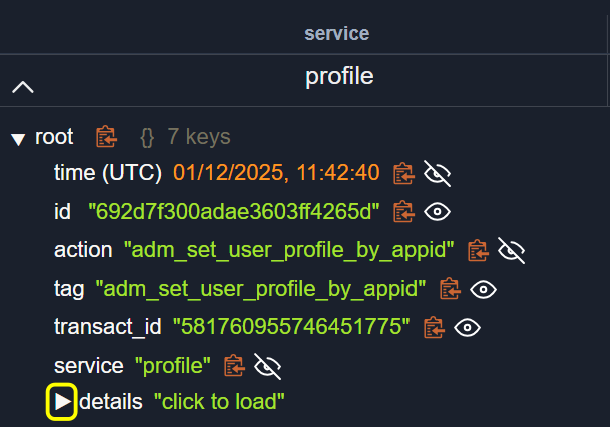
Load Details
Some entries contain additional nested data. To load extended details, click the Load Details icon:
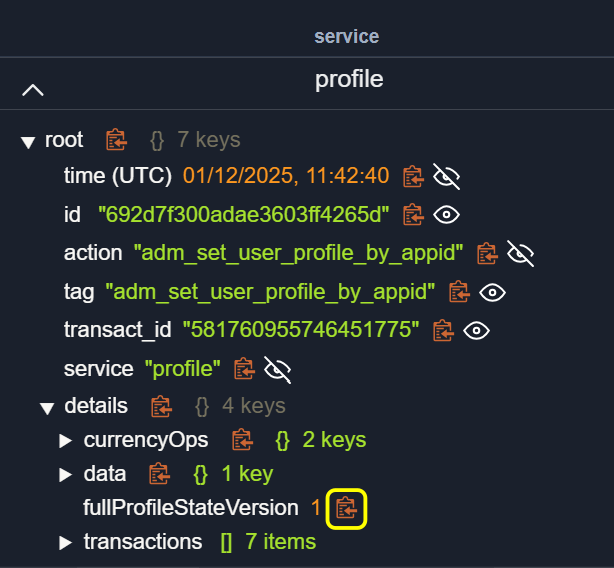
Copy Parameter Values
To copy the value of any parameter in the expanded history entry, click the Copy icon located next to the value:
Add Parameters as Table Columns
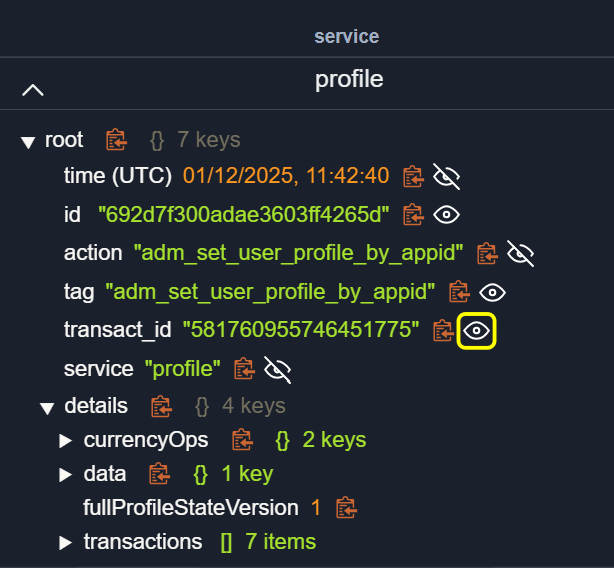
You can add a parameter from the expanded data directly as a new table column. To add a parameter to the table, click the Eye icon:
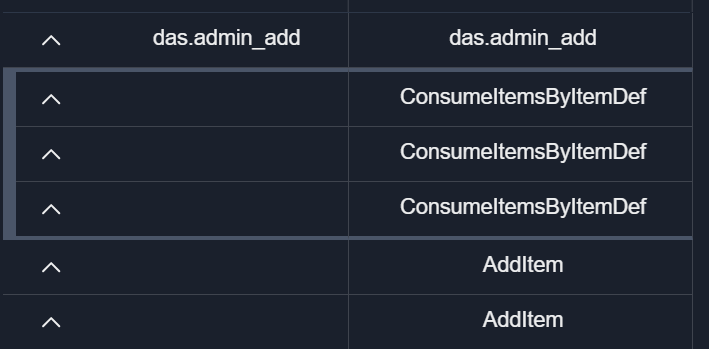
Grouped History
Some history records are grouped logically and highlighted to improve readability:
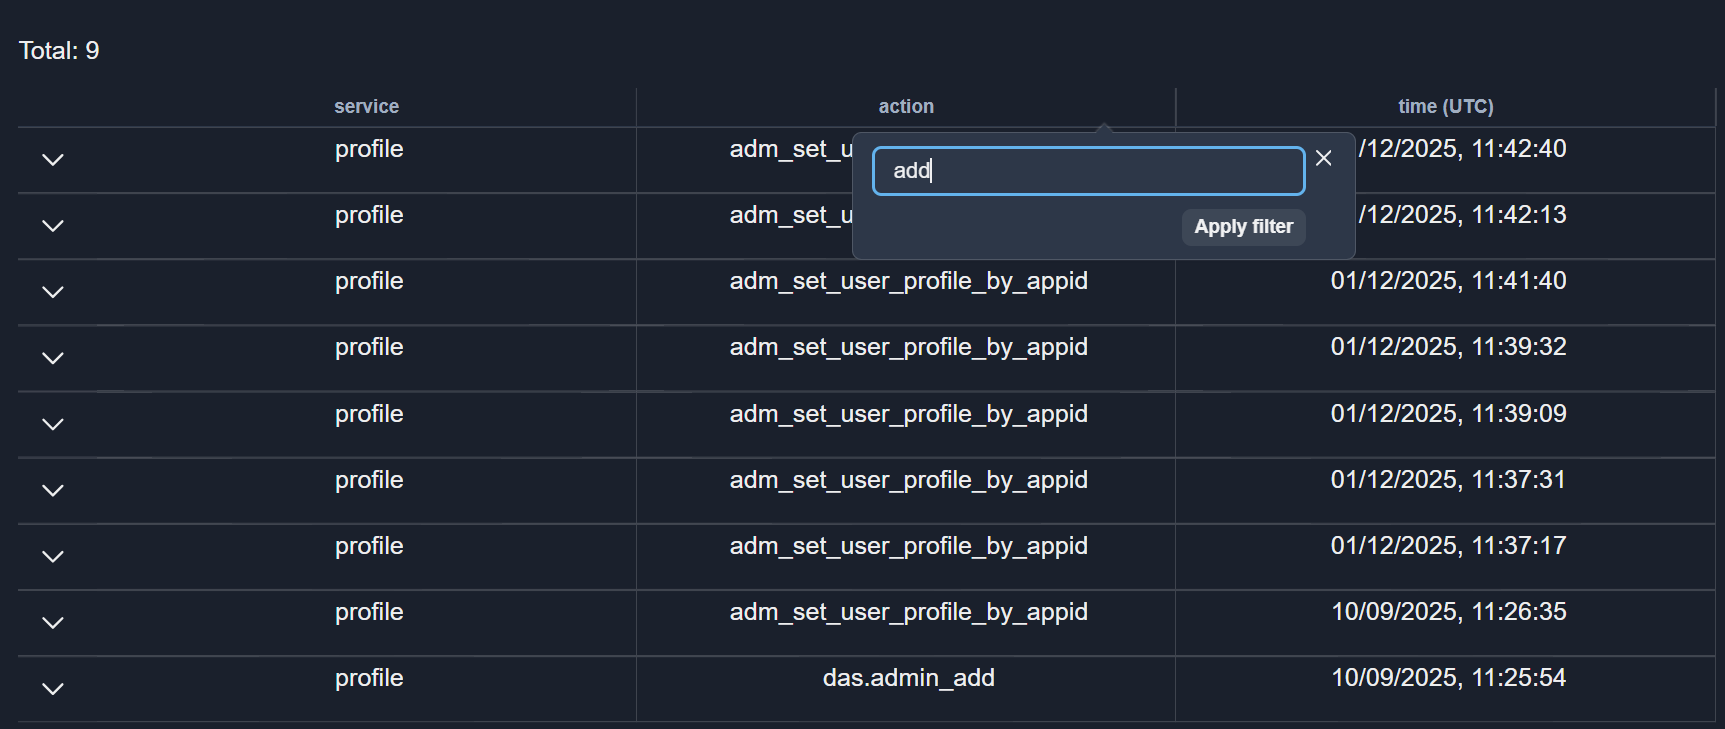
Filter History
To filter records, open the filter panel and enter a search value:
Bans
The Bans section allows administrators to manage user penalties, offender complaints, submitted complaints, and notes. Data is organized into separate tabs for each category:
Bans: Active and historical bans.
Complaints (offender): Complaints filed against the user.
Complaints (submitted): Complaints submitted by the user.
Appeals: Appeals submitted by the user.
Notes: Administrative notes regarding the user.

Note
The visibility and ordering of columns follow the settings defined in Table Settings.
Bans
Load Bans
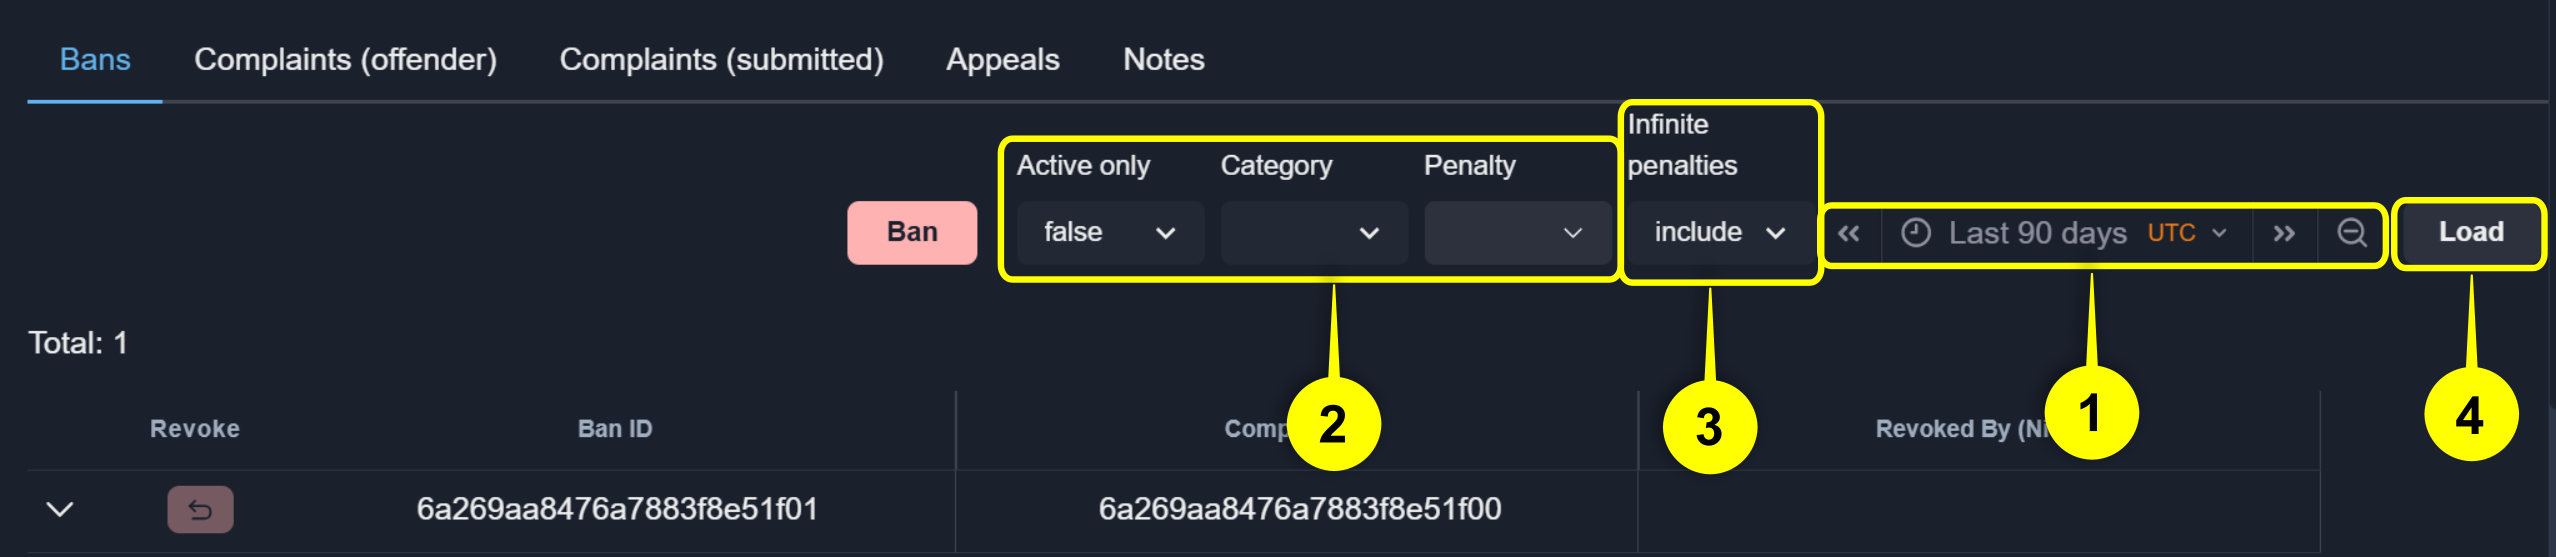
To load ban records:
Select the desired Time Range.
Enter any filter values.
Choose whether to ignore the ban end date.
Note
Penalty start and till dates must be within the selected range. When the infinite penalties filter is enabled, the till date is ignored.
Click the Load button.
Note
By default, filters are empty and all bans are displayed for the entire period.
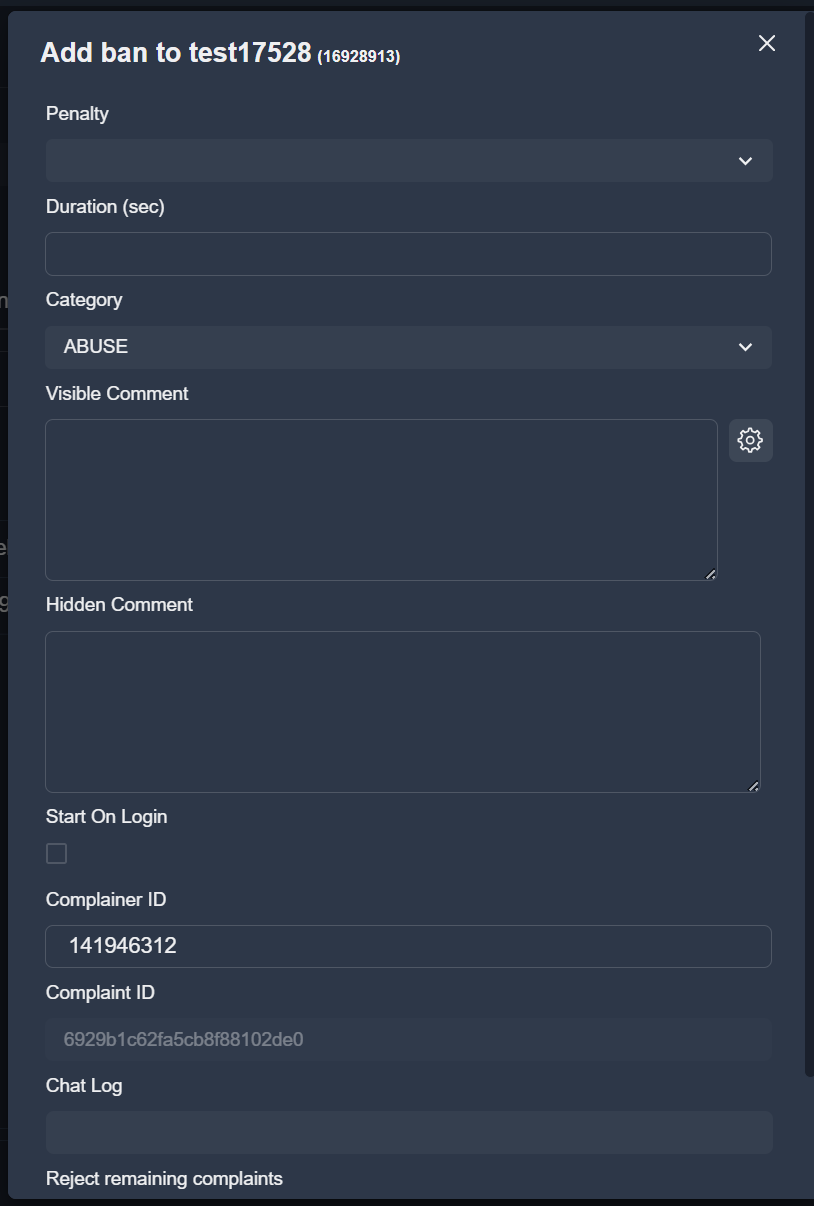
Ban Fields Description
| Field Name | Description |
|---|---|
| Ban ID | Unique penalty identifier |
| Offender ID | ID of the user who received the penalty |
| Banned By | User ID of the administrator who issued the penalty |
| Complainer ID | User ID of the complainer whose complaint caused the penalty (null if the user was banned manually by an administrator) |
| Revoked By | User ID of administrator who revoked the penalty (null if the penalty has never been revoked) |
| Start | Time when the penalty started; if Start On Login is enabled, before the user logs in it equals the time when the penalty was created (displayed in UTC) |
| Till | Time when the penalty expires (displayed in UTC) |
| Last Update | Last update time (penalty created, revoked, etc.) (displayed in UTC) |
| Duration (sec) | Total duration of the penalty, in seconds |
| Left (sec) | Remaining time before the penalty expires, or an infinite placeholder value if Start On Login is enabled and the user hasn't logged in yet, in seconds |
| Start On Login | Whether the penalty starts immediately or on the user's next login |
| Category | Category of the violation that caused the penalty (Cheating, Abuse, etc.) |
| Penalty | Penalty type (Ban, Devoice, etc.) |
| Complaint ID | Identifier of the complaint that caused the penalty |
| Visible Comment | Comment displayed to the penalized user in the game client |
| Hidden Comment | Internal comment (not shown to the penalized user) |
| Details | May contain additional penalty details, such as AUTOKICK(AUTOBAN) flag |
| Transaction ID | Internal technical field |
| Tribunal Key | Internal technical field |
| Complainer Nick | Nickname of the complainer whose complaint caused the penalty (null if the user was banned manually by an administrator) |
| Complainer E-mail | E-mail address of the complainer whose complaint caused the penalty (null if the user was banned manually by an administrator). Requires additional permission to view. |
| Banned By (Nick) | User nickname of the administrator who issued the penalty |
| Banned By (E-mail) | E-mail address of the administrator who issued the penalty. Requires additional permission to view. |
| Revoked By (Nick) | Nickname of the administrator who revoked the penalty (null if the penalty has never been revoked) |
| Revoked By (E-mail) | E-mail address of the administrator who revoked the penalty (null if the penalty has never been revoked). Requires additional permission to view. |
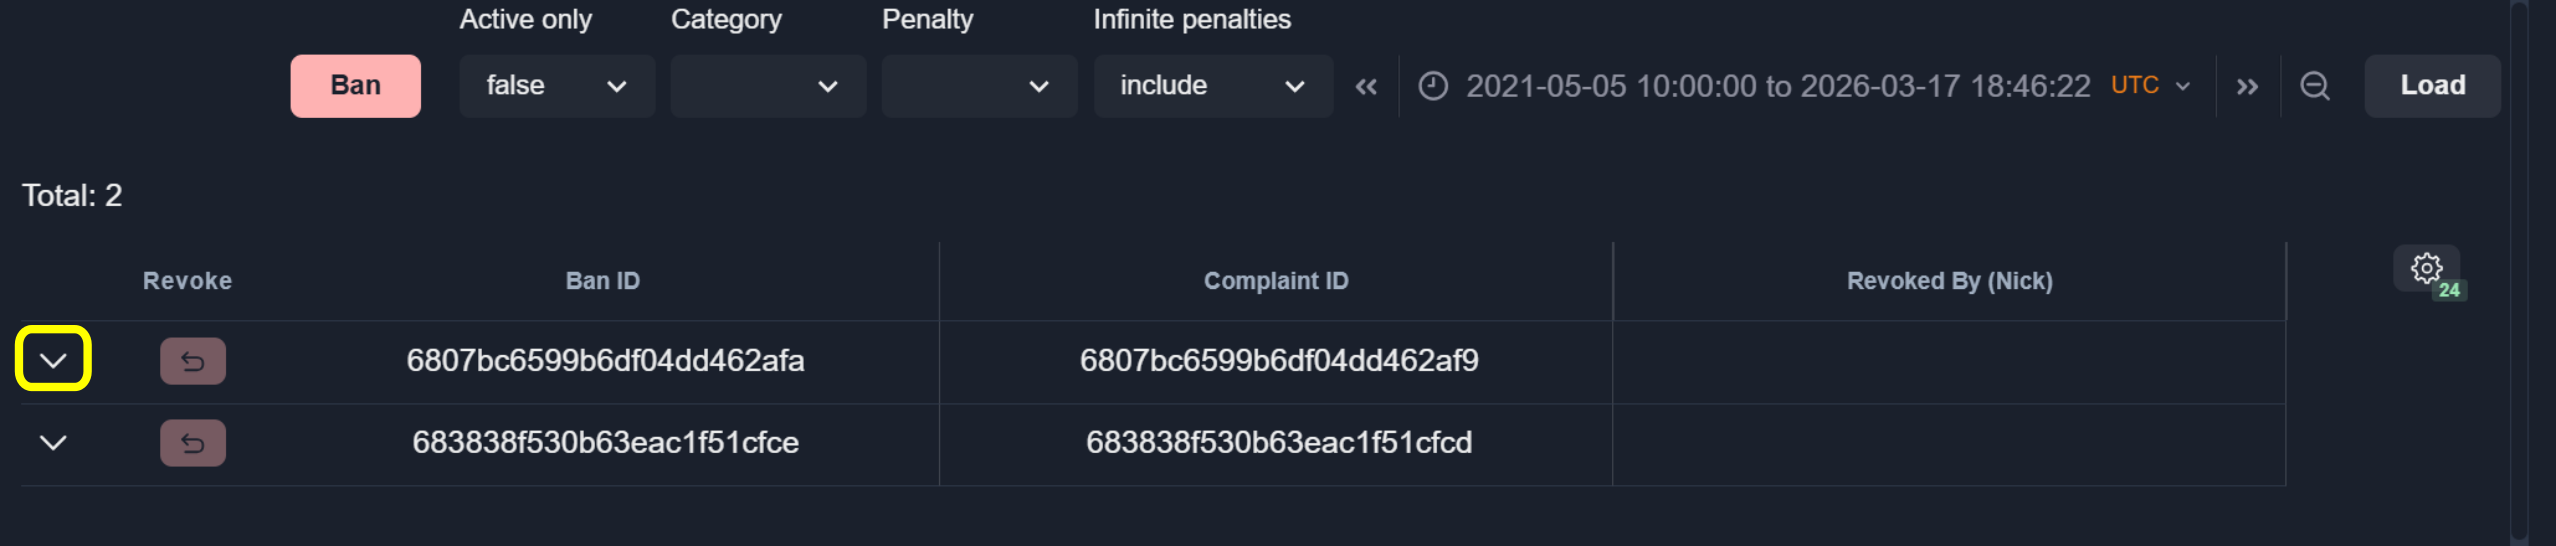
Expand Bans
To view detailed information about a ban and related complaint, click the Expand Row icon:
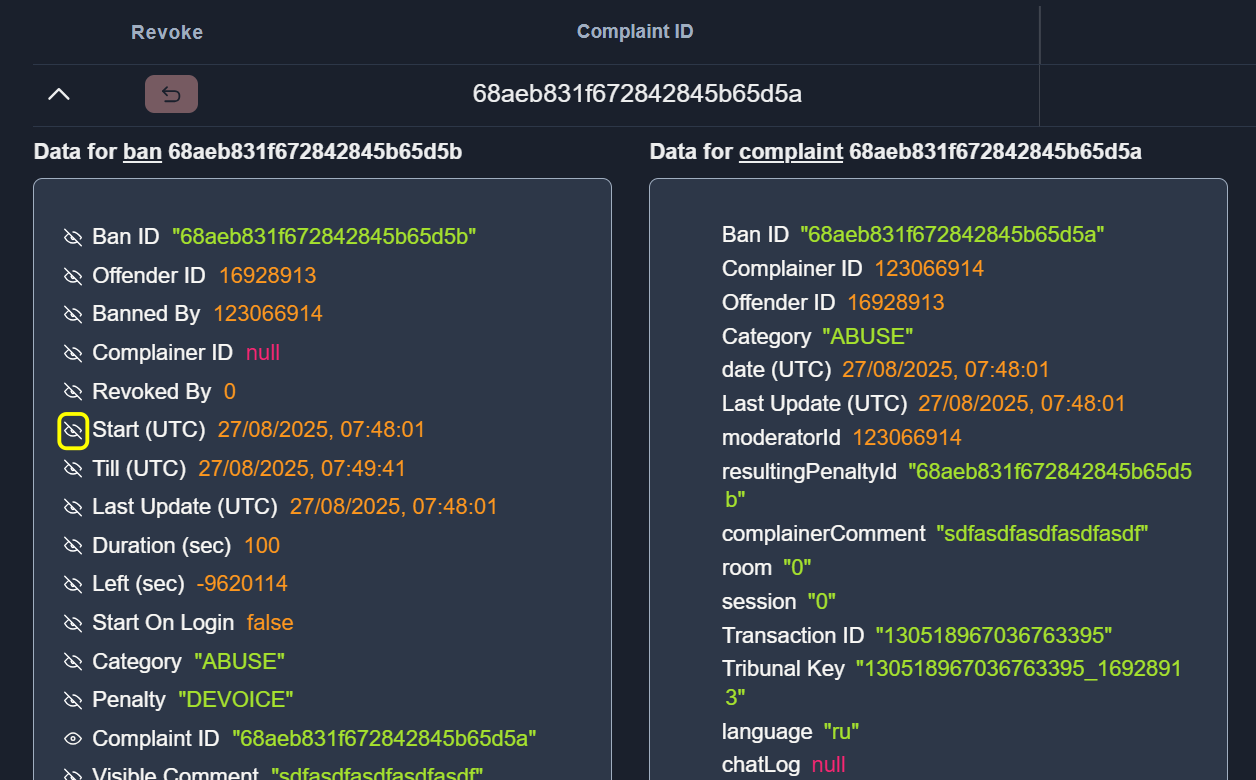
Add Parameters as Table Columns
To add a parameter from expanded data as a table column, click the Eye icon:
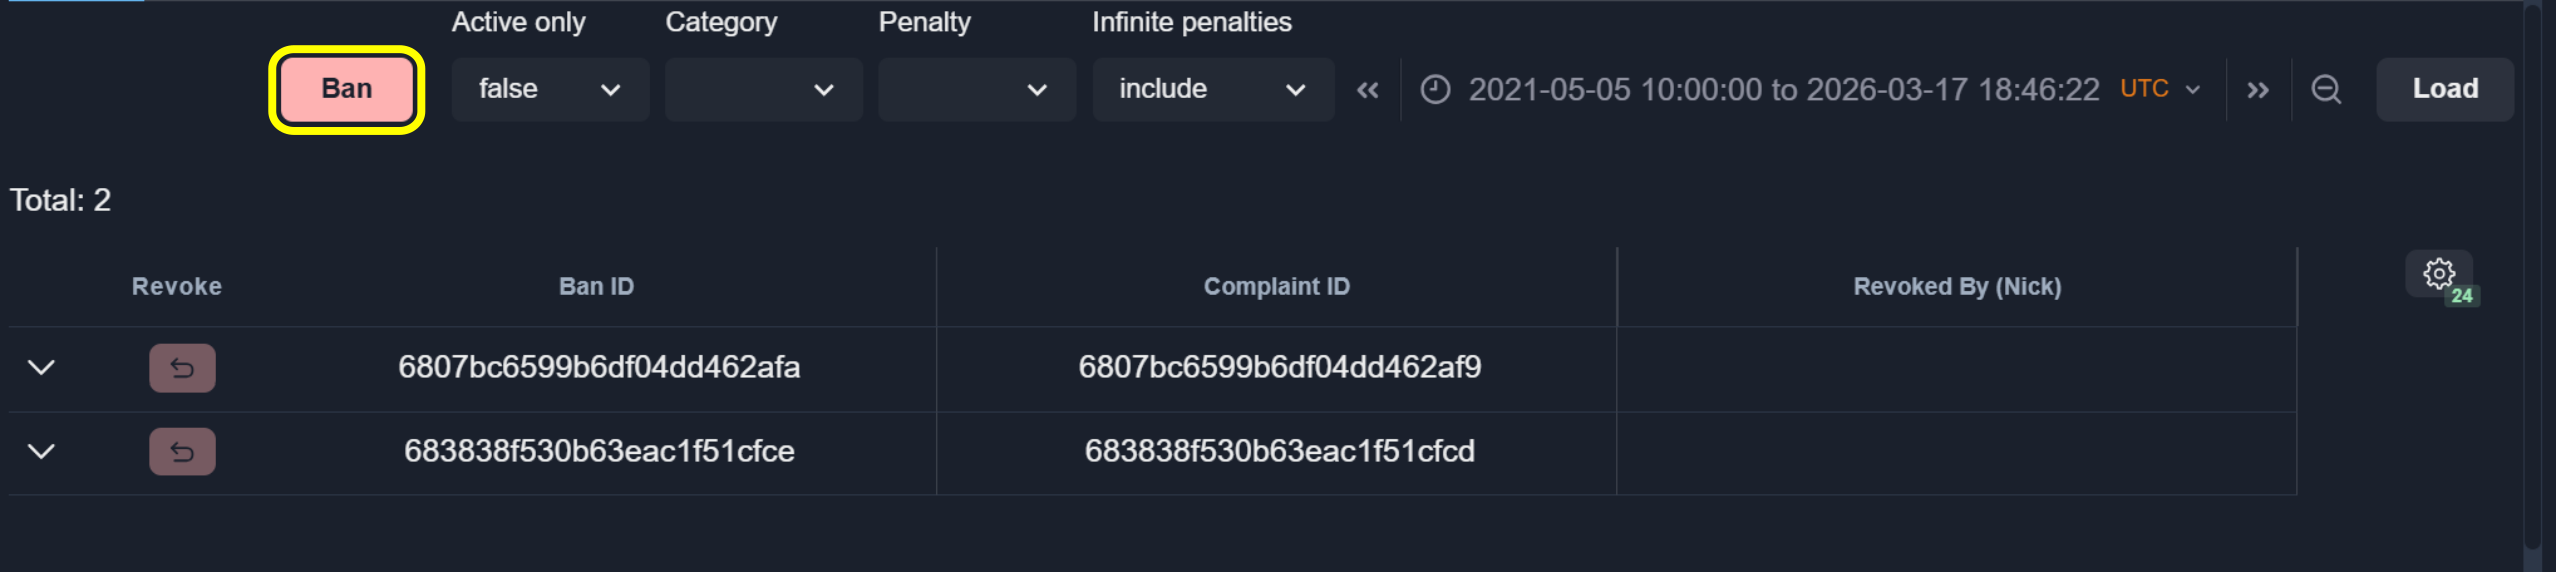
Add Ban
To add a ban:
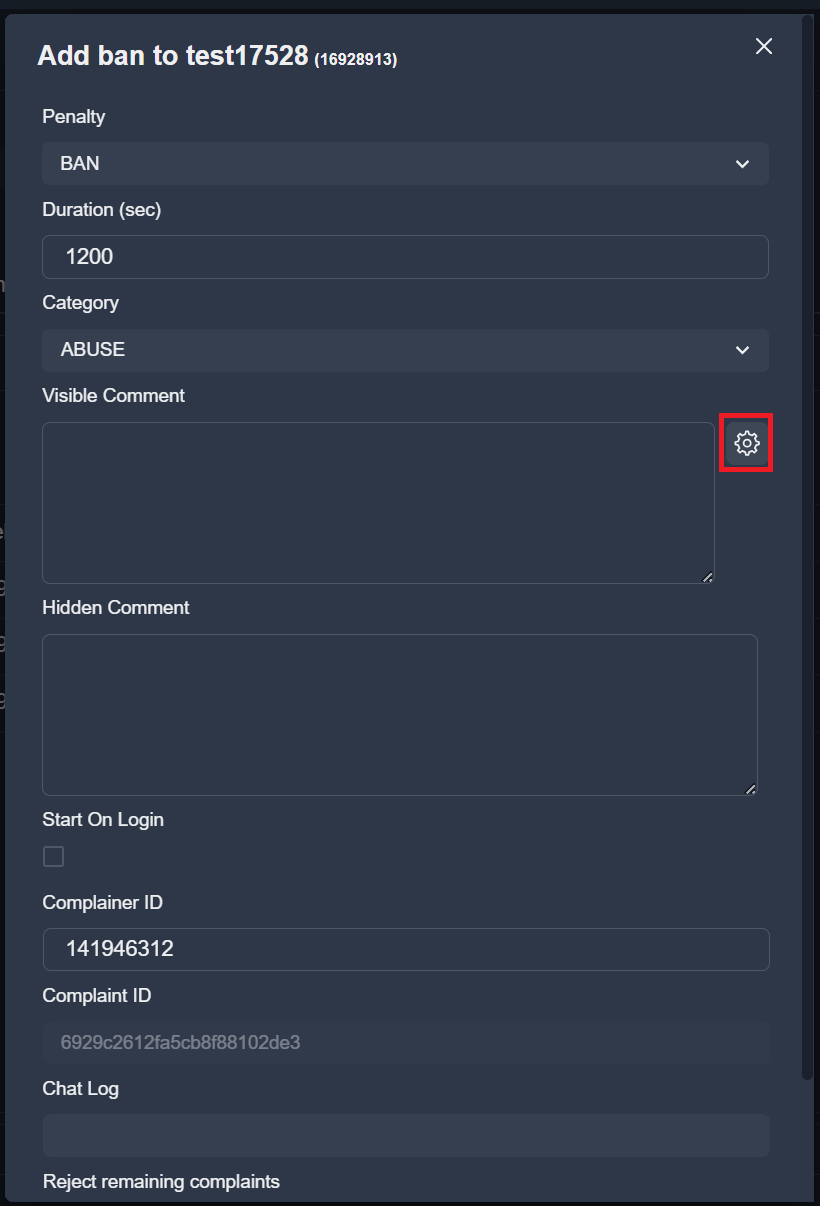
Click the Ban button:
Fill in required fields (see fields description):
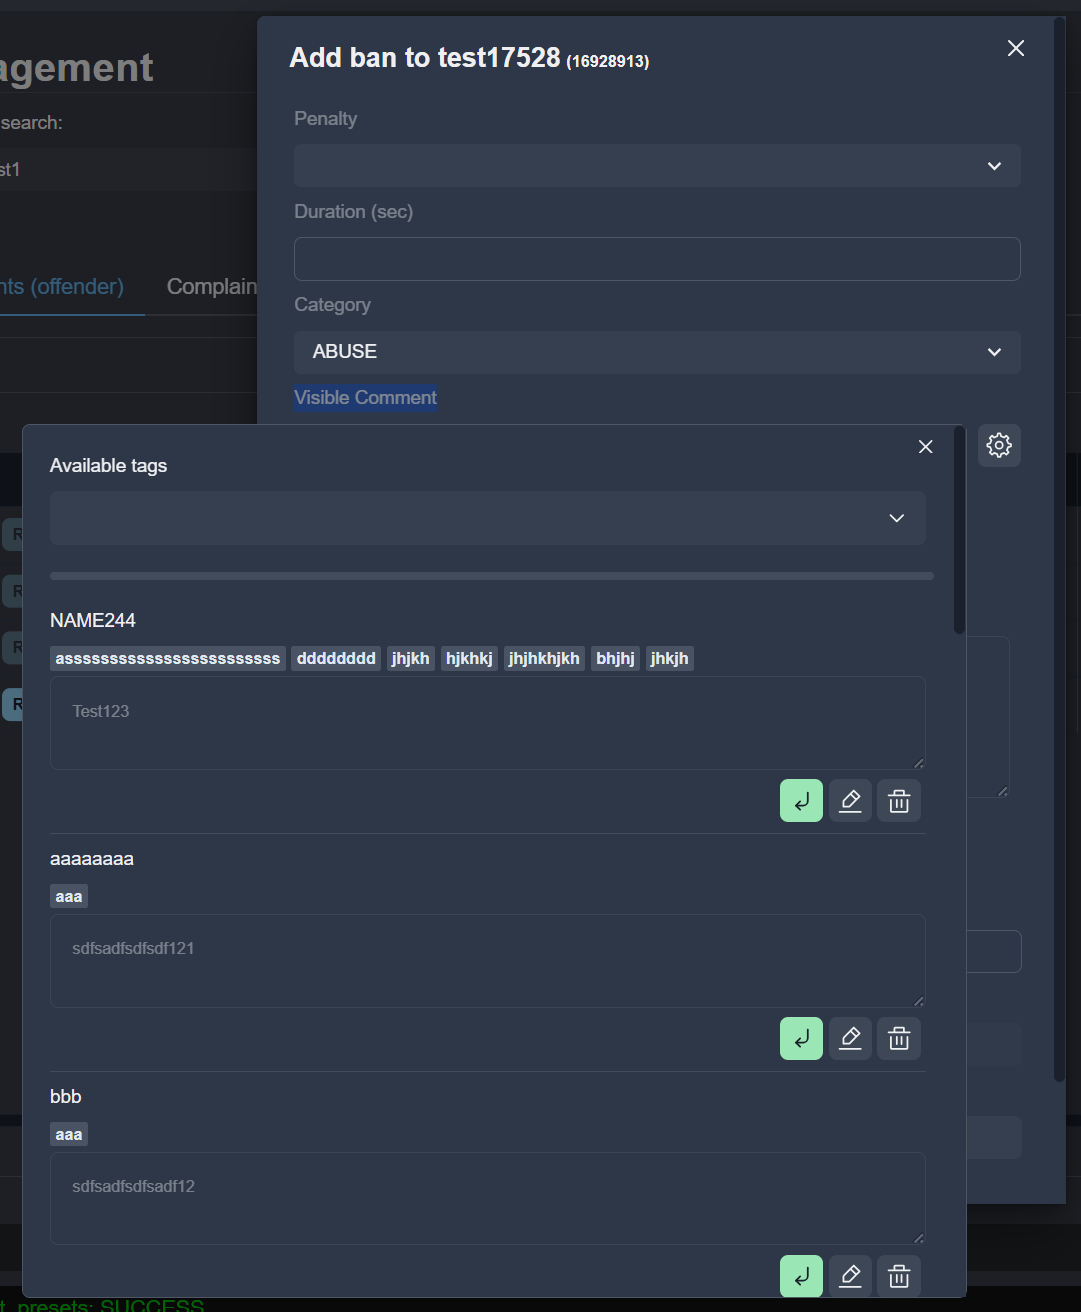
Presets
Use preset comments to quickly fill the comment field.
Open presets with the Settings button:
Presets window:
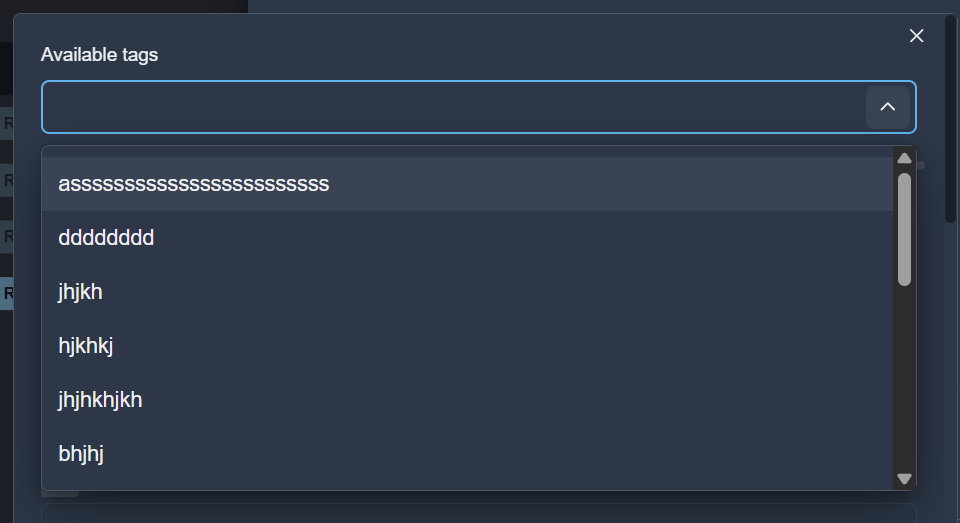
Use available tags for filtering presets:
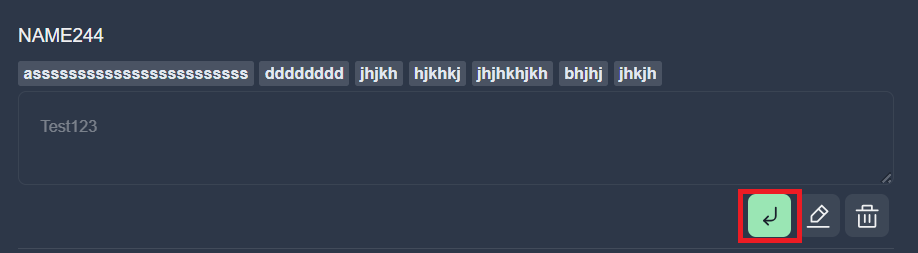
To add preset to comment click the icon:
To edit preset click the icon:
To delete preset click the icon:
Revoke Ban
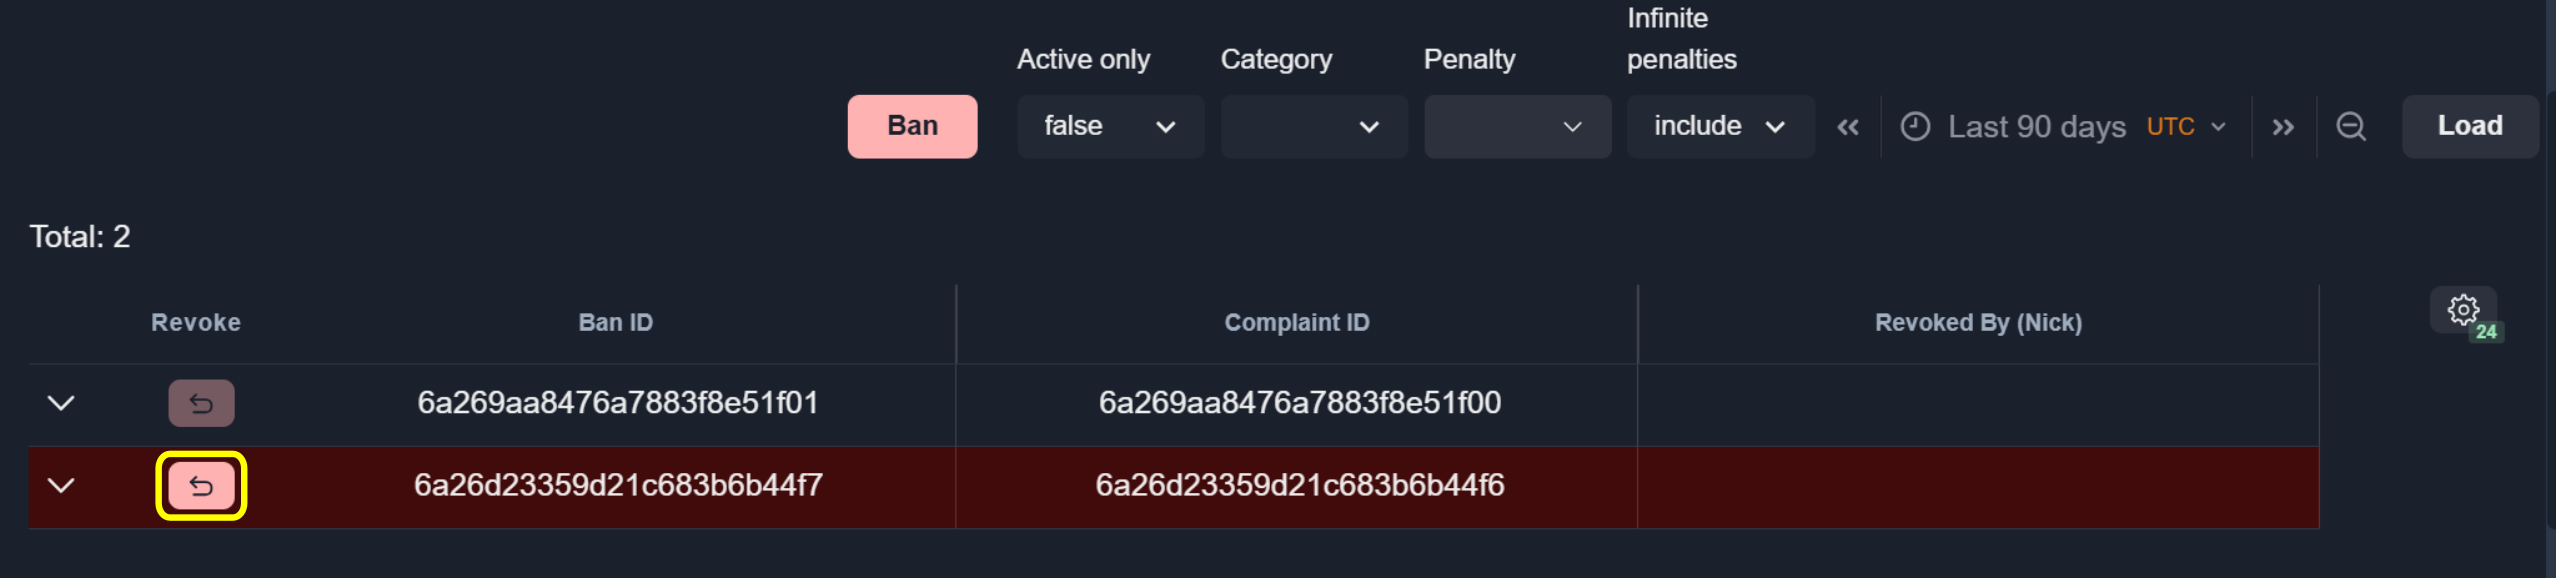
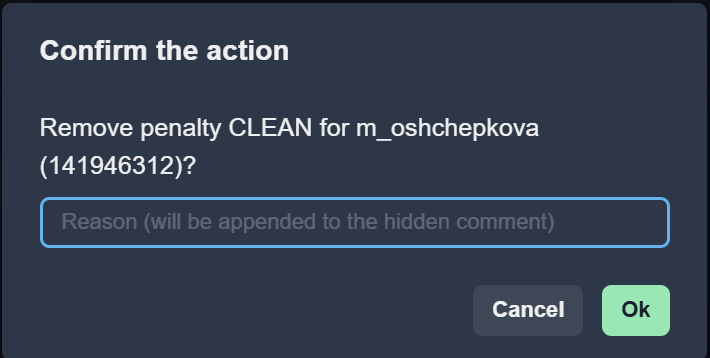
To revoke a ban, click the Revoke icon and confirm the action:
Complaints (Offender)
Filter Complaints
To filter complaints:
Open the Filter panel.
Select the date range.
Enter filter criteria.

Note
By default, all complaints are displayed for the entire period.
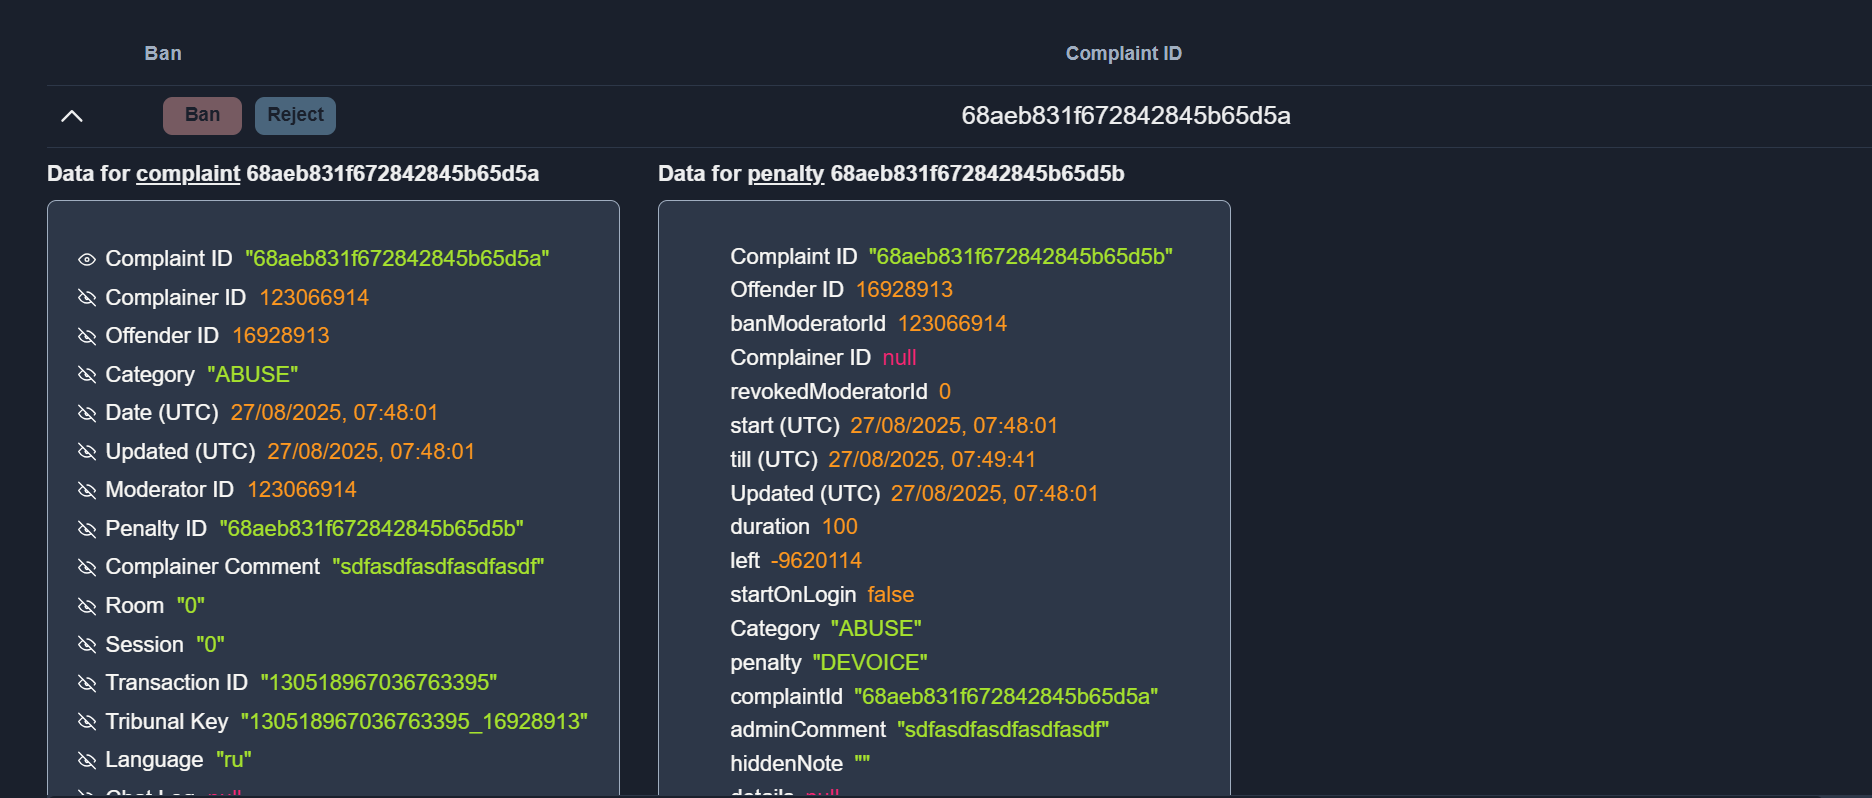
Expand Complaints
To view details of a complaint and associated penalty (if applicable), click the Expand Row icon:

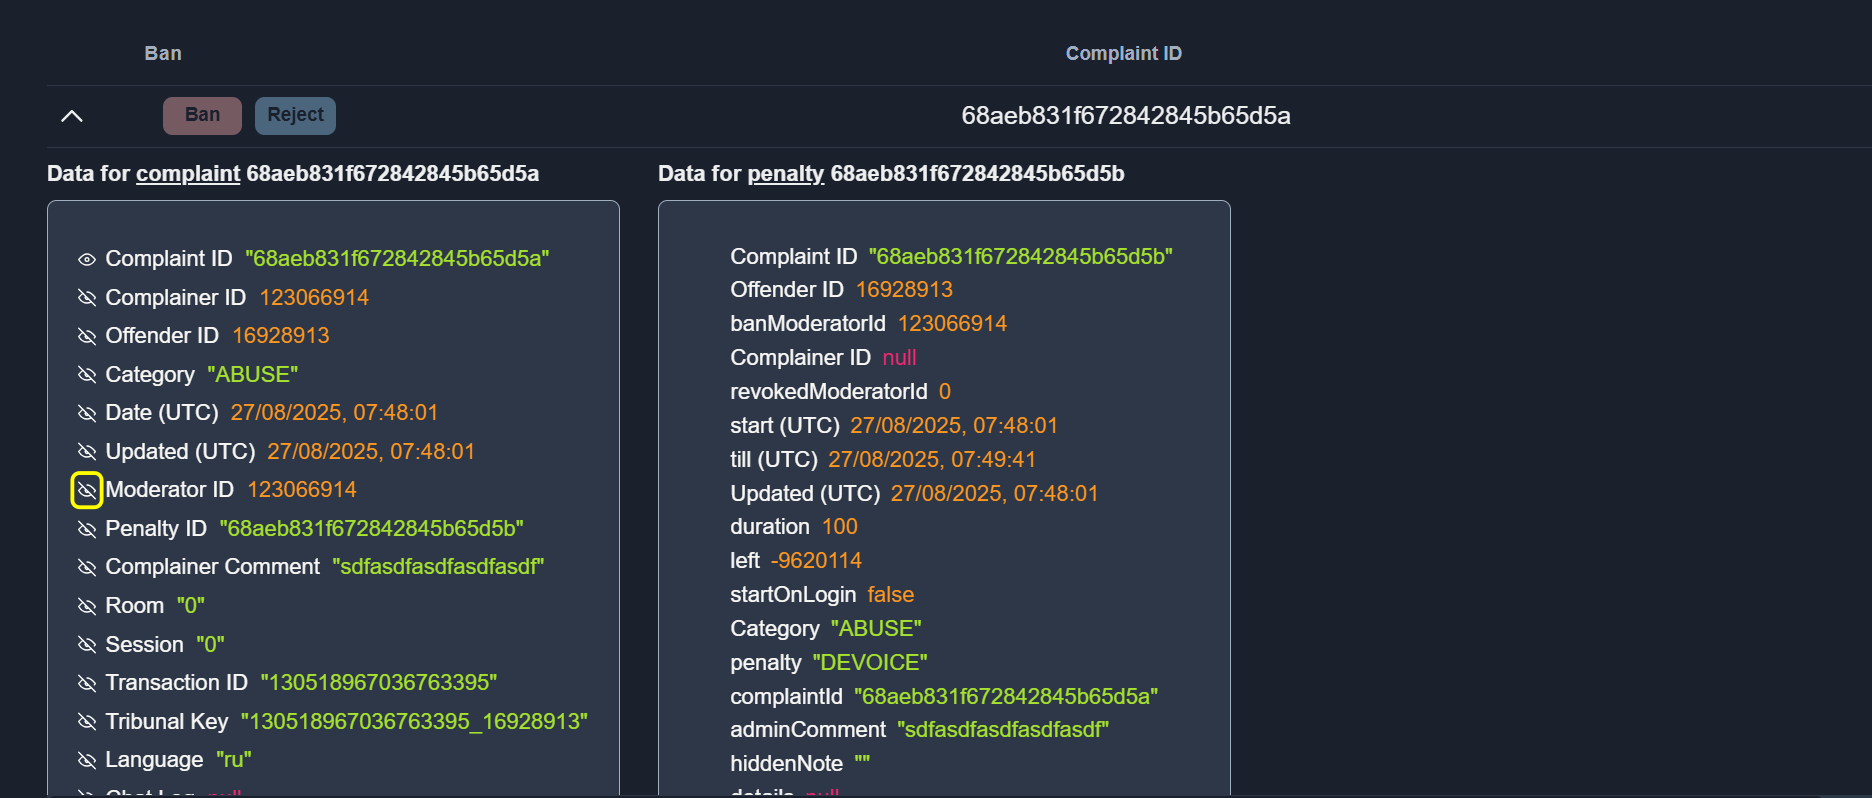
Add Parameters as Table Columns
To add a parameter from the expanded data as a table column, click the Eye icon:
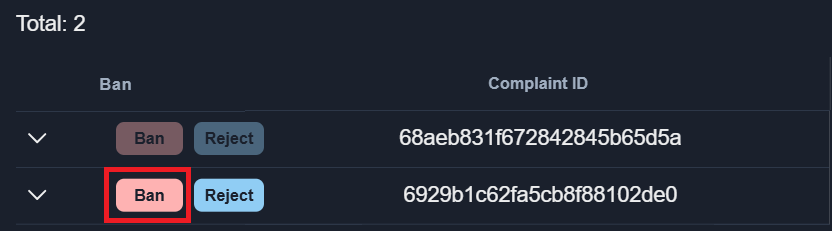
Add Ban on Complaint
To add a ban based on the complaint:
Click the Ban button:
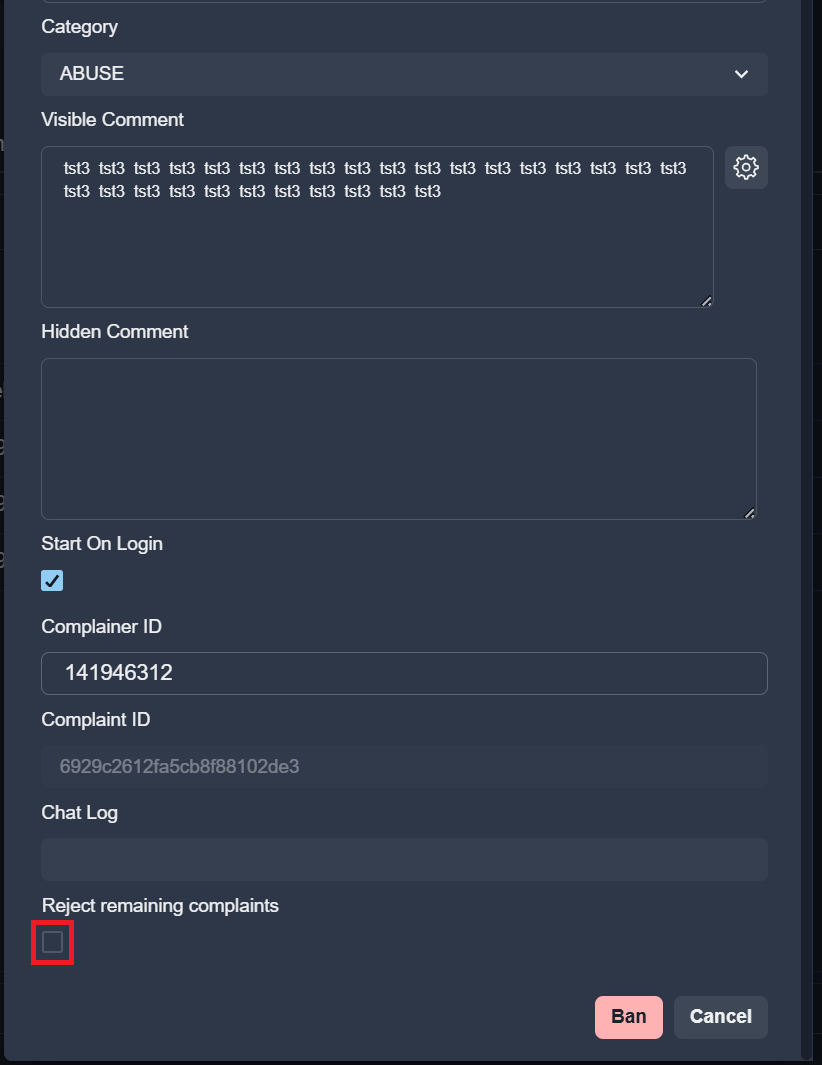
Fill in required fields:
Use preset comments to quickly fill the comment field.
See also
For more information on how to use presets, see Presets.
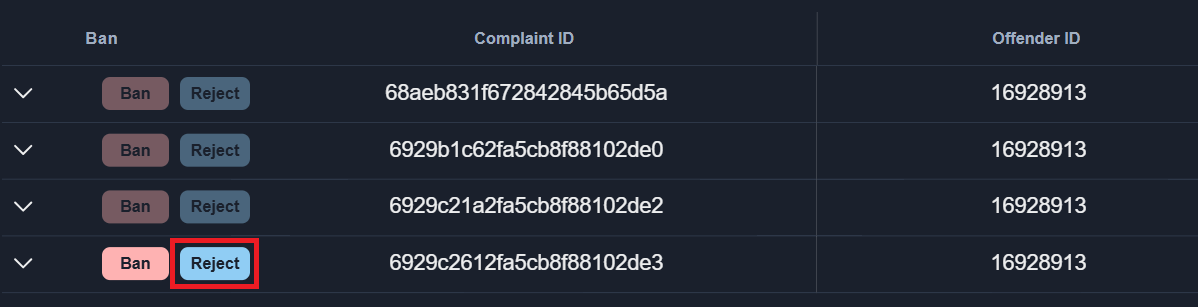
Reject Complaint
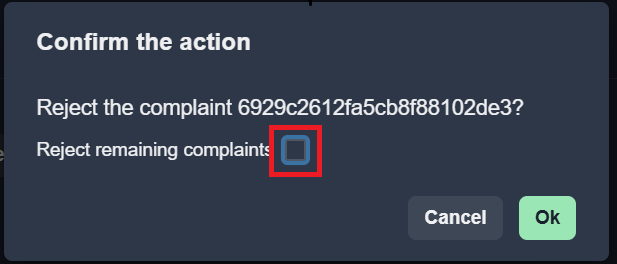
To reject remaining complaints set the checkbox:
To reject a single complaint click the Reject button:
To reject remaining complaints at the same time set the checkbox:
Complaints (Submitted)
The Complaints (Submitted) tab provides the same functionality as the Complaints (Offender) section.
Appeals
Filter Appeals
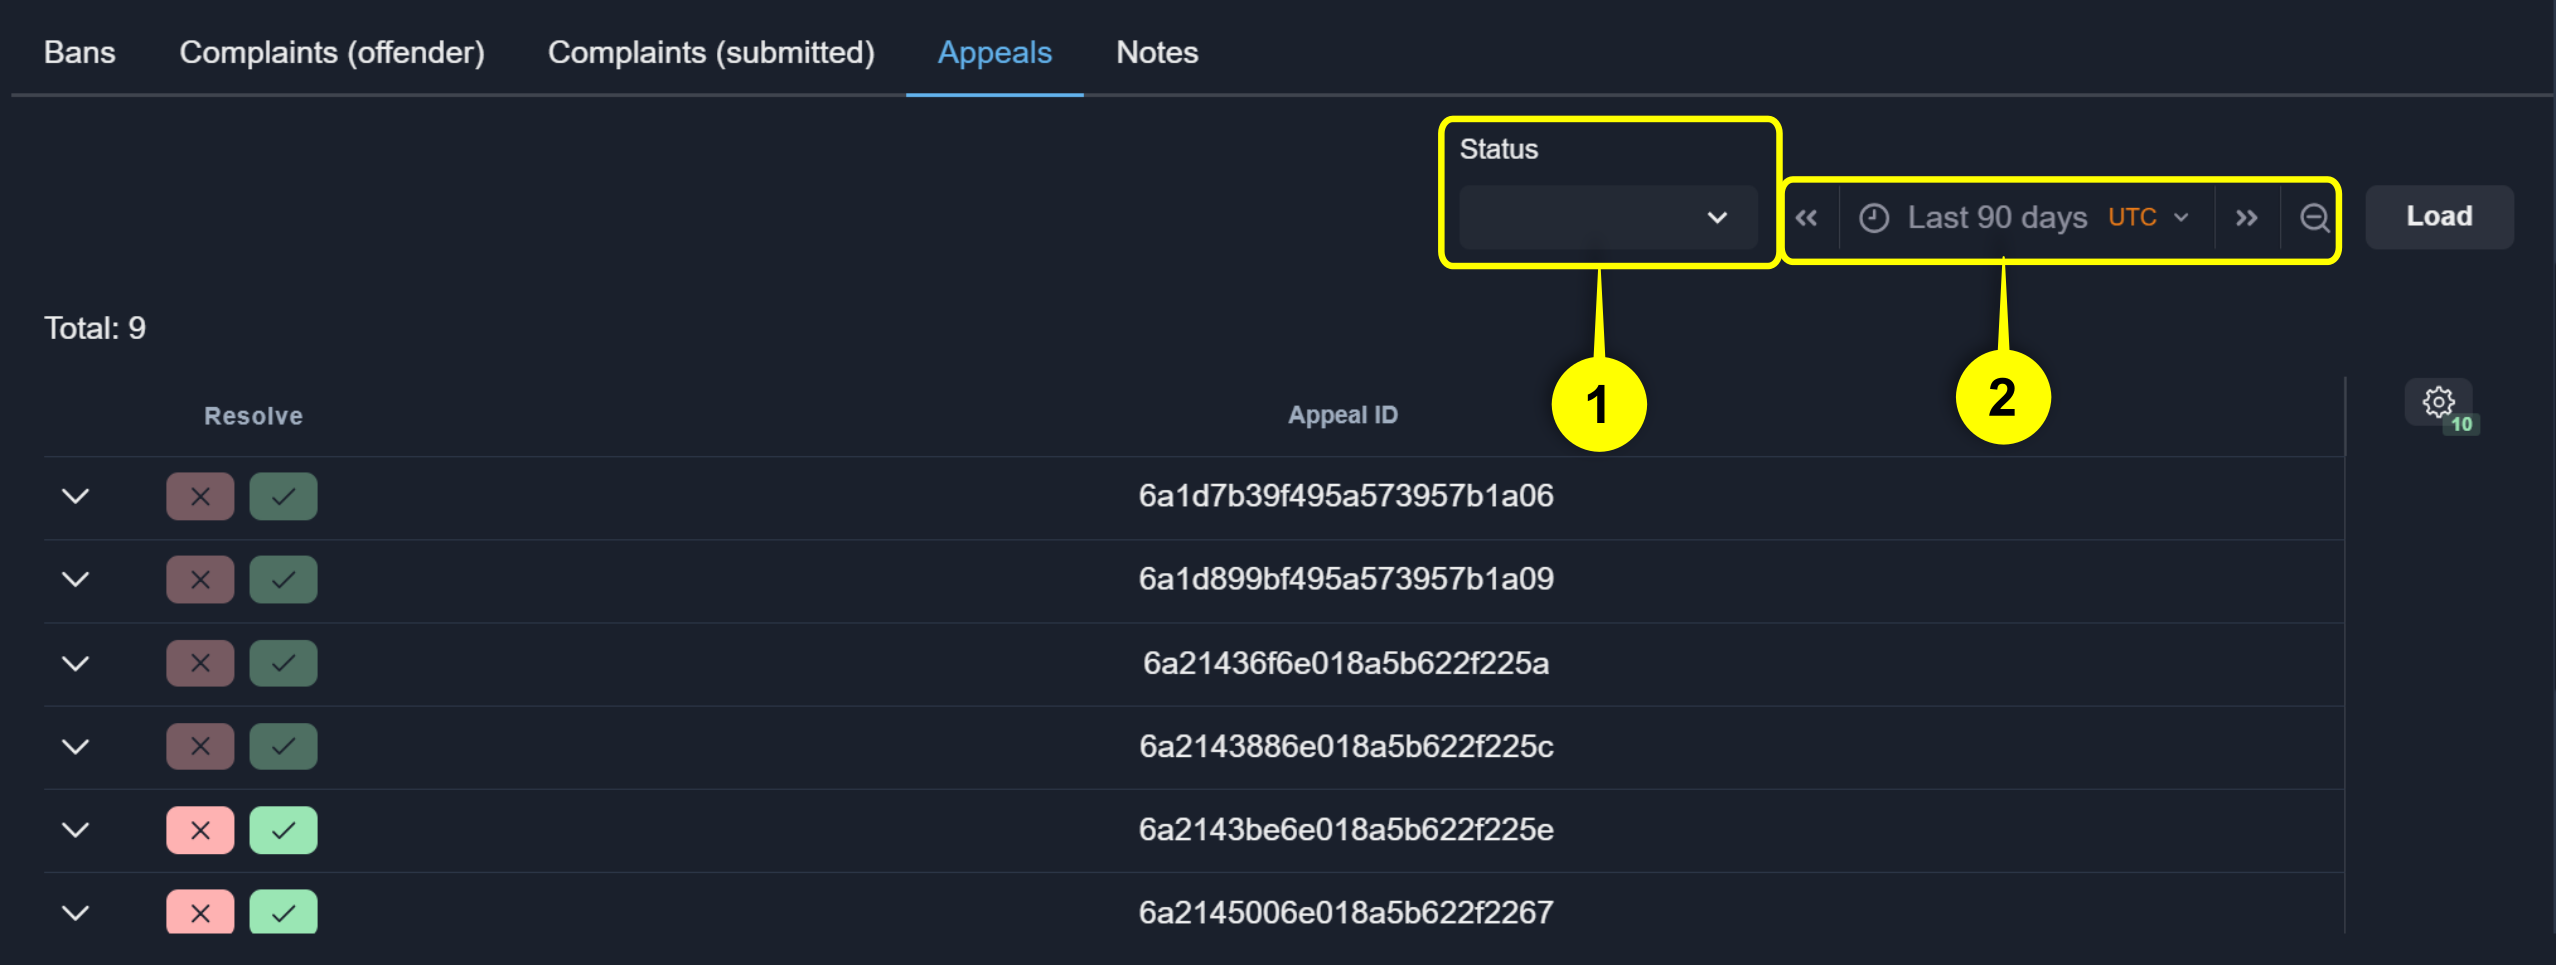
To filter appeals, open the Filters panel. The following filters are available:
(1) Date — filter appeals by date range. (2) Status — filter appeals by their current status.
Expand Appeals
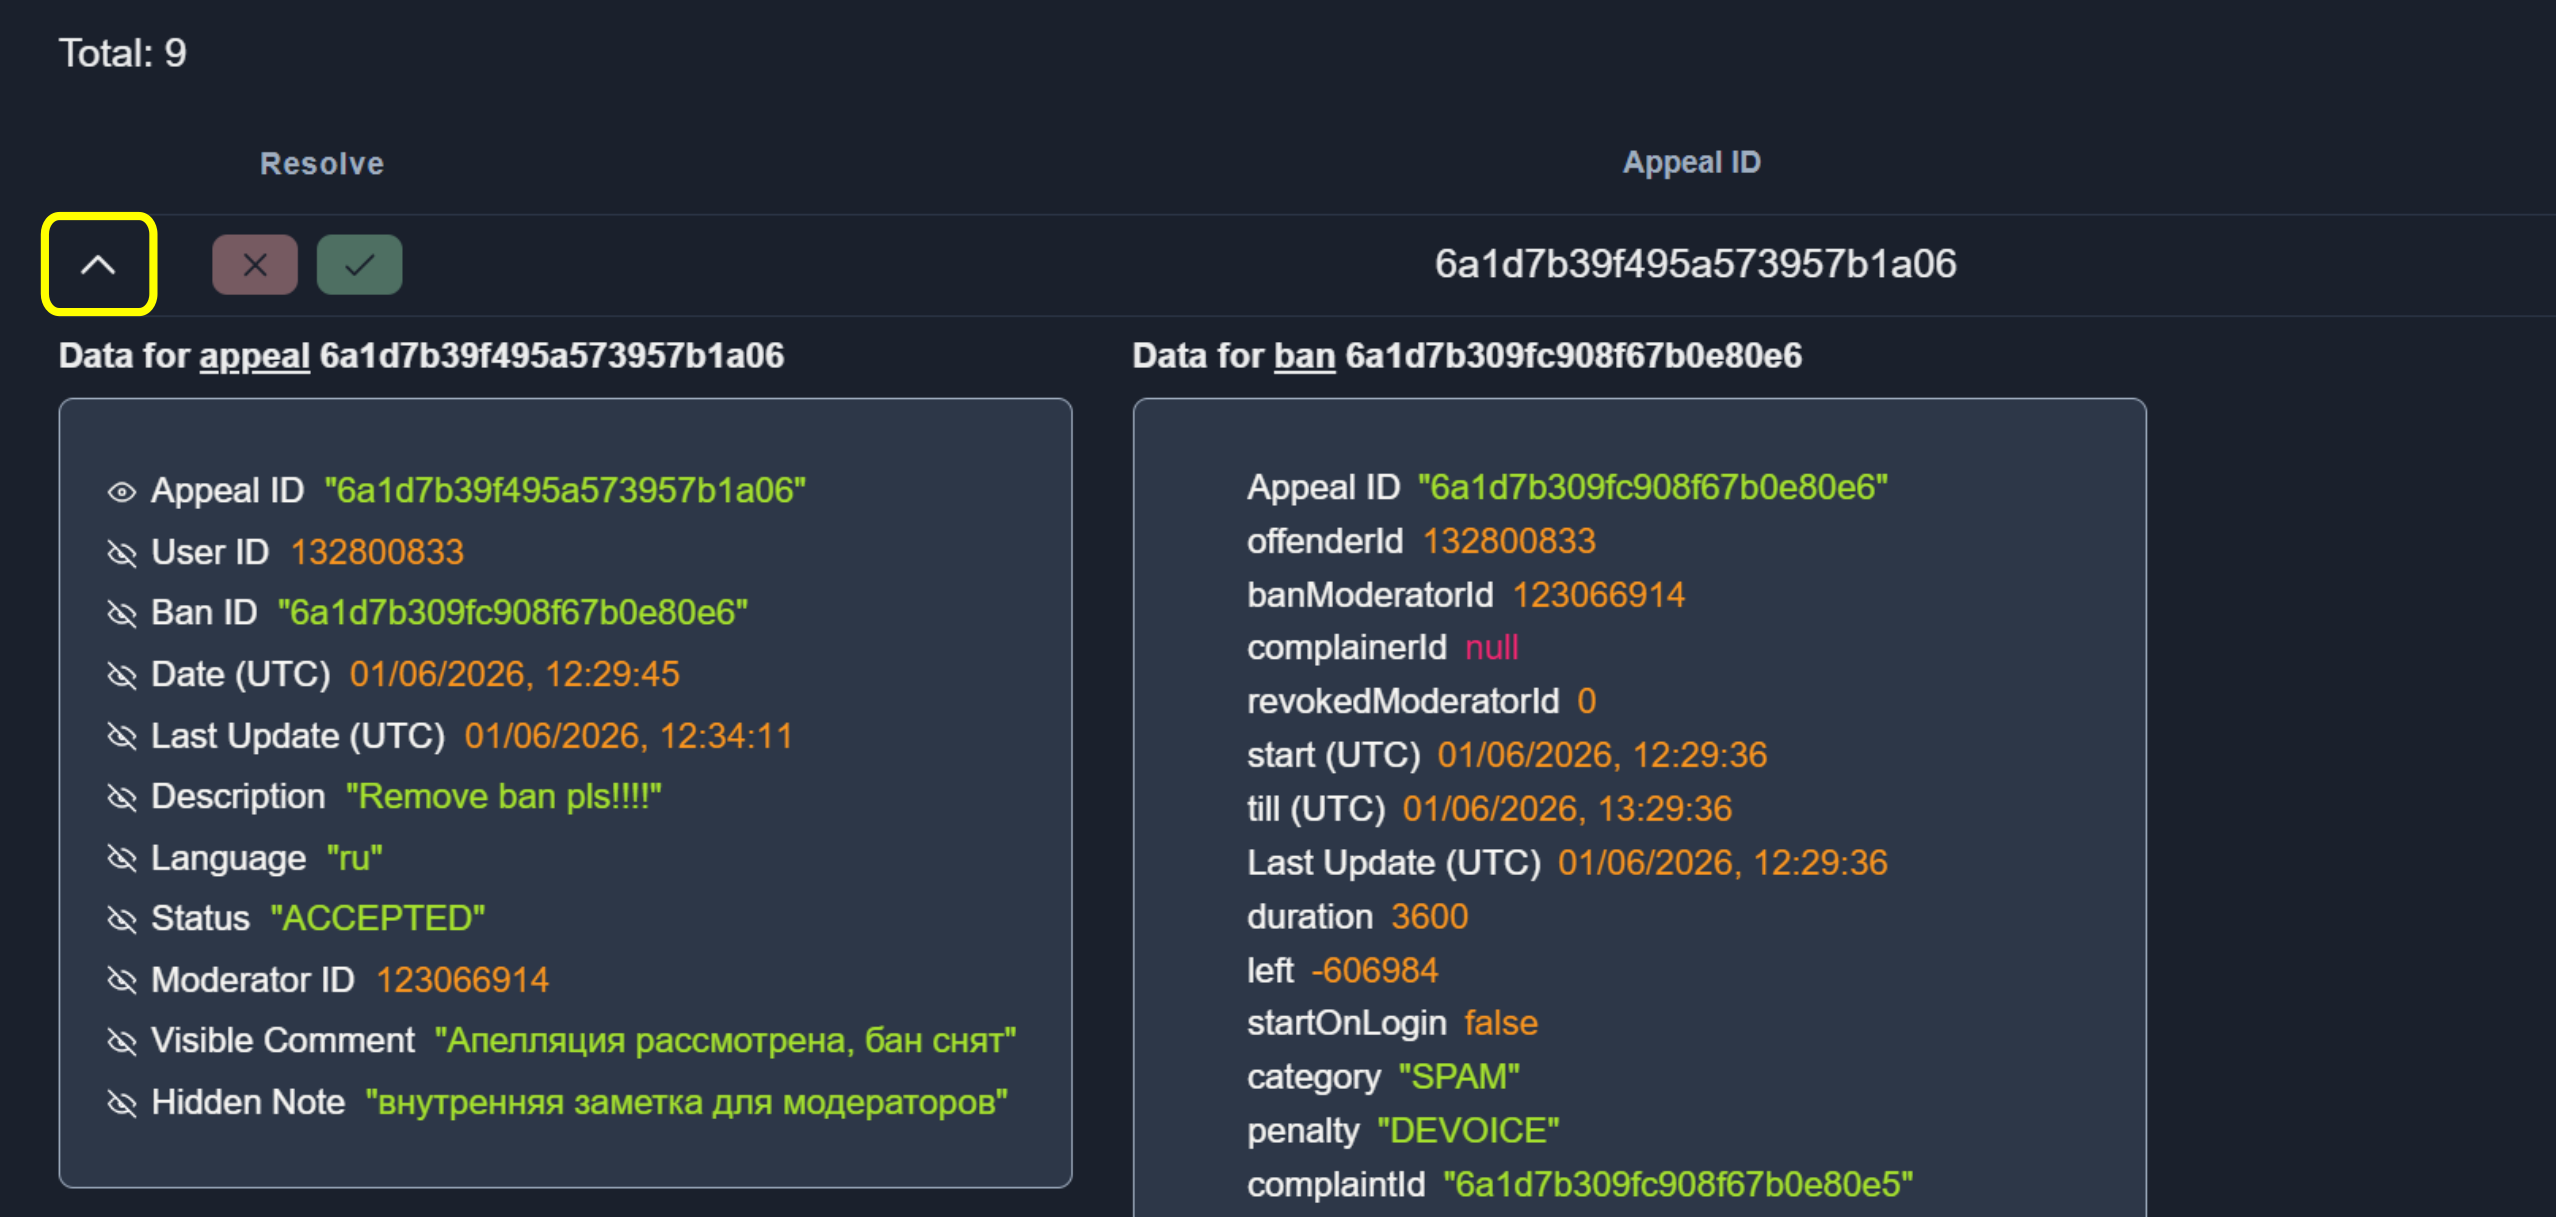
To view detailed information about an appeal, click the Expand Row icon:
Reject or Accept Appeal
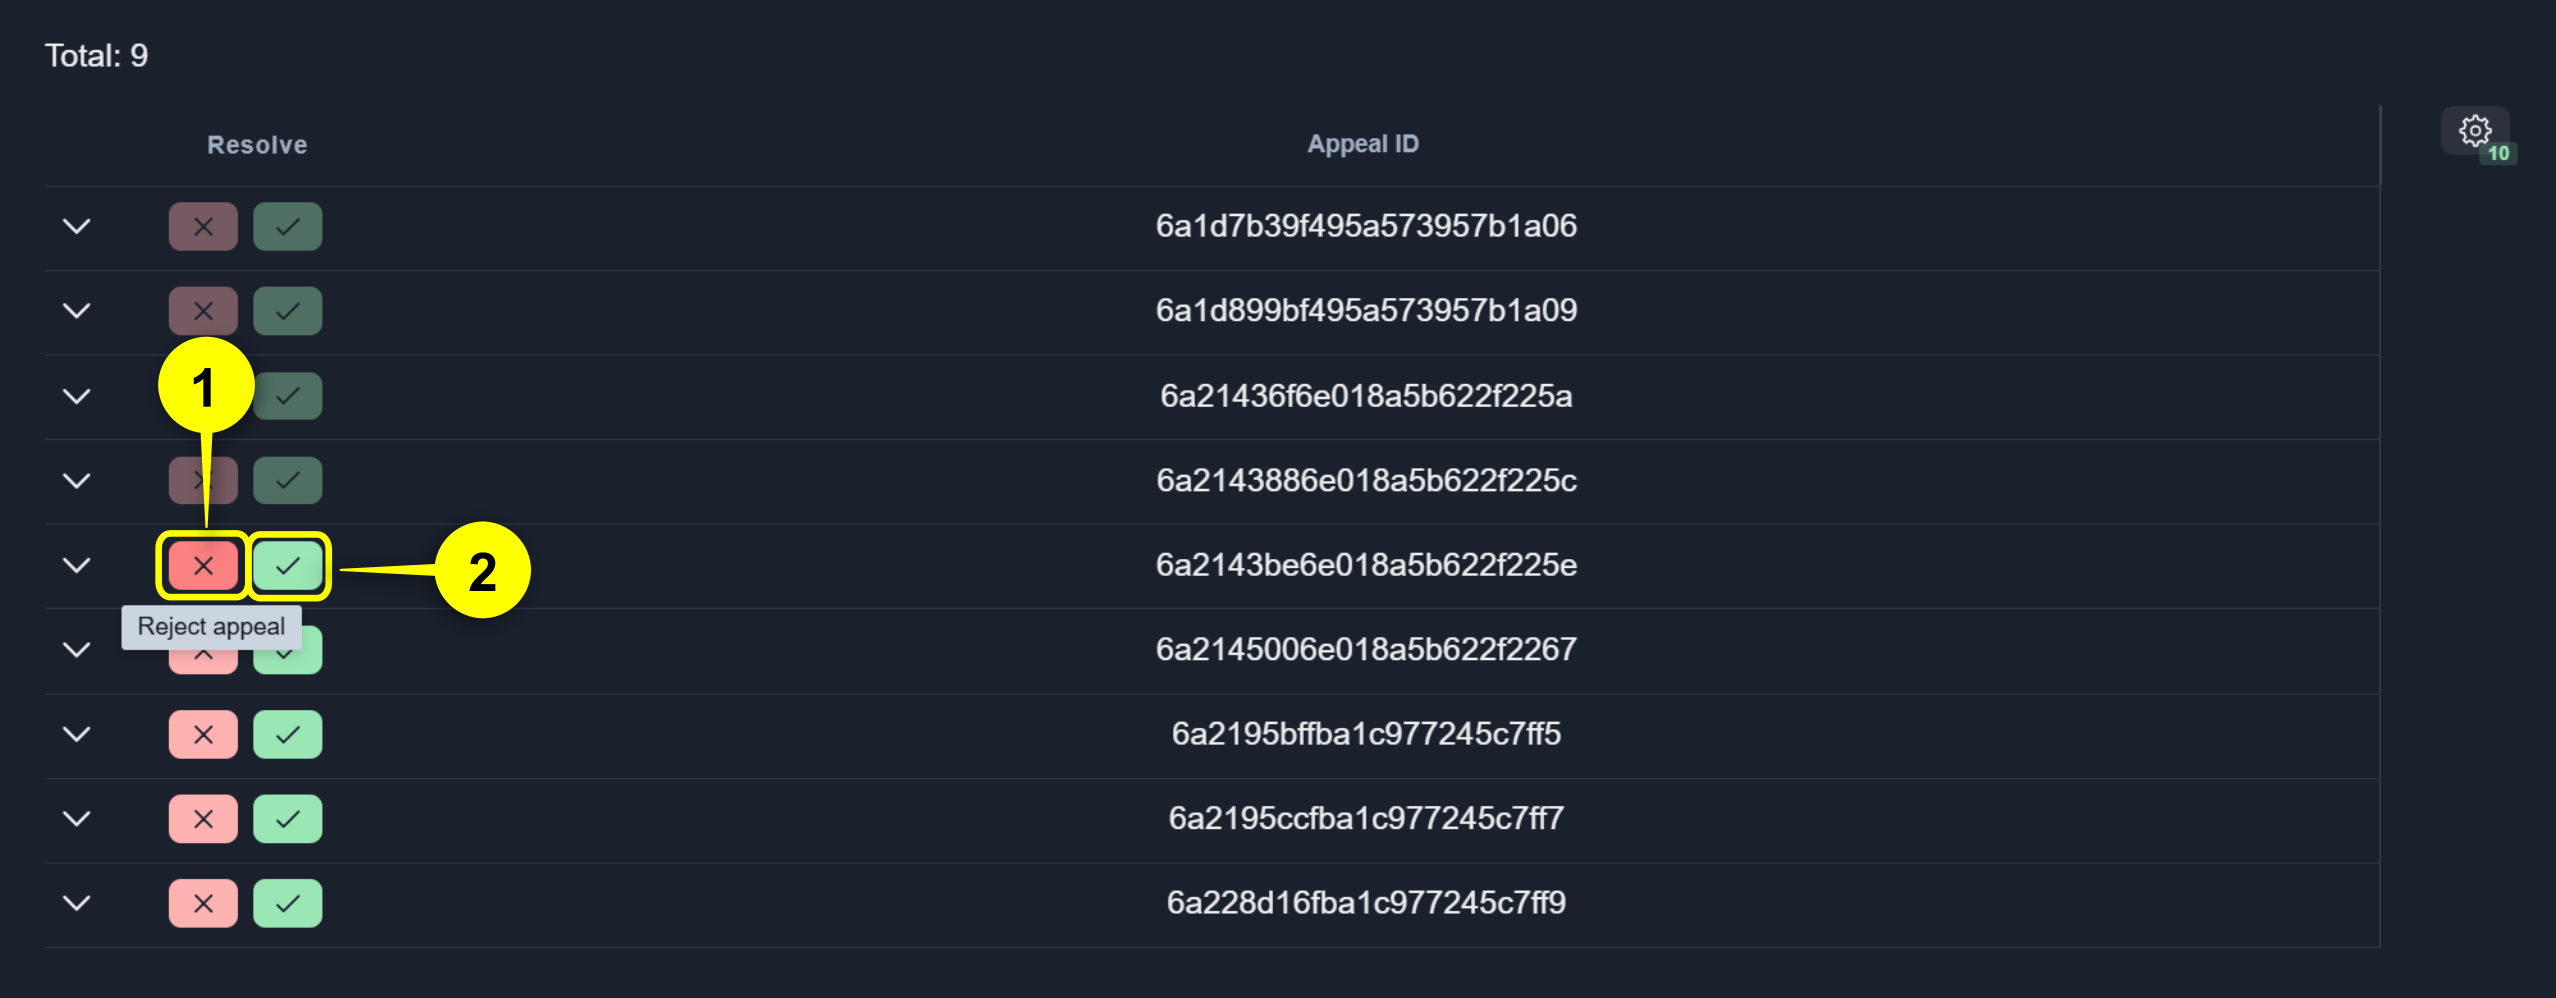
To reject or accept an appeal, click the (1)Reject or (2)Accept button.
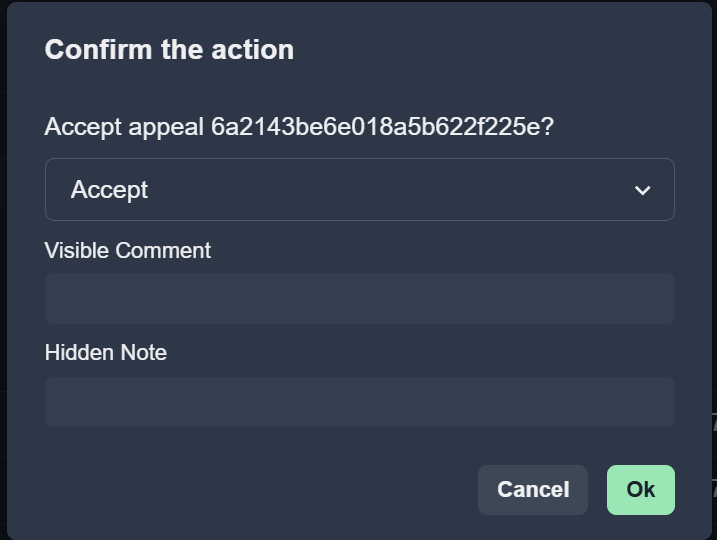
A modal window will appear with fields for adding a comment.
Notes
Add Note
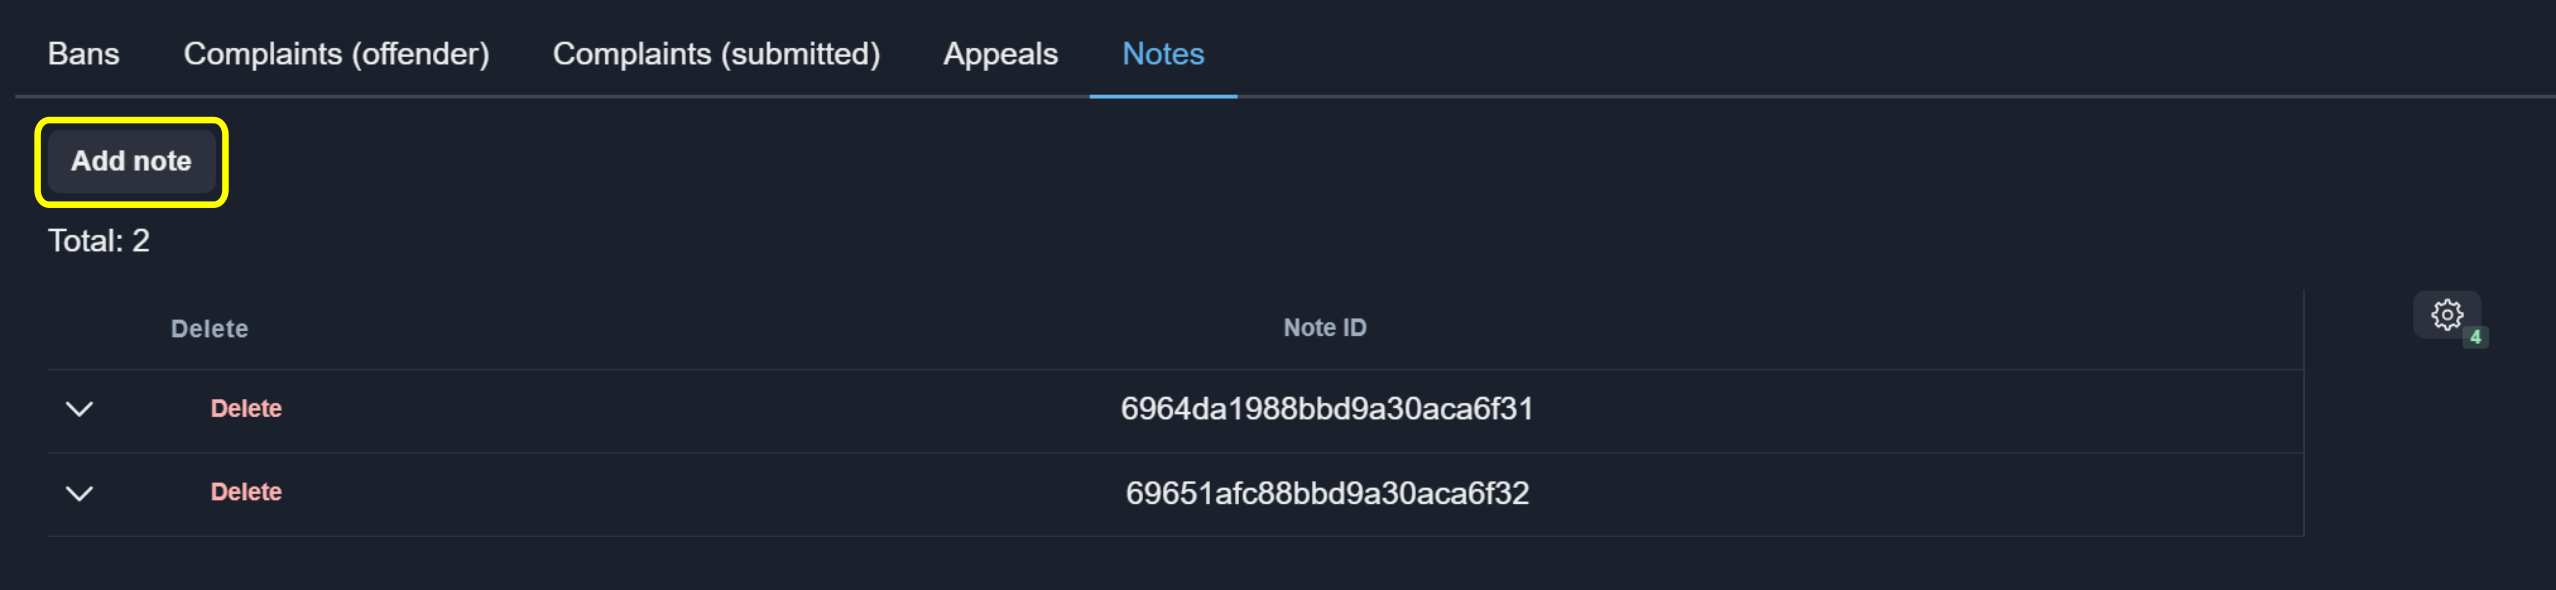
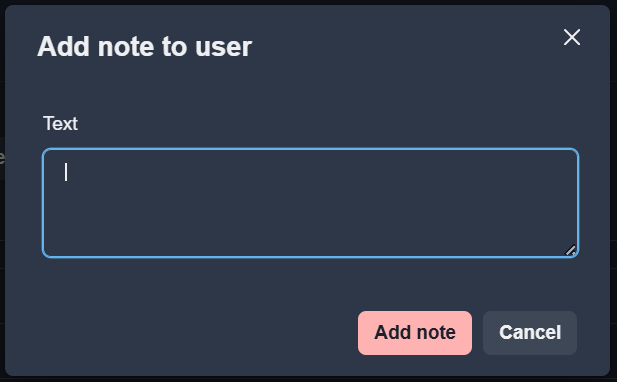
To add a new note, click the Add note button and fill in the required fields:
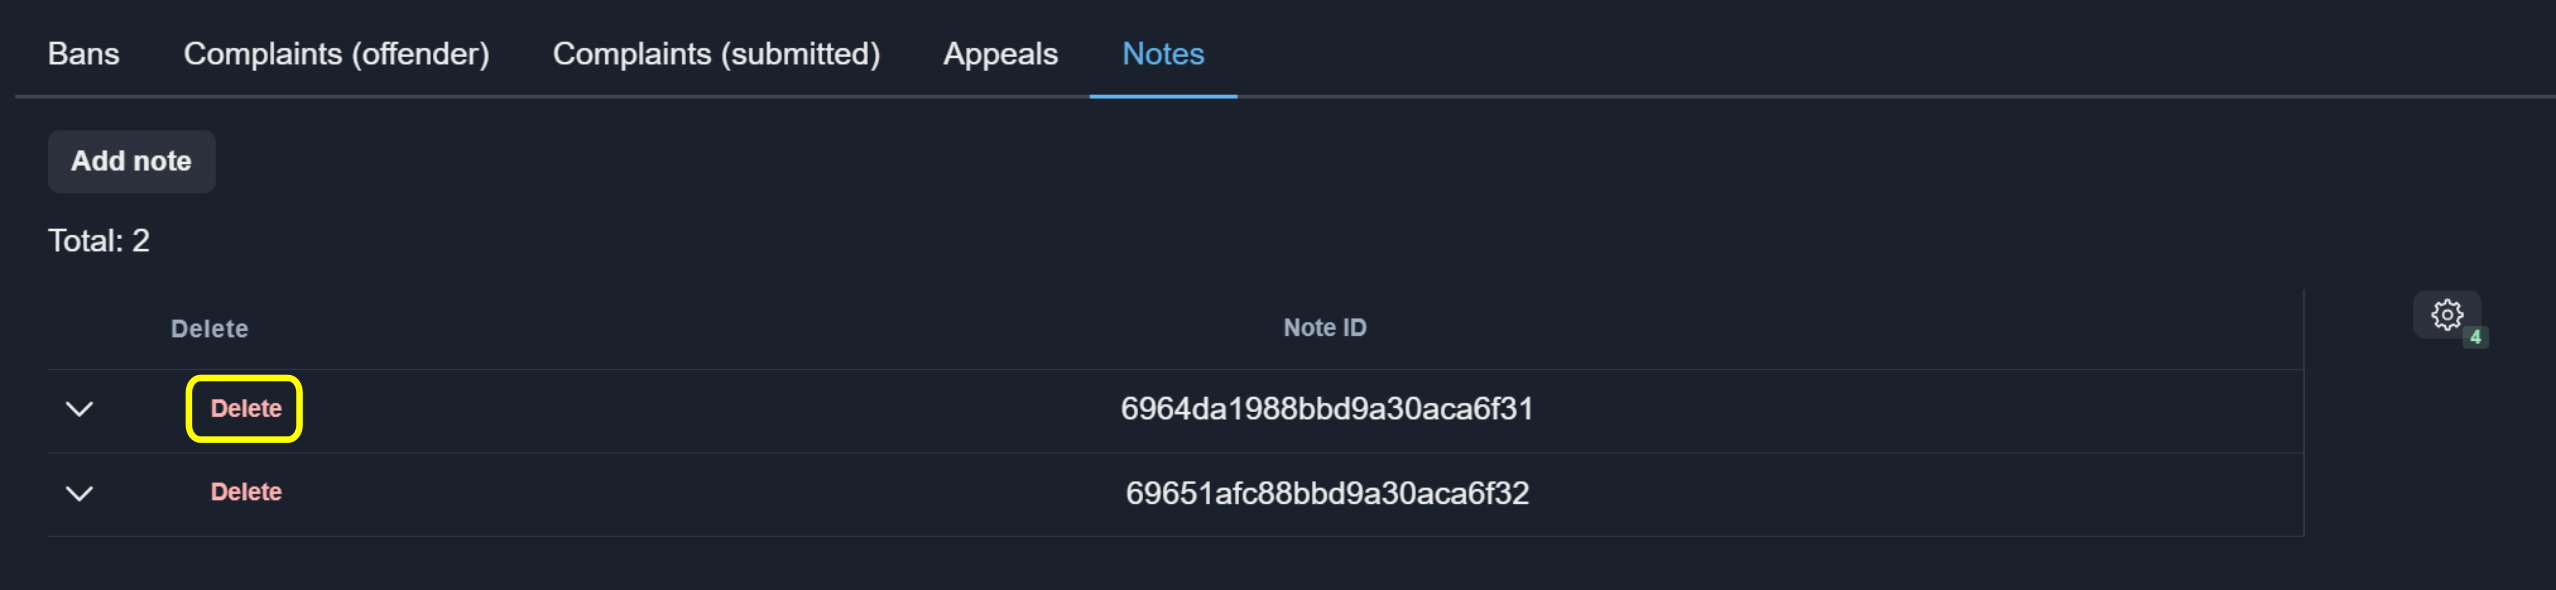
Delete Note
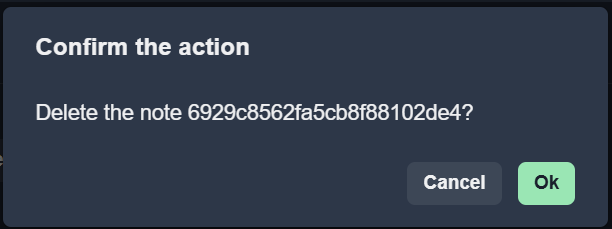
To delete a note, click the Delete button and confirm:
Multiple Users
The Multiple Users section provides tools for performing bulk operations on user accounts. This interface allows administrators to load a list of user identifiers, review the selection, and apply actions to multiple users simultaneously.
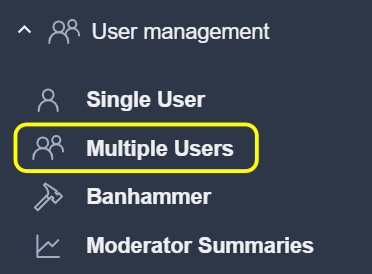
To access it, open the corresponding menu item:
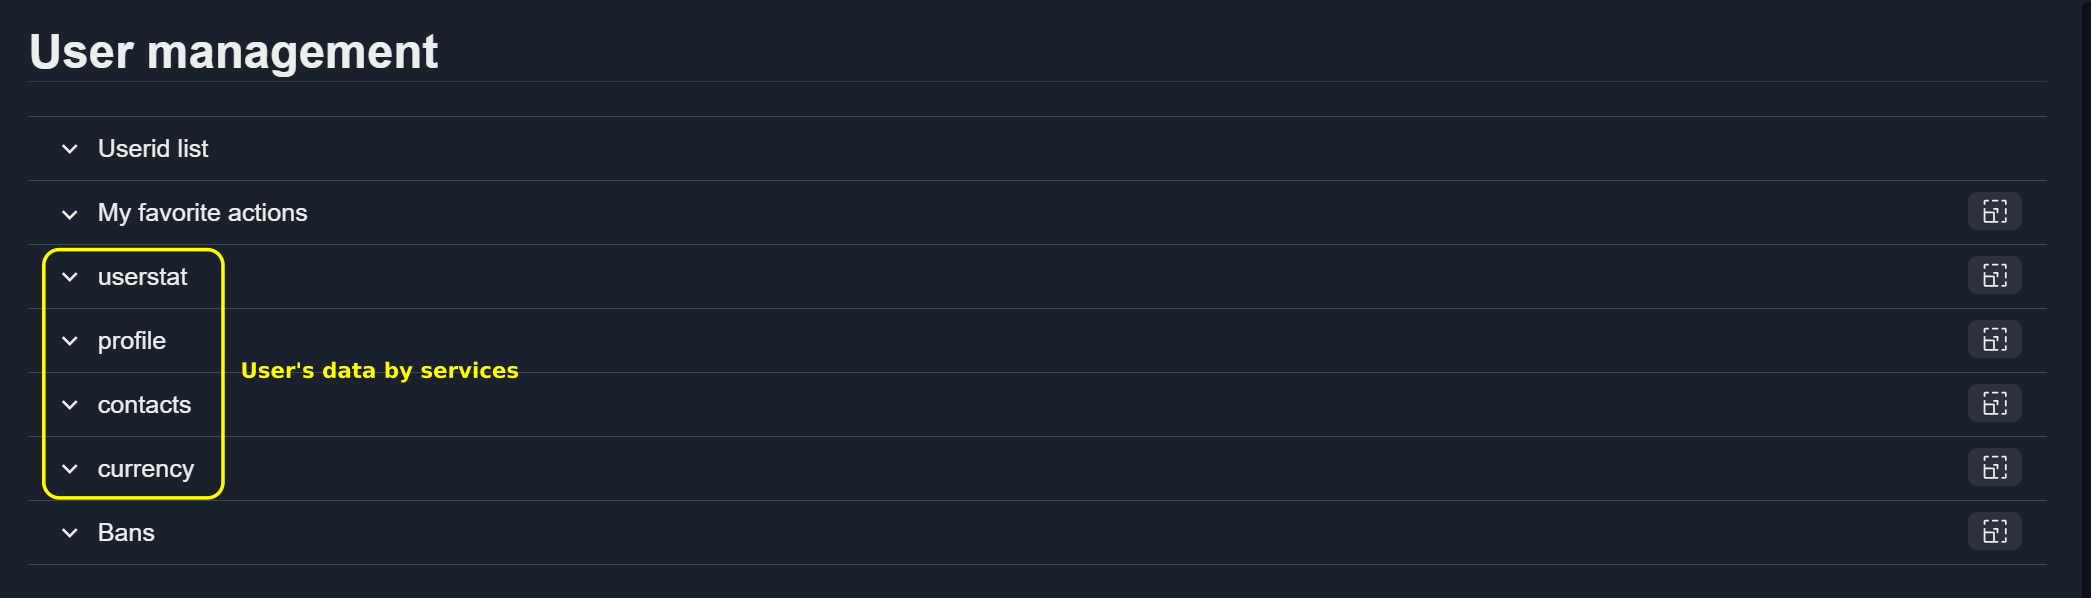
The Multiple Users window displays the following sections:
Userid list: Contains all user identifiers included in the bulk operation. This section allows administrators to review the list, add or remove IDs, load identifiers from external sources (CSV or text), and specify which ID should be used when retrieving action metadata.
My favorite actions: Frequently used bulk actions that can be applied to all users in the current list.
Actions by services: Actions aggregated from platform services:
userstat
profile
contacts
currency
Bans: Tools and information for applying or removing restrictions across multiple users.
Userid List
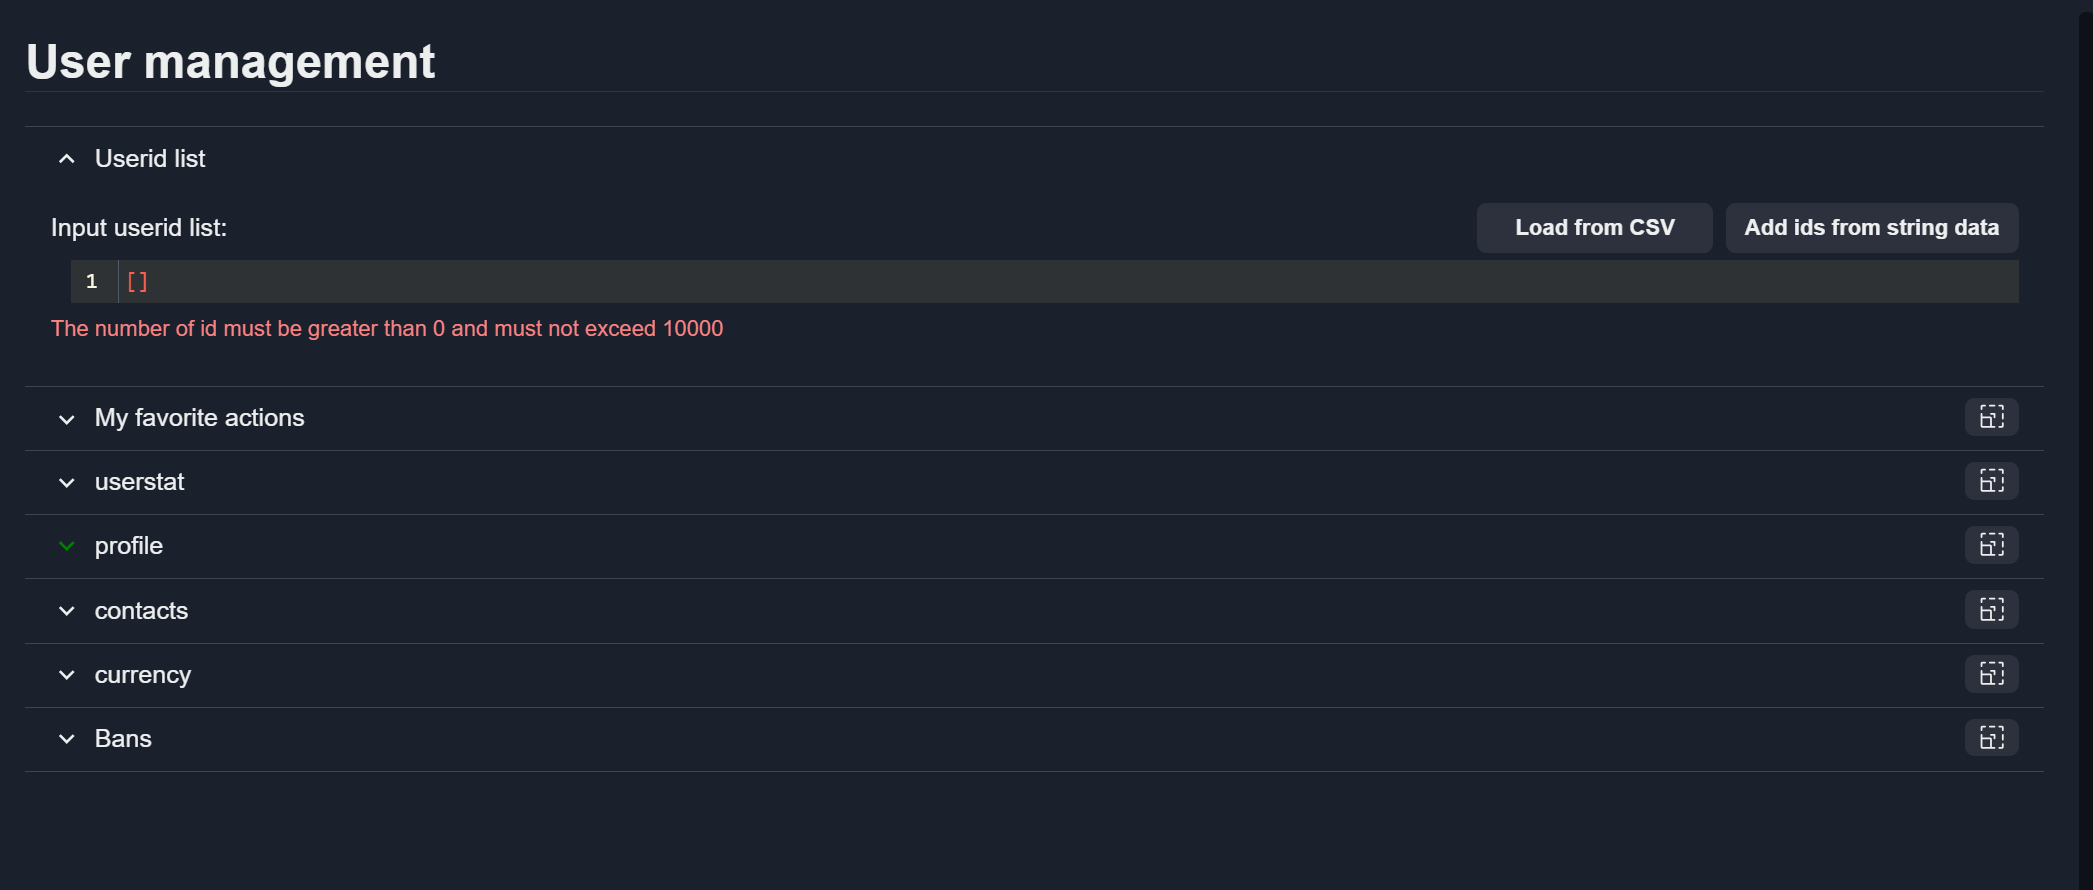
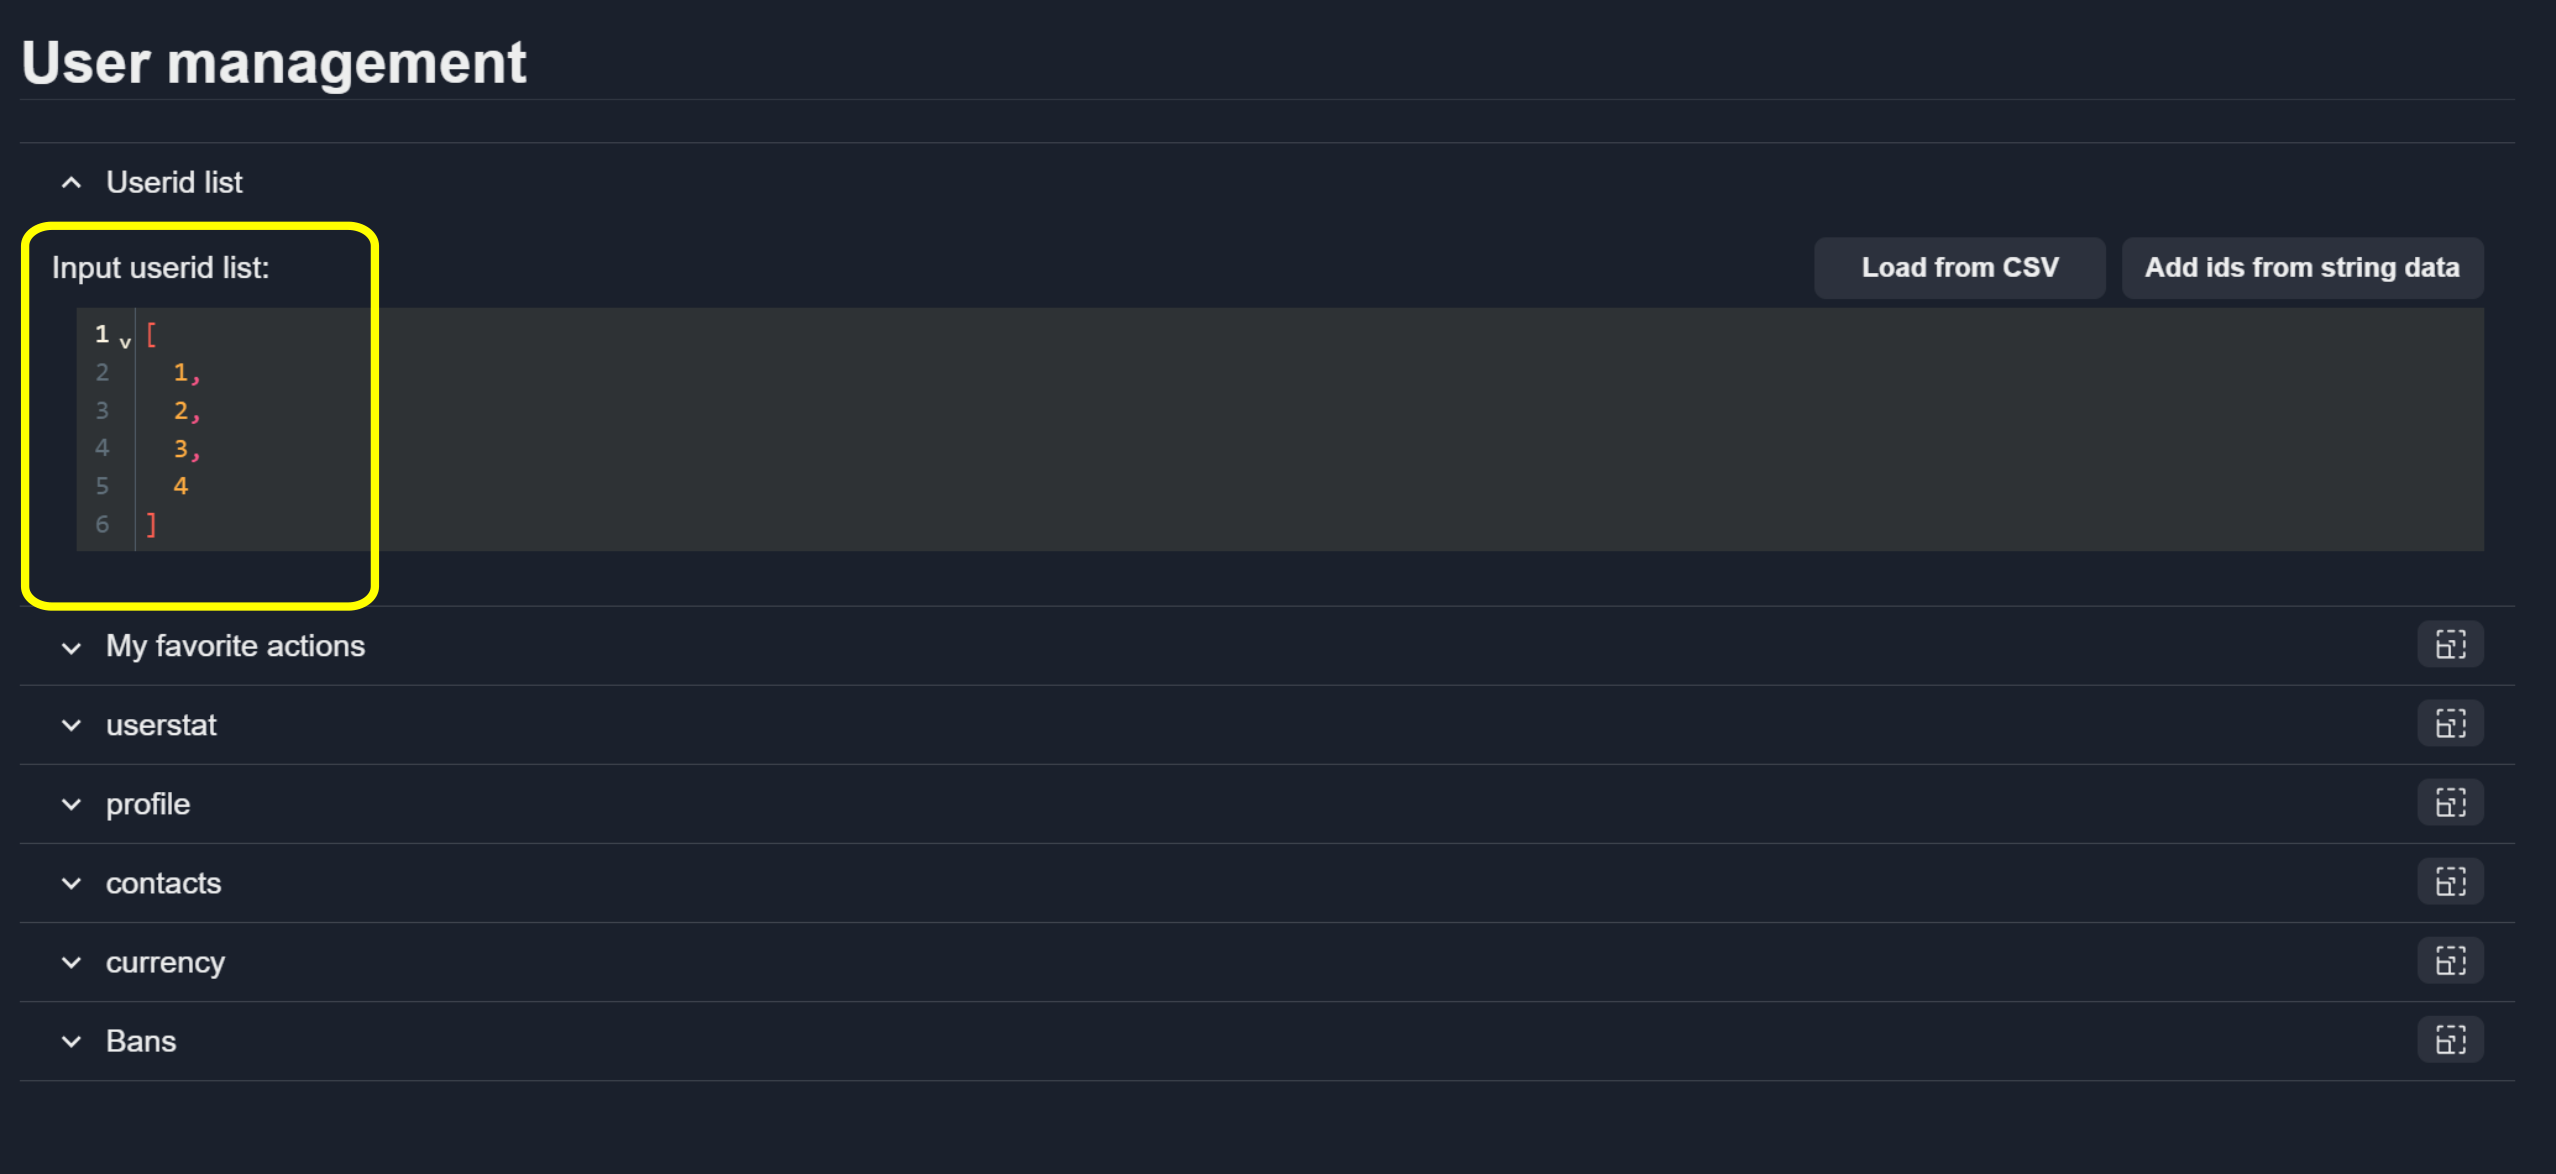
The User ID list section reveals the input area where you can provide multiple user identifiers:
Note
The number of user IDs must be greater than 0 and must not exceed 10000.
After the identifiers are provided, all selected actions will be applied to every user included in the list.
Load IDs from CSV File
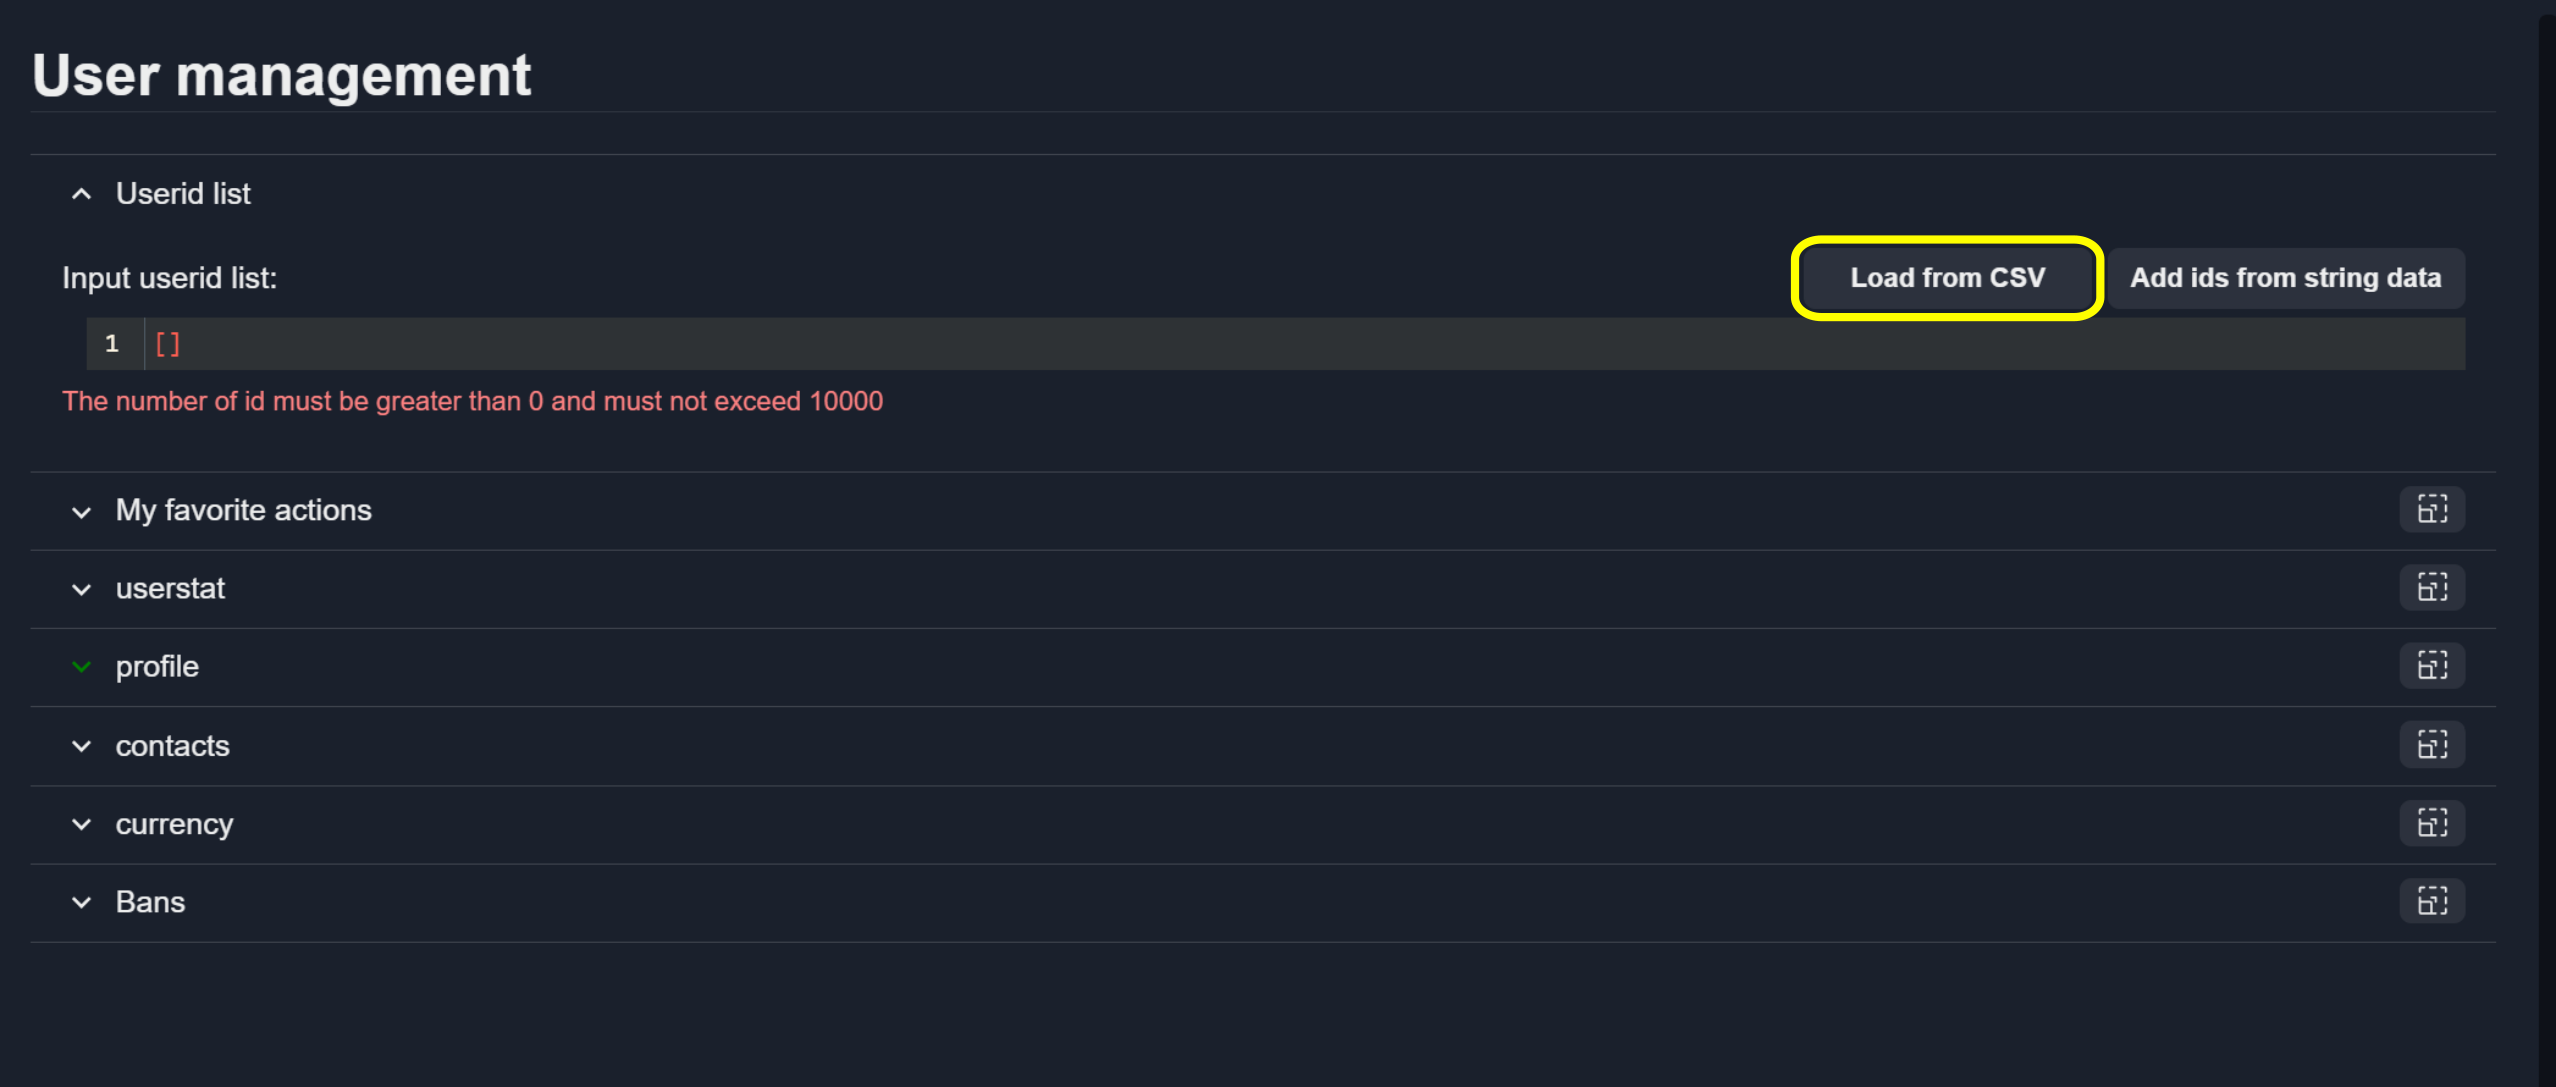
To load multiple user IDs from a CSV file, click the Load from CSV button and select the required file:
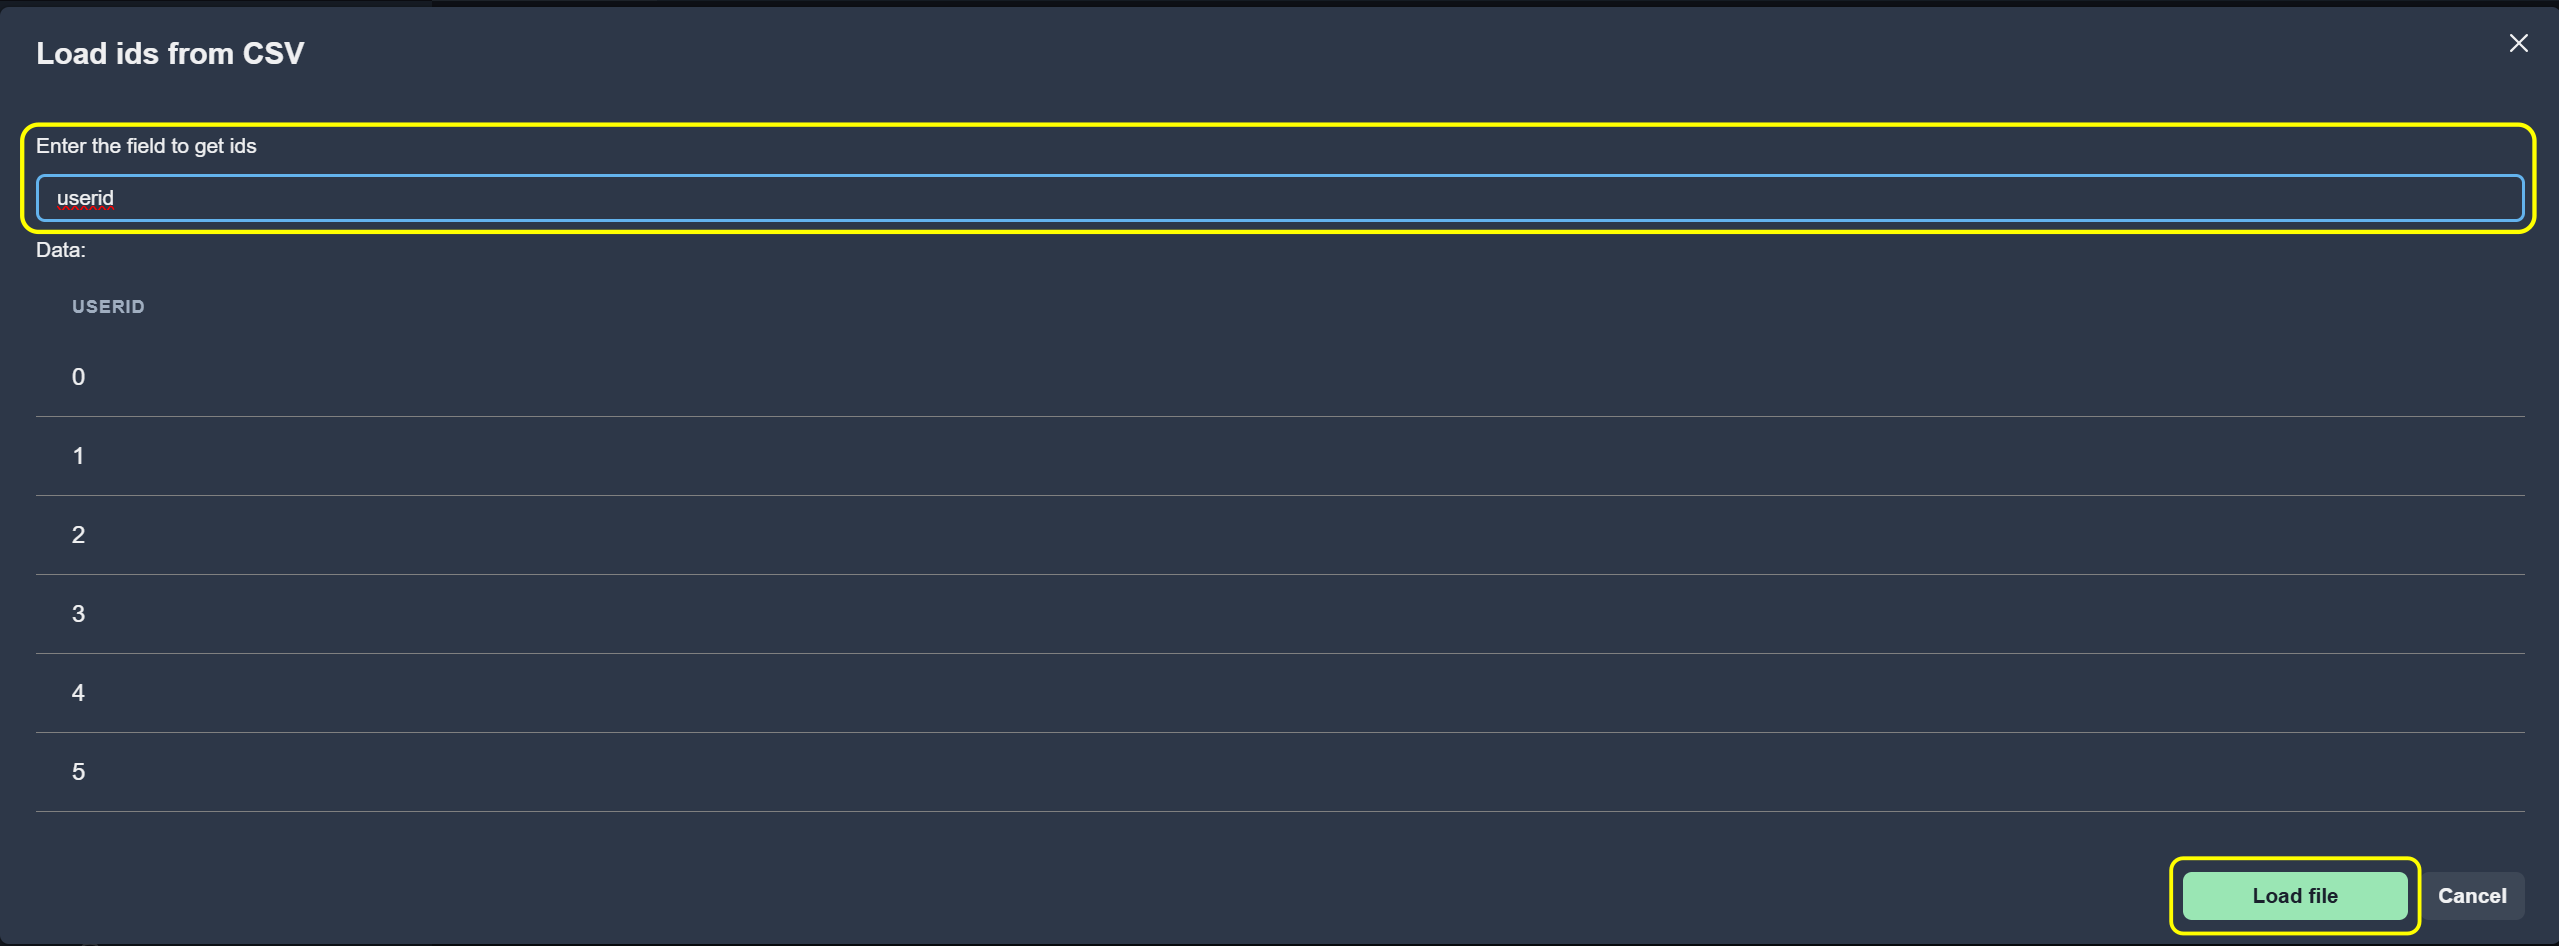
Specify the column containing user IDs and press the Load File button:
Load IDs from Text String
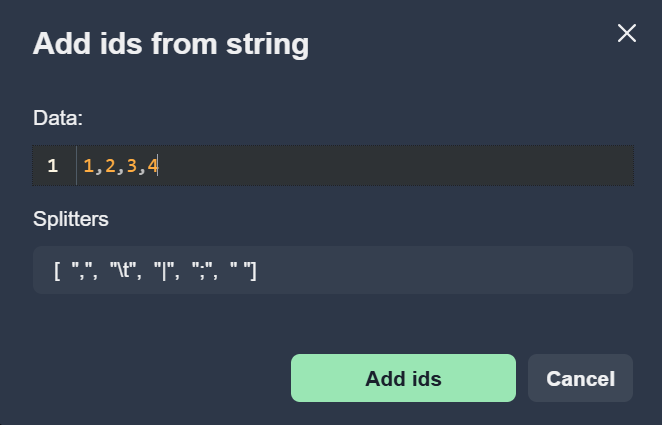
To load user IDs from a plain text string, click the Add ids from string data button
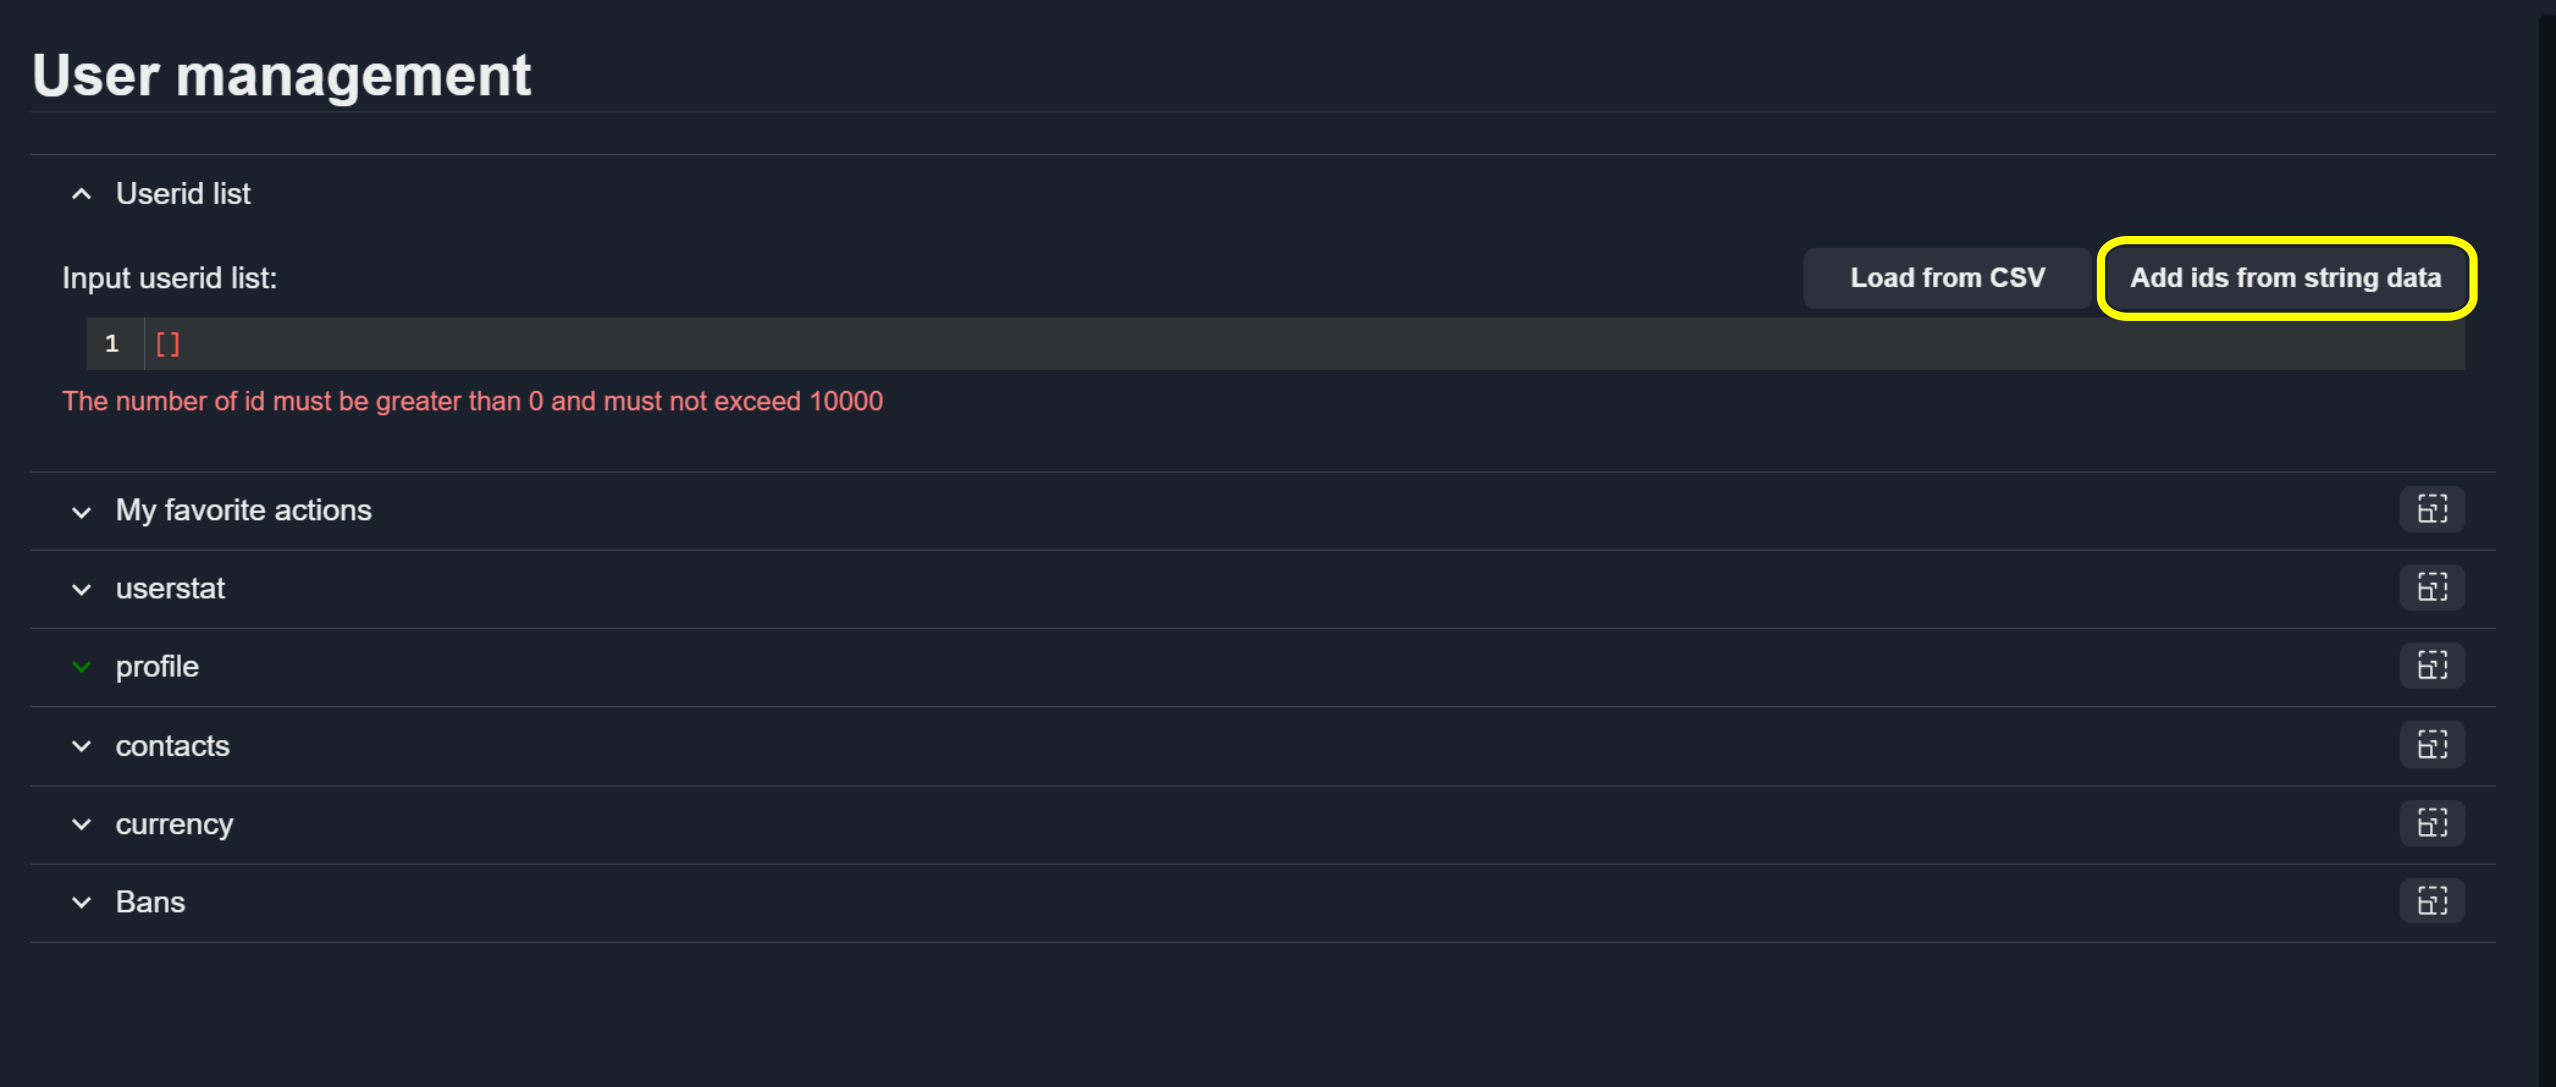
and paste the list of identifiers separated by any of the supported delimiters:
,, \t, |, ;, or a space, and click Add ids.
After confirming the input, the parsed user IDs will appear in the Input userid list field:
My Favorite Actions
See also
For more information, see Actions.
User Data
See also
For more information, see User Data.
Bans
See also
For more information, see Add ban.
Banhammer
The Banhammer section allows administrators to manage offenders and bans for all users. Data is organized into separate tabs for each category:
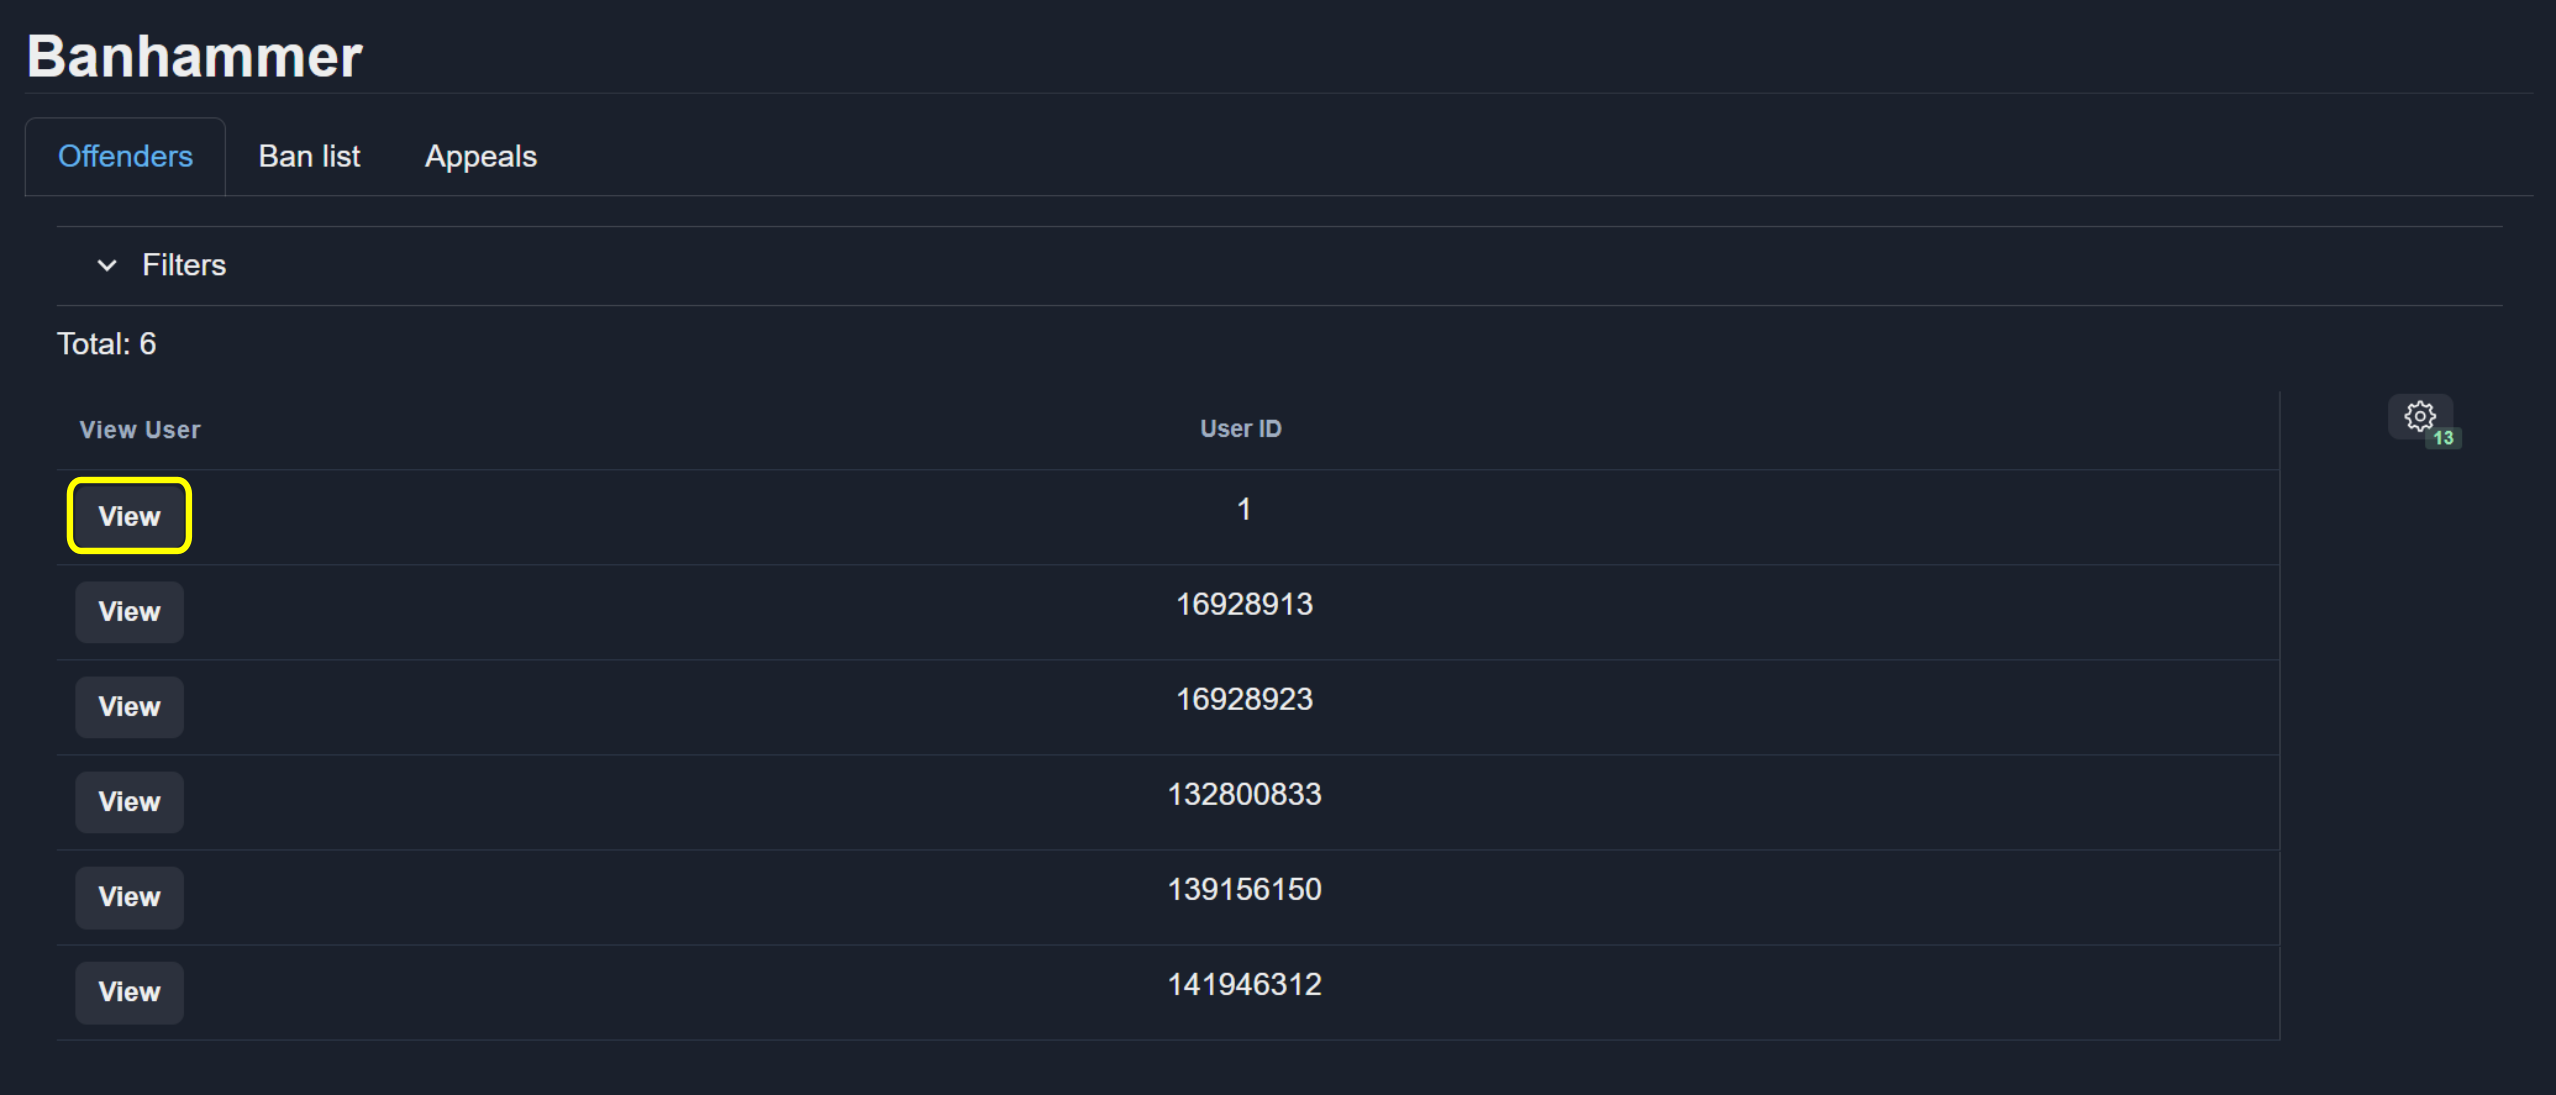
Offenders: List of offenders
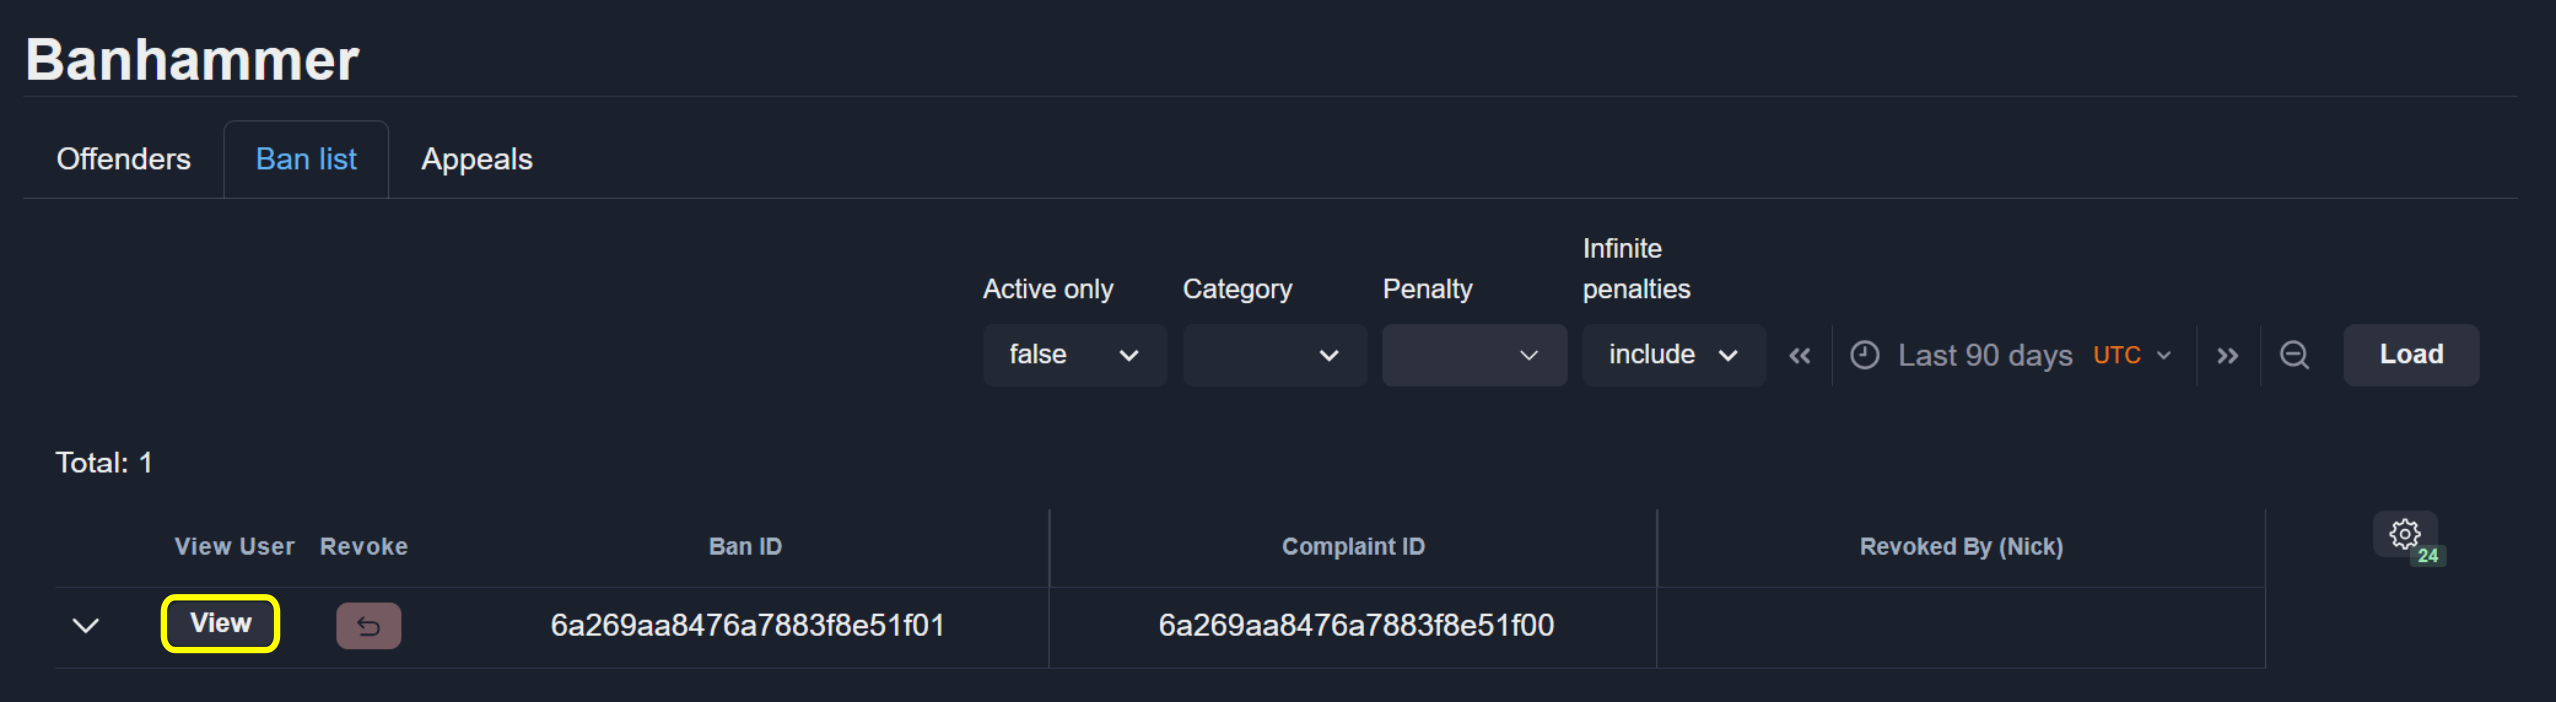
Ban list: All bans
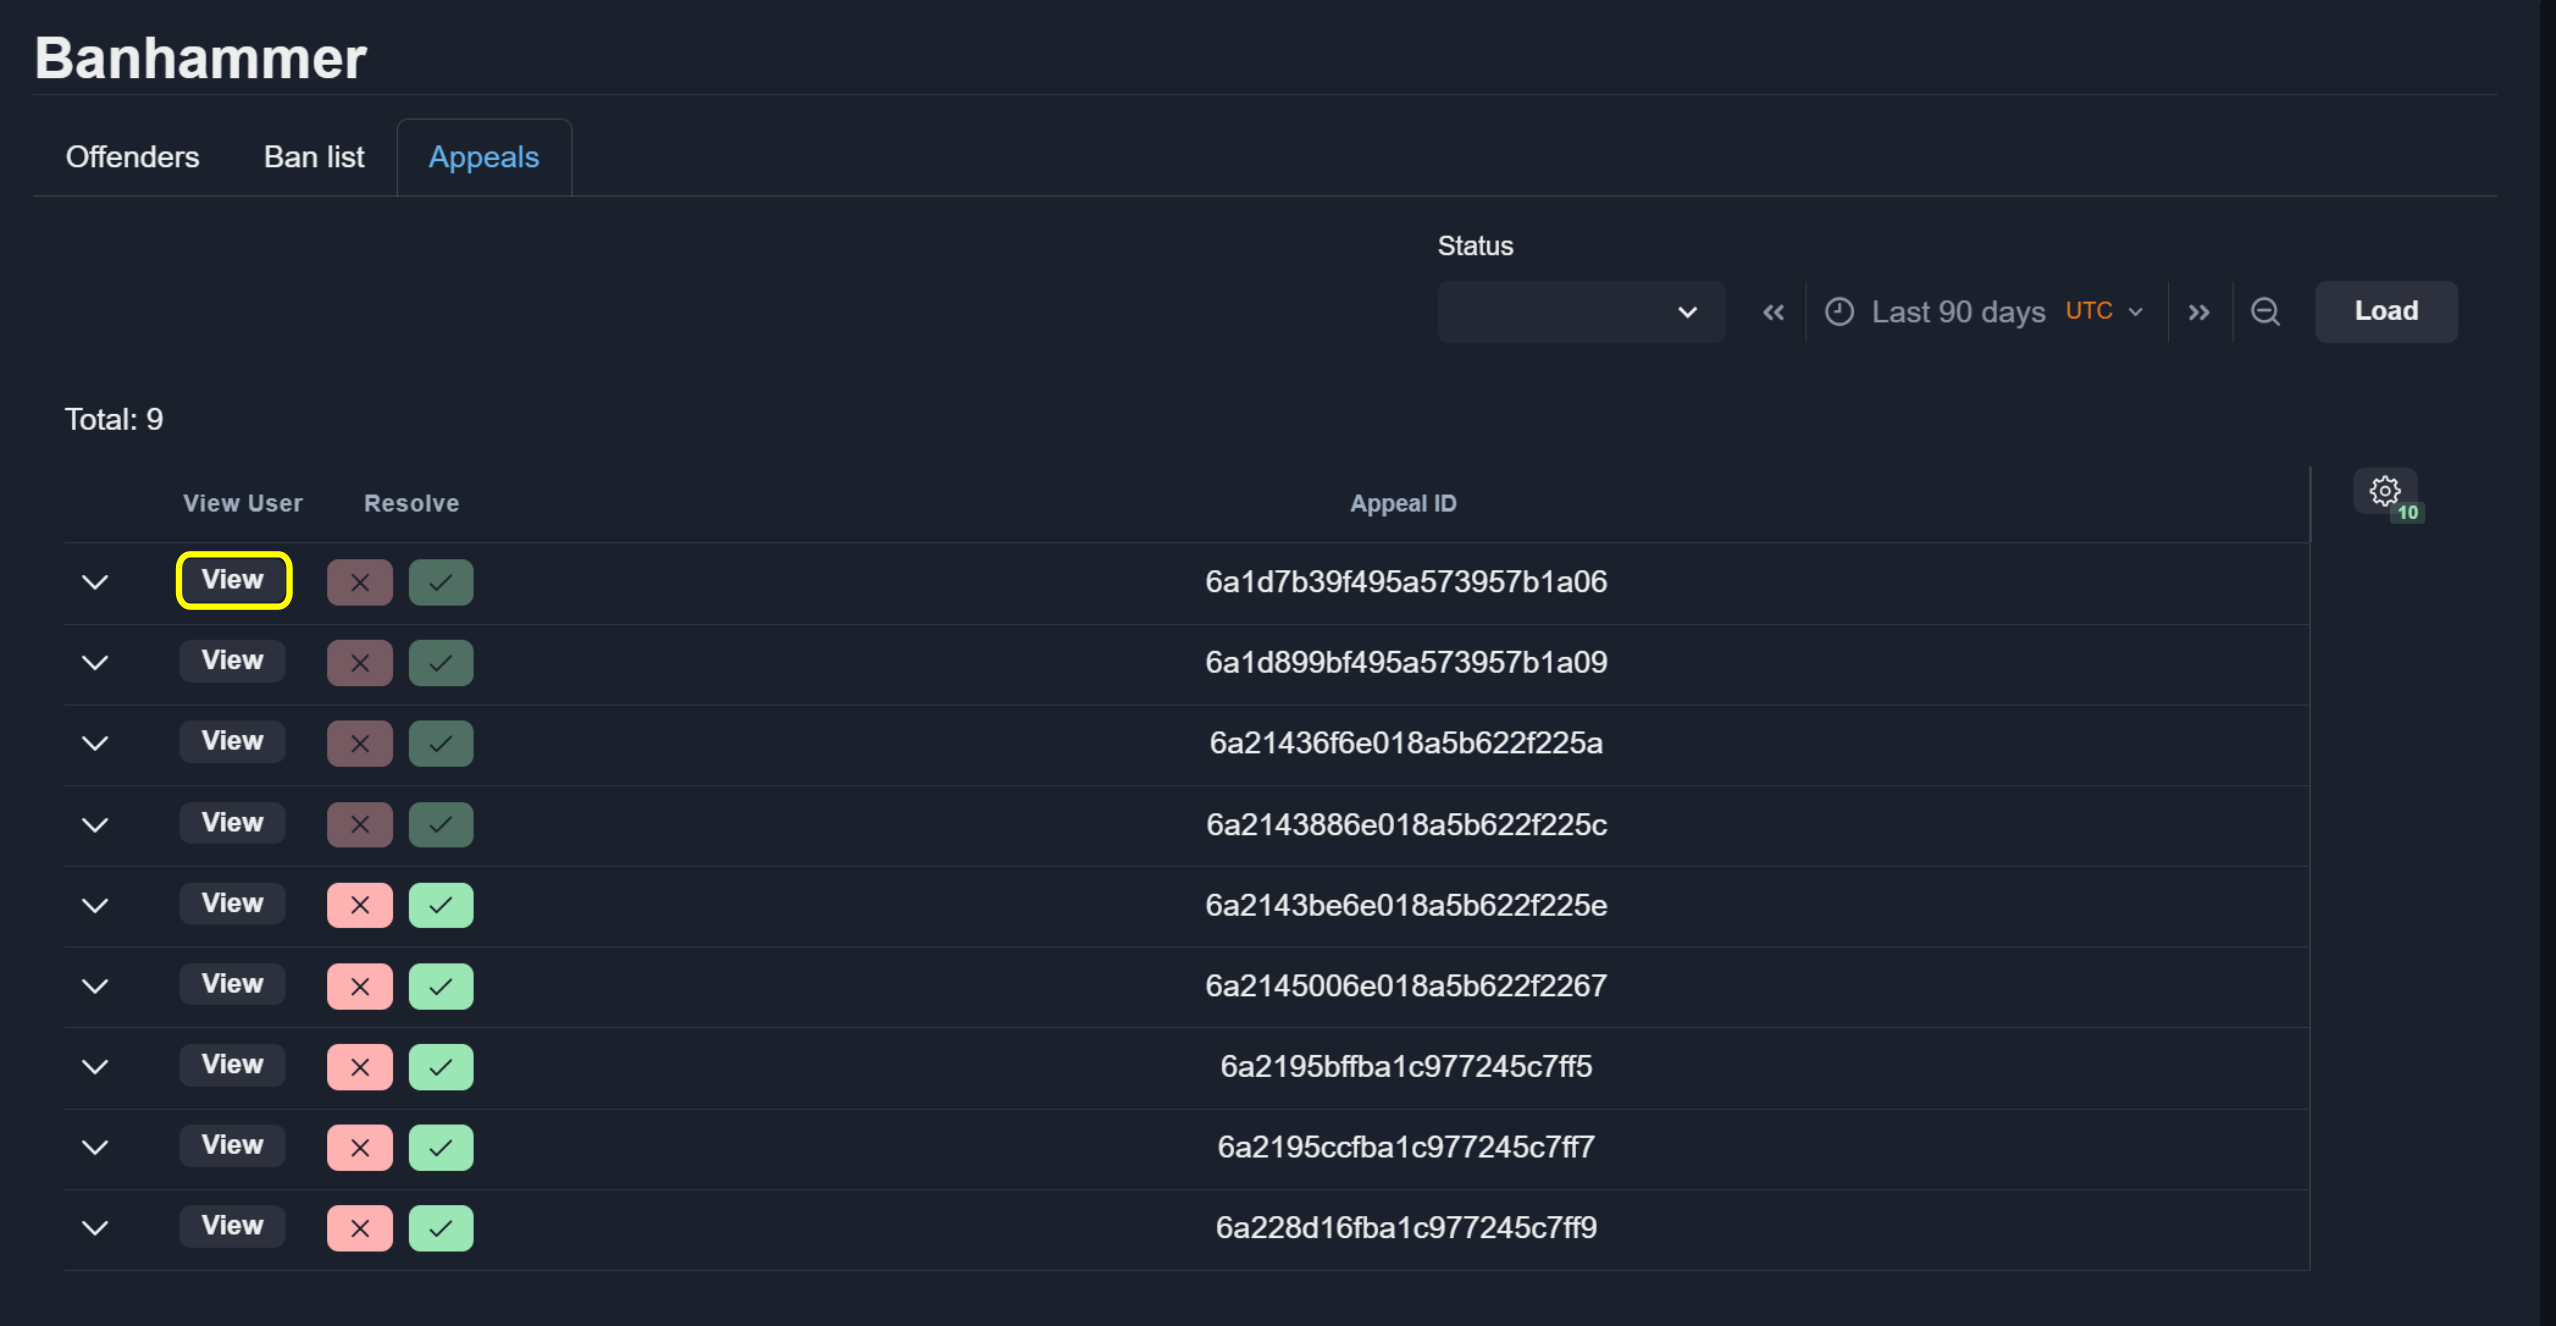
Appeals: List of appeals

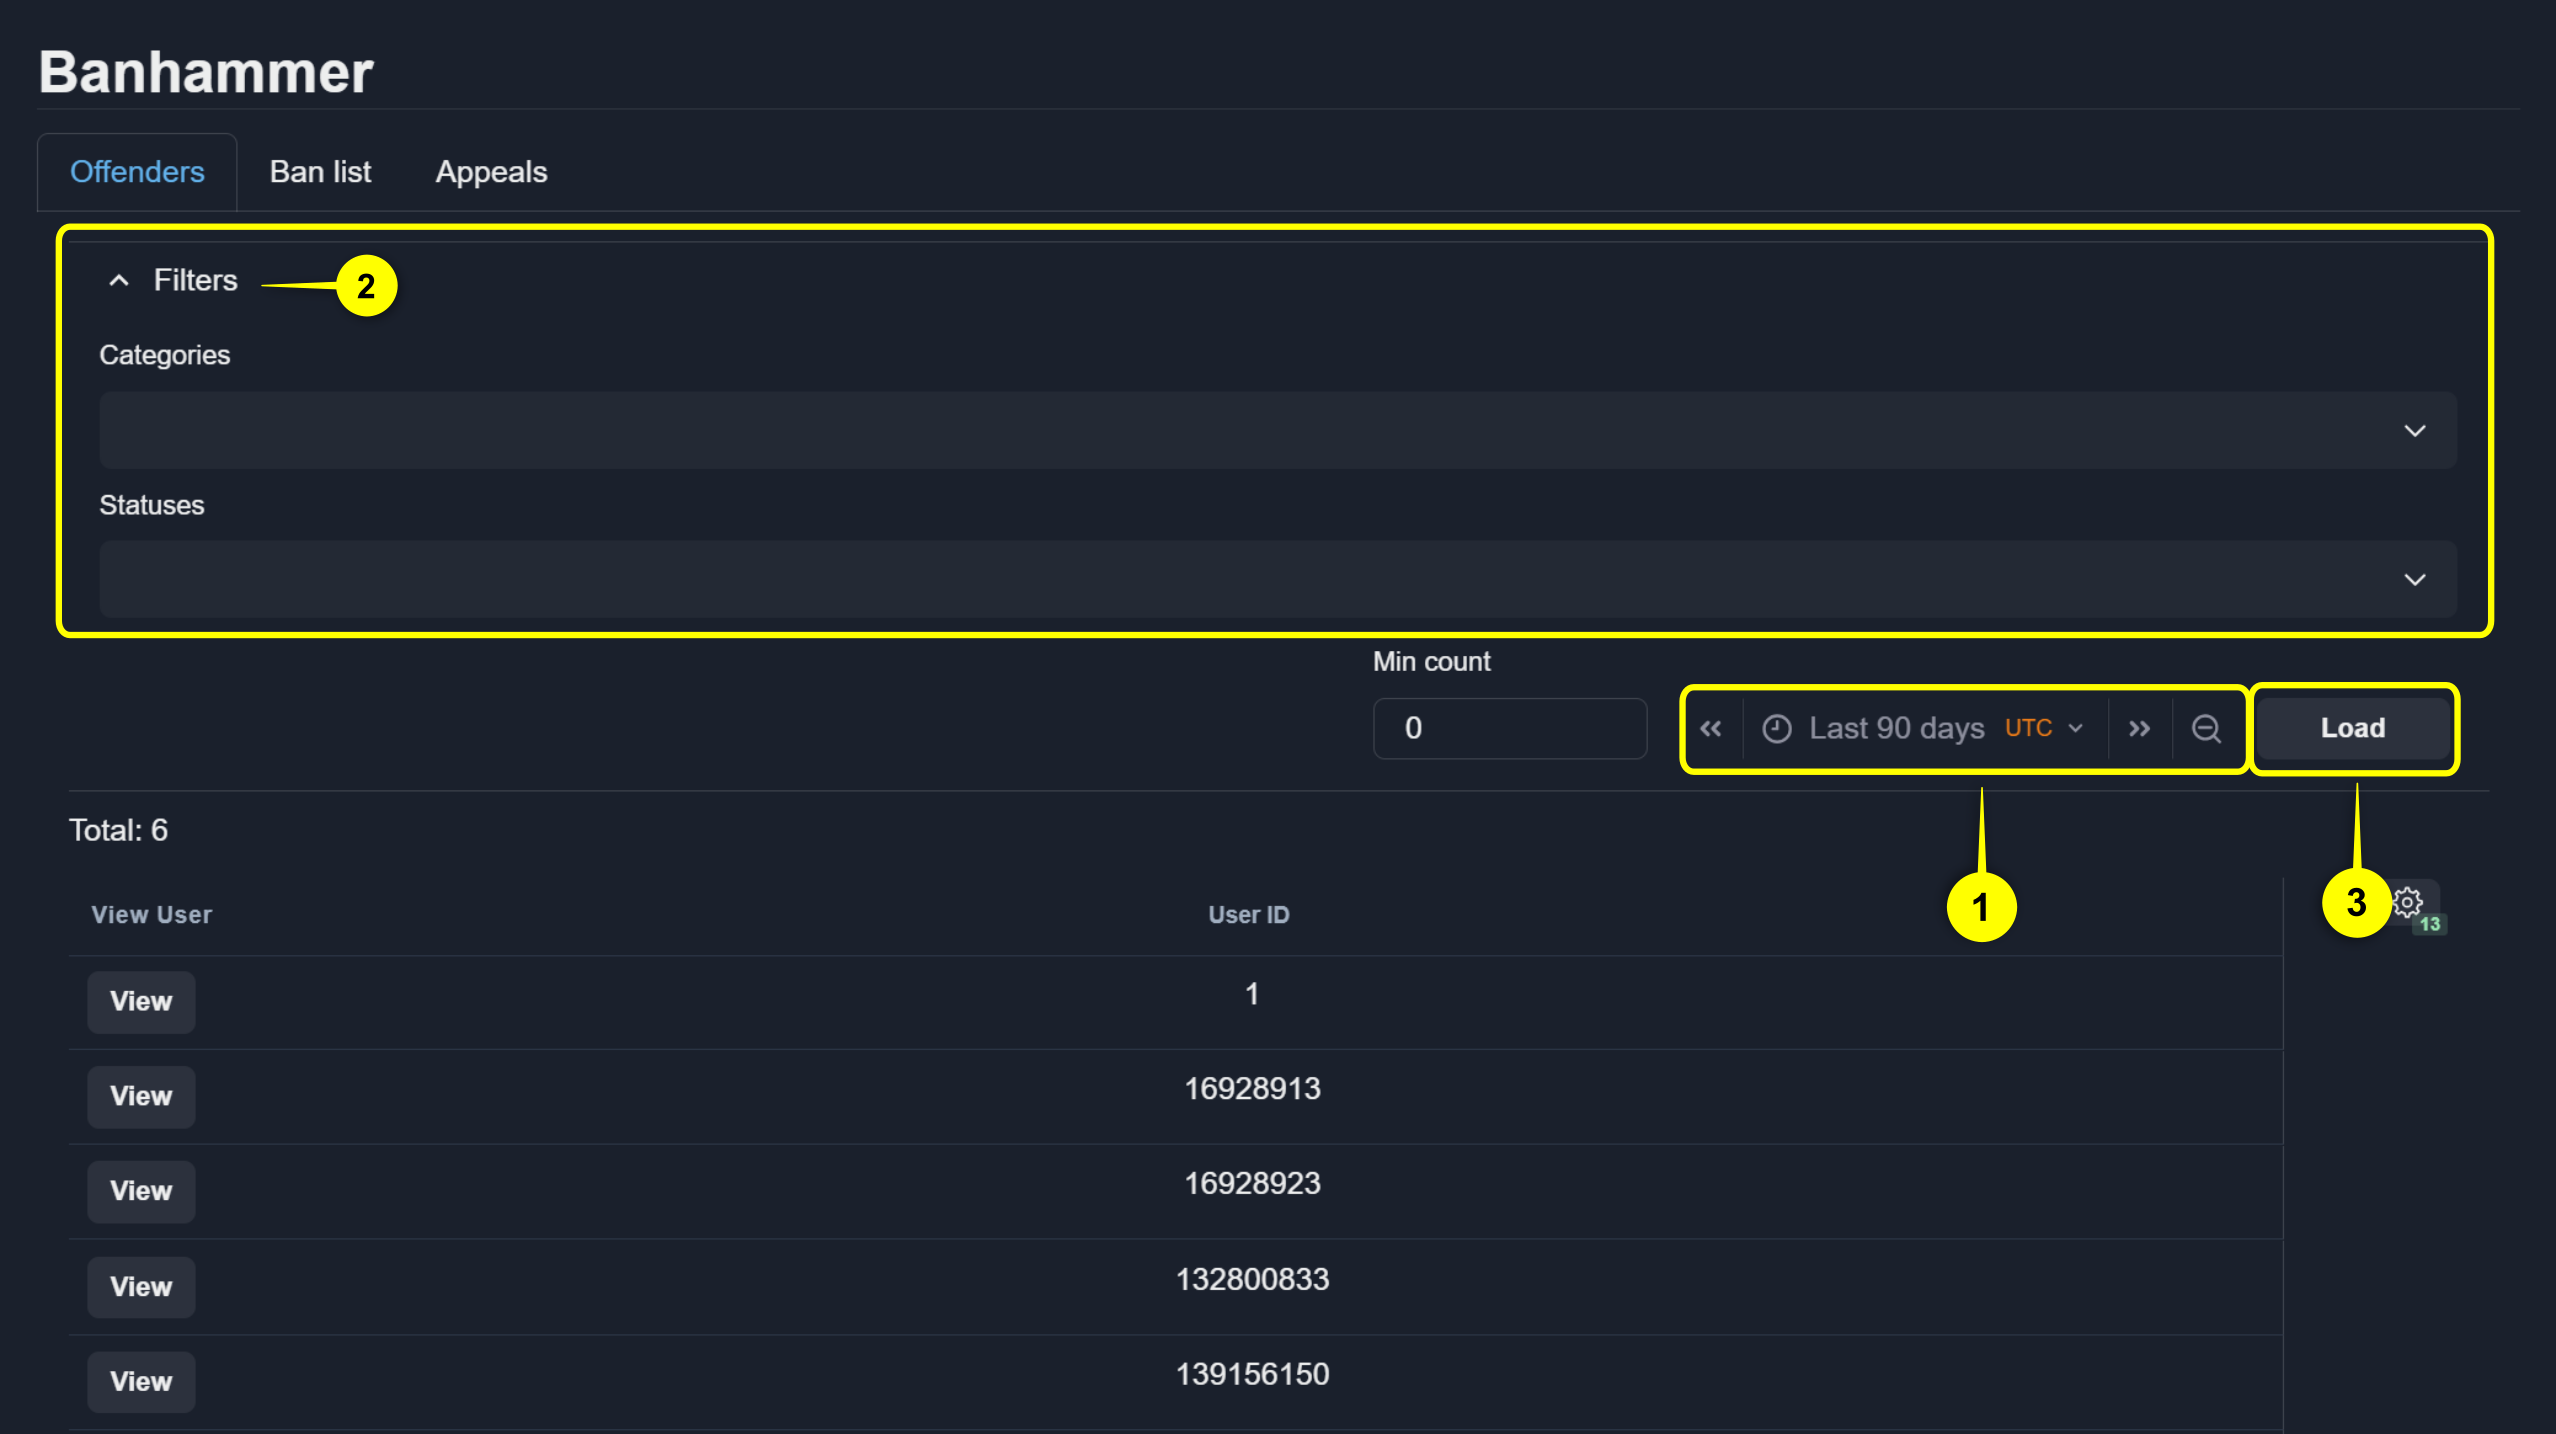
Load Offenders
To load offenders records:
Select the desired Time Range.
Enter any filter values.
Click the Load button.
Note
By default, filters are empty and all bans are displayed for the entire period.
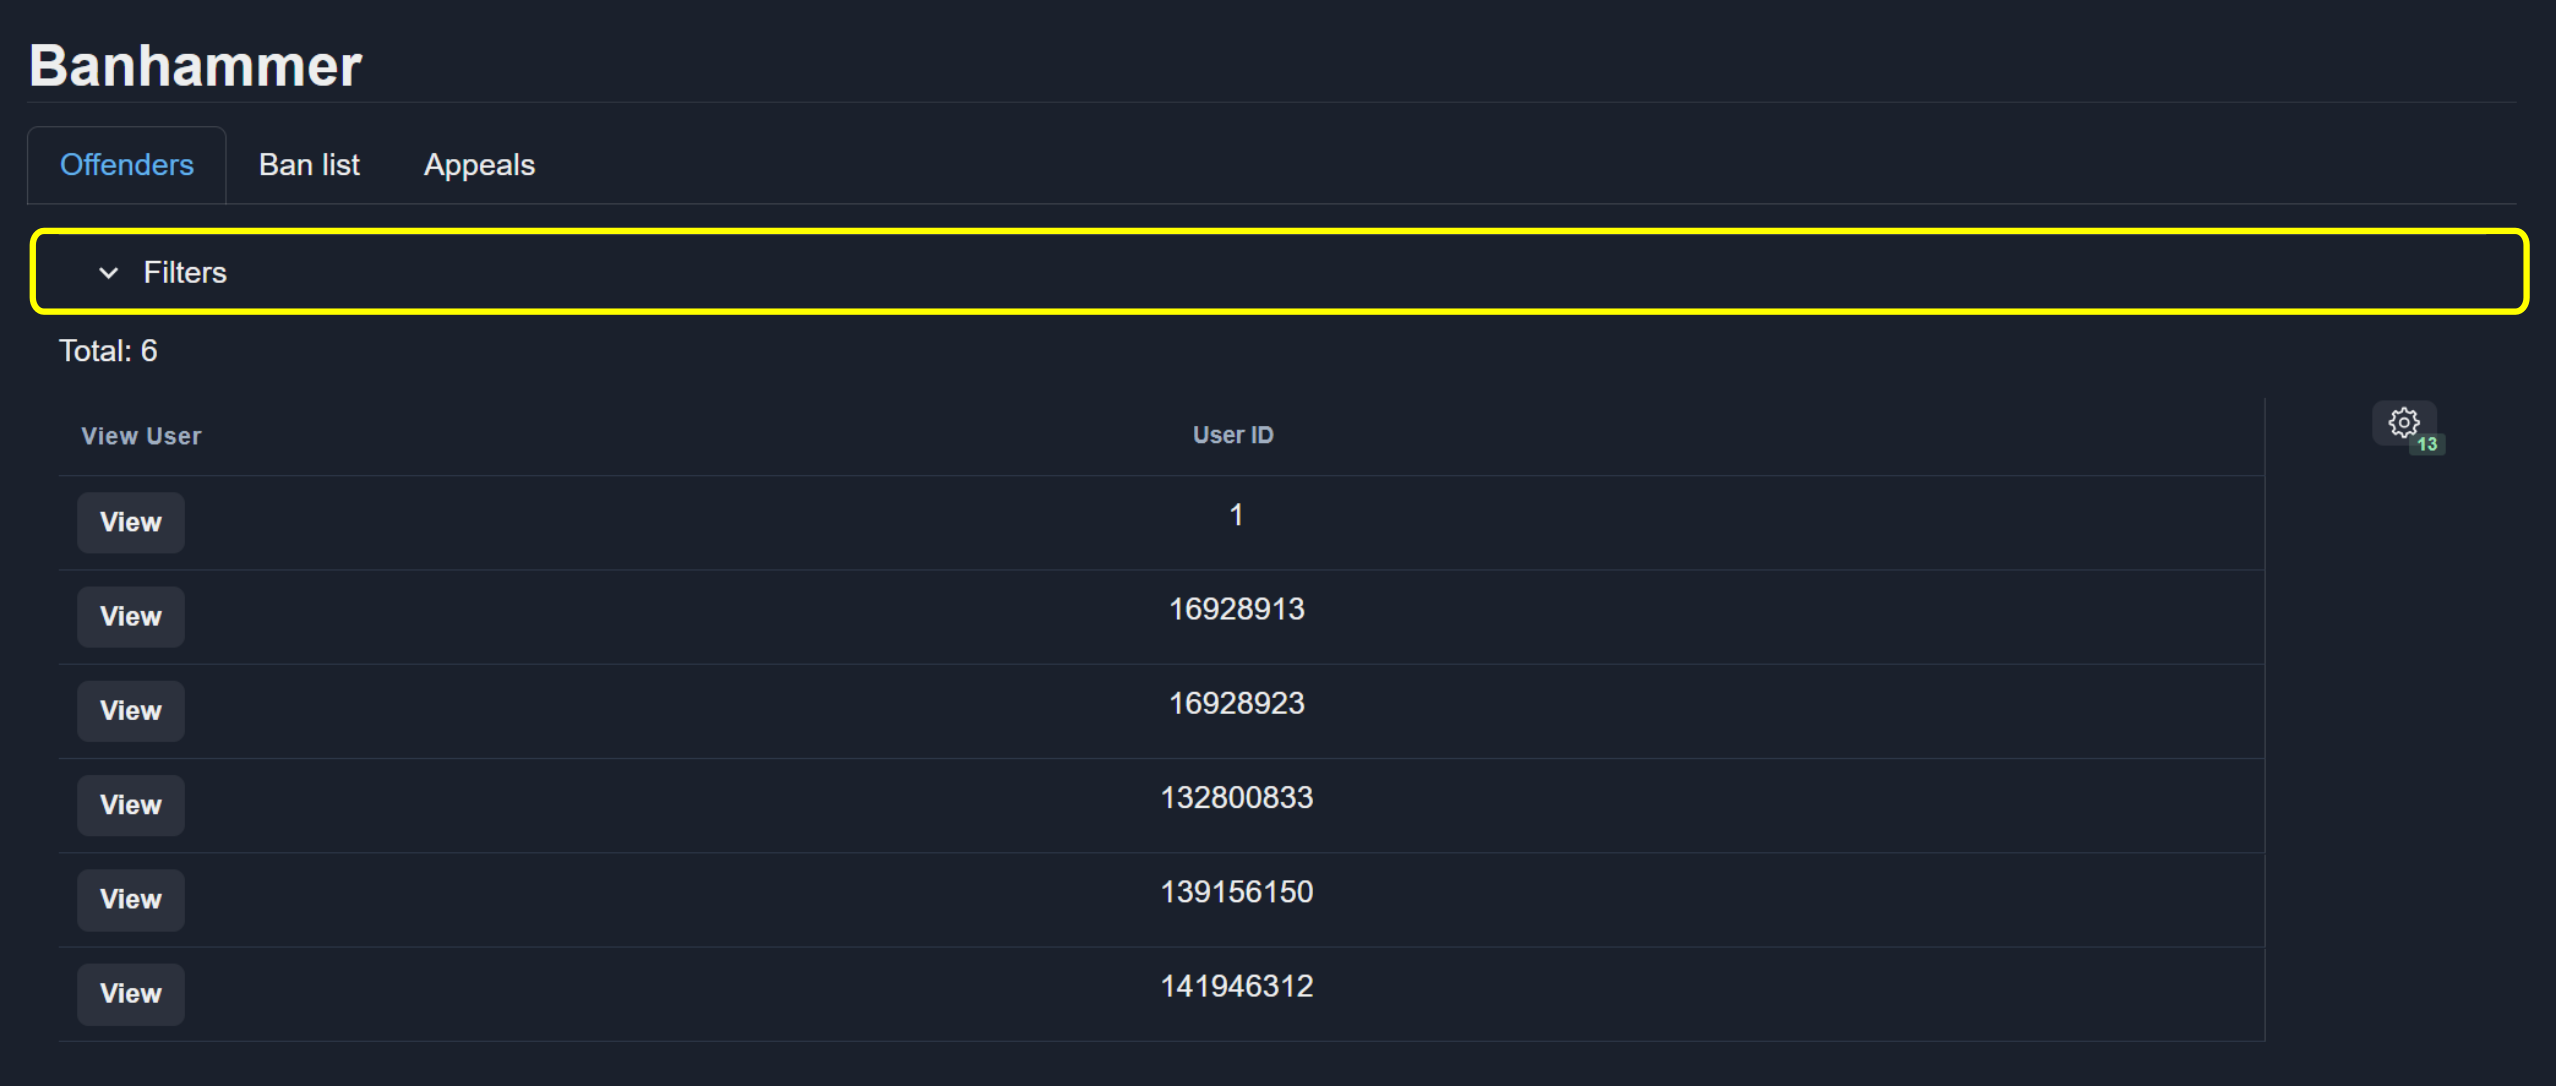
You can hide filters block for better visibility:
Note
The visibility and ordering of columns follow the settings defined in Table Settings.
To view user information, click the View button. You will be redirected to the Single User section displaying this user’s data.
Load Ban List
The ban list provides the same functionality as the Bans section.
To view user information, click the View button. You will be redirected to the Single User section displaying this user’s data.
Load Appeals List
The appeal list provides the same functionality as the Appeals section.
To view user information, click the View button. You will be redirected to the Single User section displaying this user’s data.
Moderator Summaries
The Moderator Summaries section contains users actions info in charts and tables.
Load Data
To load summary data:
Select the desired Time Range.
Click the Load button.
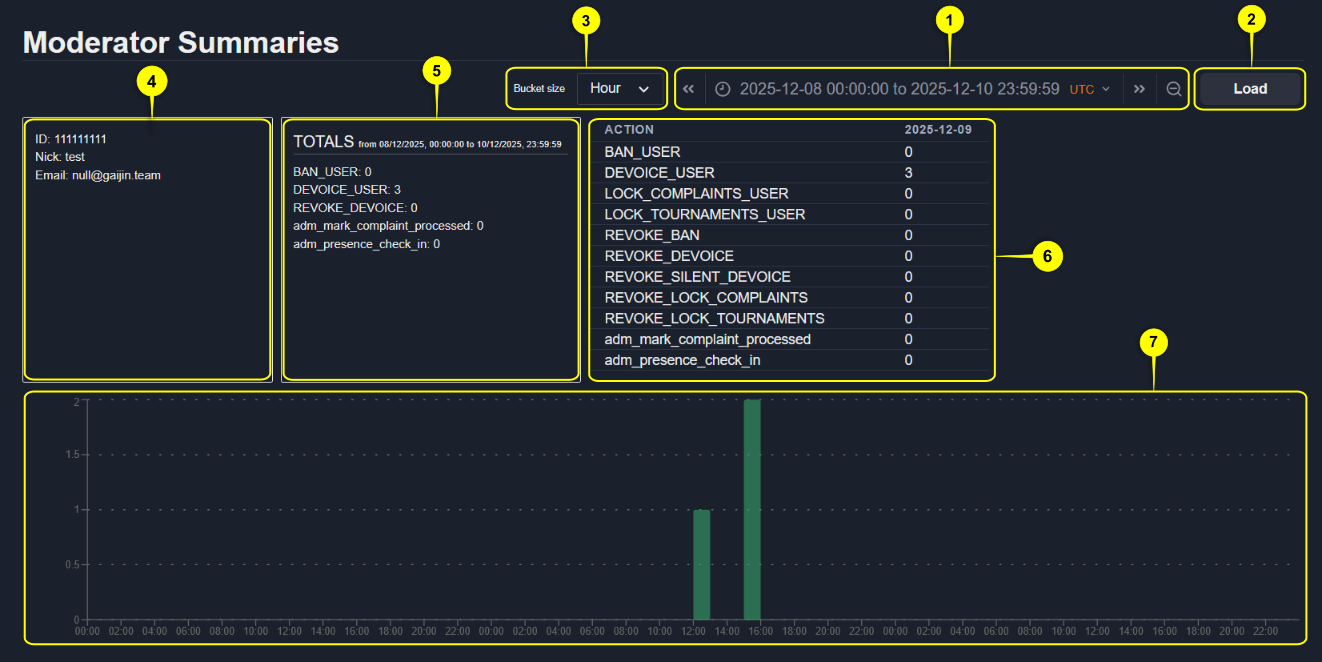
The Bucket Size 3 option controls how the data is showed in the chart.
Tip
Large date ranges combined with very small buckets may make the chart harder to read. Increase the bucket size if needed.
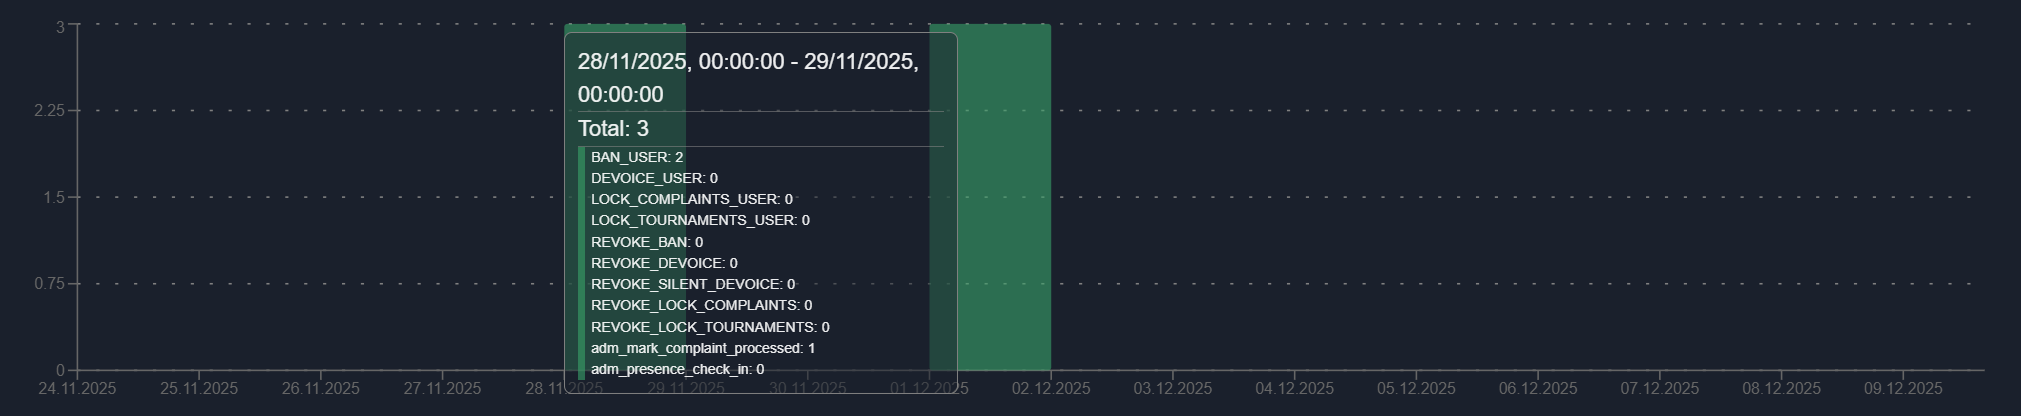
After loading the data, the interface displays the Users Info 4 block, the Total Data 5 block, and the Actions Table 6. When hovering over the chart 7, additional chart data is shown: