Workspace Configs
The Workspace Configs section is the primary interface for managing game service configurations within the Dev Portal. It provides access to all configuration types used by the game services, organized by logical domains and namespaces.
Note
In the Dev Portal interface, configs refer to configuration entities described in this documentation as configurations.
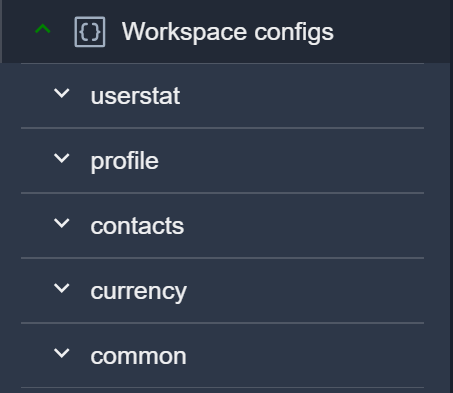
Workspace configurations are grouped into the following sections:
userstat
profile
contacts
currency
common
To open a specific section, select it from the navigation panel:
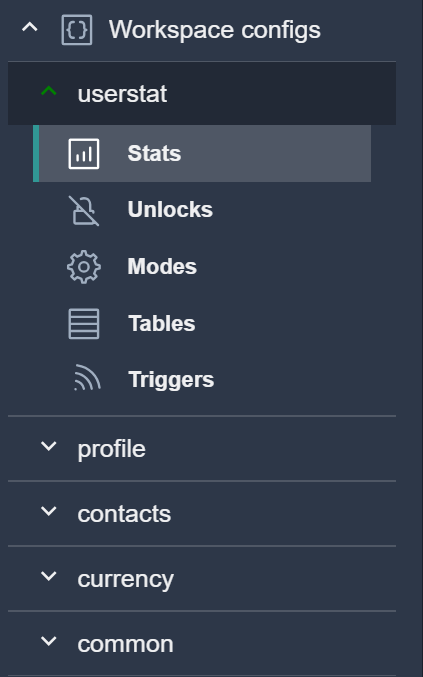
Each section contains tabs with all related game configurations.
The workspace supports several configuration types, grouped by their structure and editing behavior.
Multi-Element Configurations
Multi-element configurations consist of an array of homogeneous elements (for example, stats or tables). All multi-element configurations share the same editing workflow.
Supported multi-element configuration types:
Stats (see format)
Unlocks (see format)
Modes (see format)
Tables (see format)
Triggers (coming soon)
Currencies (coming soon)
Includes (coming soon)
Purchases (coming soon)
Schedule (coming soon)
Queues (coming soon)
Lobby Templates (coming soon)
Note
The visibility and order of table columns follow the settings defined in Table Settings.
The element configuration management described below uses the userstat > stats configuration as an example.
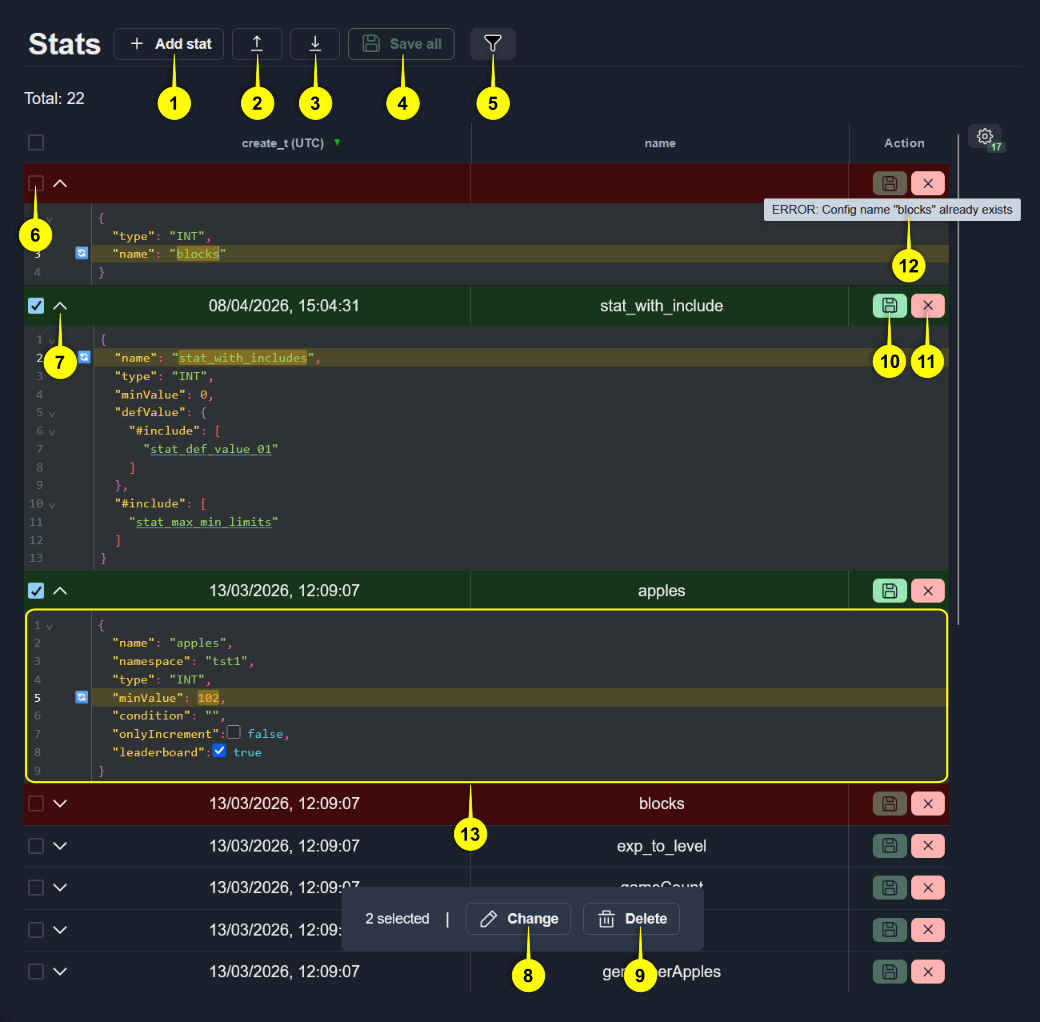
Add a new configuration element. This element is created with default values. Name must be unique.
Upload configurations from a local file system.
Download configurations in JSON format. Choose whether to group configurations by namespace in the modal window.
Save all modified configurations.
Toggle the filter panel. Click the Info icon to see hints for specifying the filter. After entering the value, click Filter button to apply your filter.
Set checkboxes to edit multiple configs at once. The number of chosen configs and available actions will be displayed.
Toggle the config accordion panel.
Open the modal to change multiple chosen configs. To preview differences between the current and result data, click the Show diff / Hide diff button.
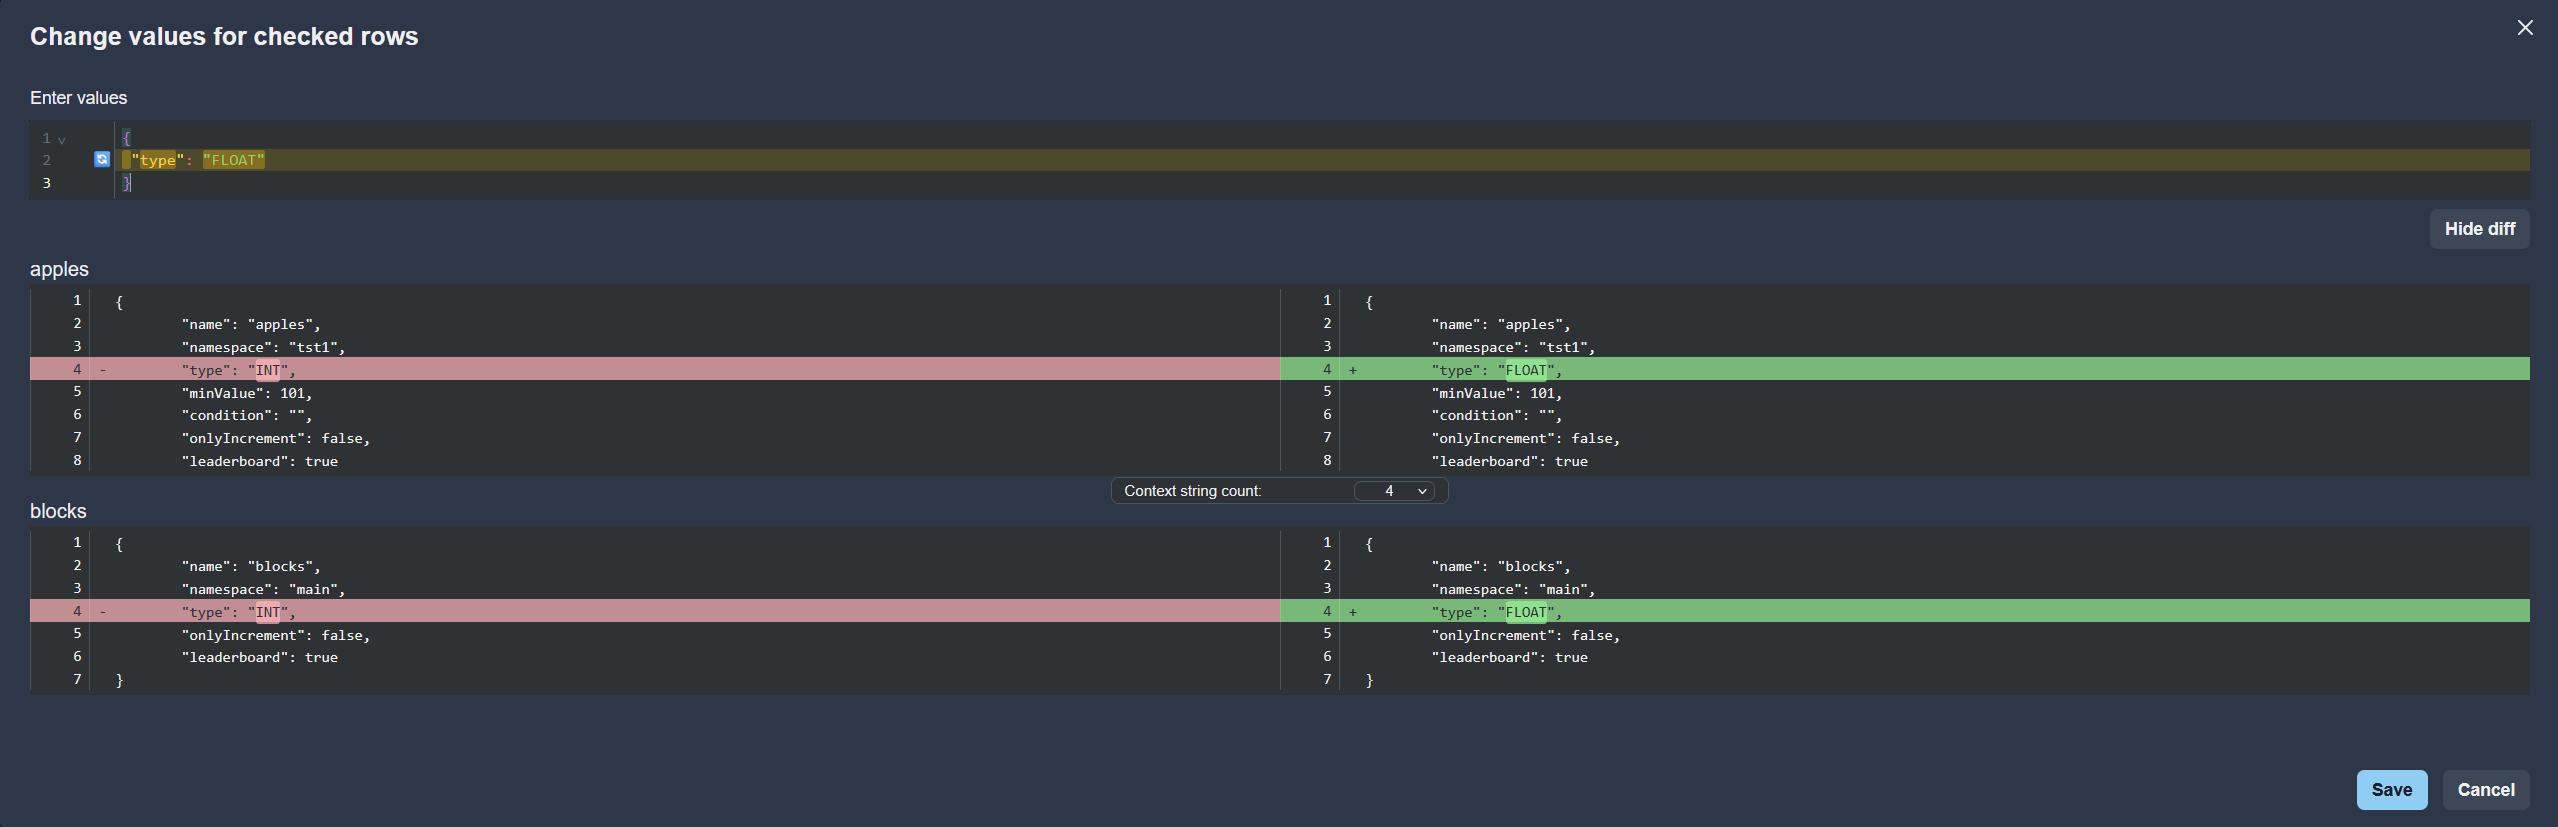
Delete multiple chosen configurations. Confirmation is required.
Save changes in the modified configuration.
Delete configuration. Confirmation is required.
If a configuration cannot be saved (name is not unique, or there are no required fields, etc.), hover over the disabled Save button (10) to see the reason.
Code Editor - edit configuration here.
Show differences
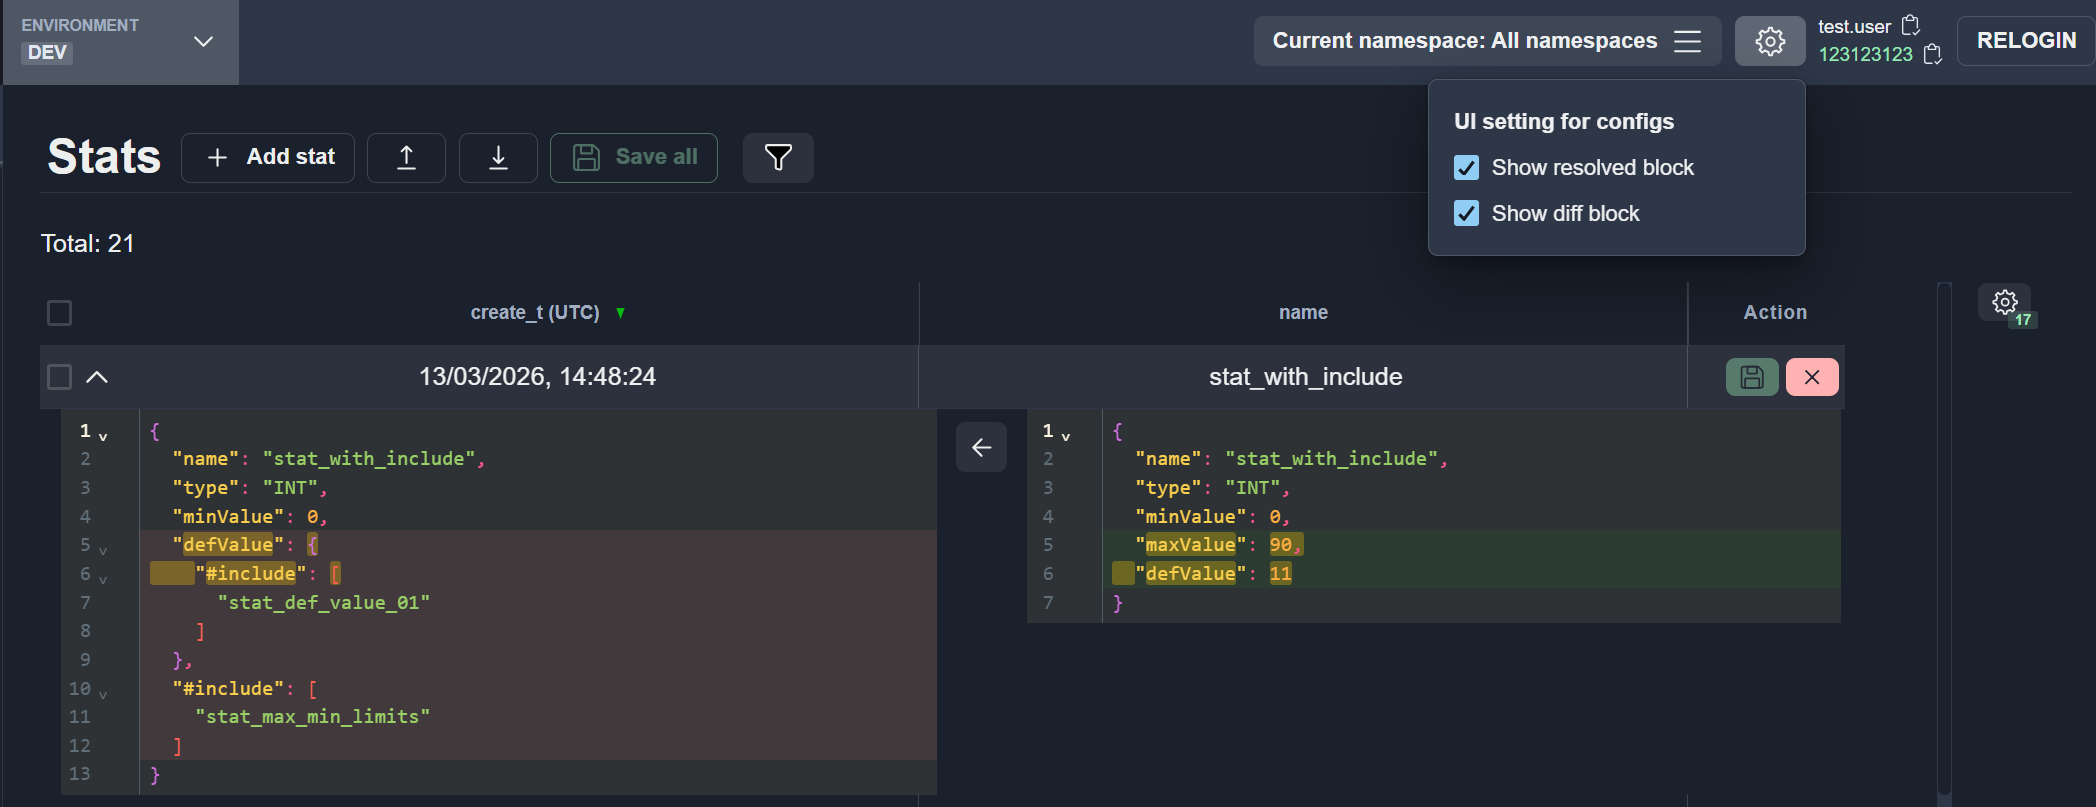
To see differences, check the box in the UI Settings menu.

Differences block is displayed in the right side.

Namespaces
Configurations are logically grouped by namespaces.
View Namespaces
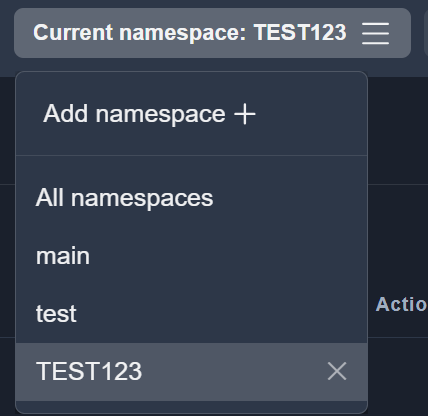
To open the namespace list, click the Current namespace: dropdown. Select a namespace to display only configurations that belong to it. Create new namespace by clicking Add namespace.

Note
Only namespaces created in the current workspace can be removed.
Single Configurations
A single configuration is represented as a JSON object and may contain fields of different types. To edit a single configuration, use the Code Editor.
Supported single configuration types:
Contacts (see format)
Tribunal (coming soon)
Cloud (see format)
Edit Configuration
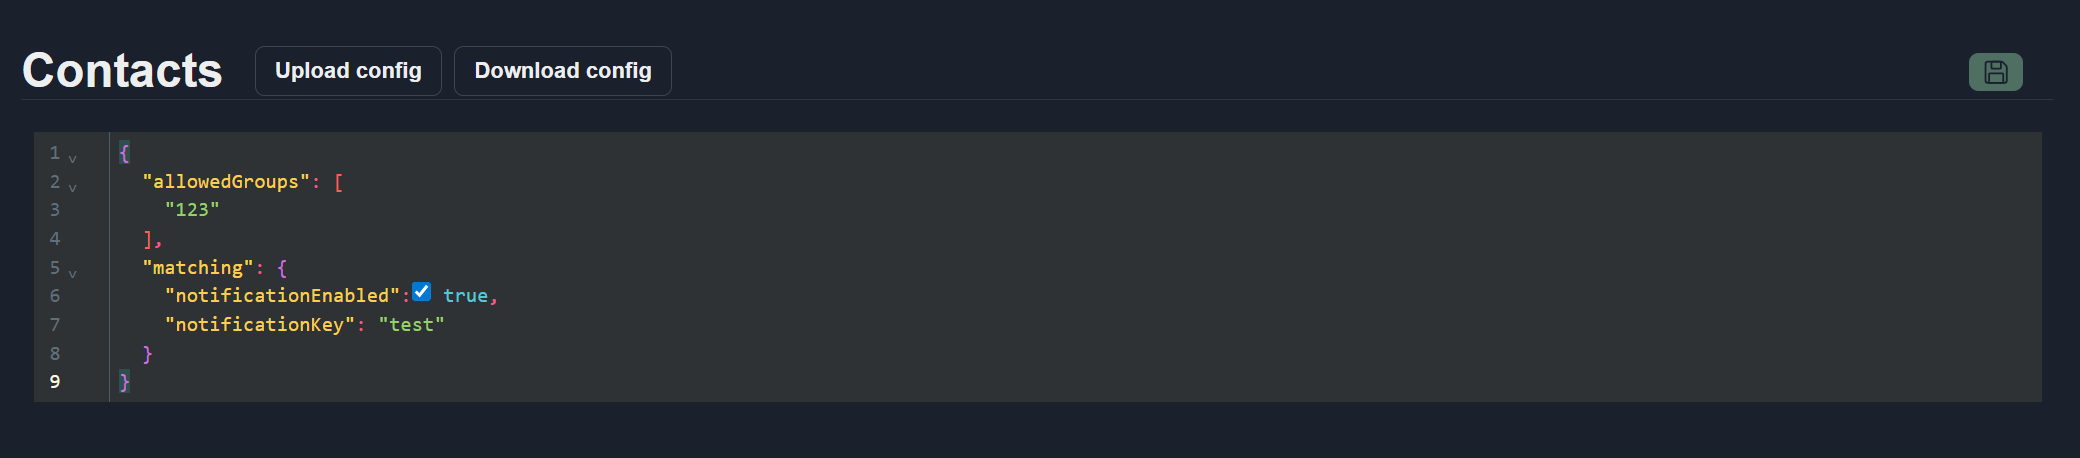
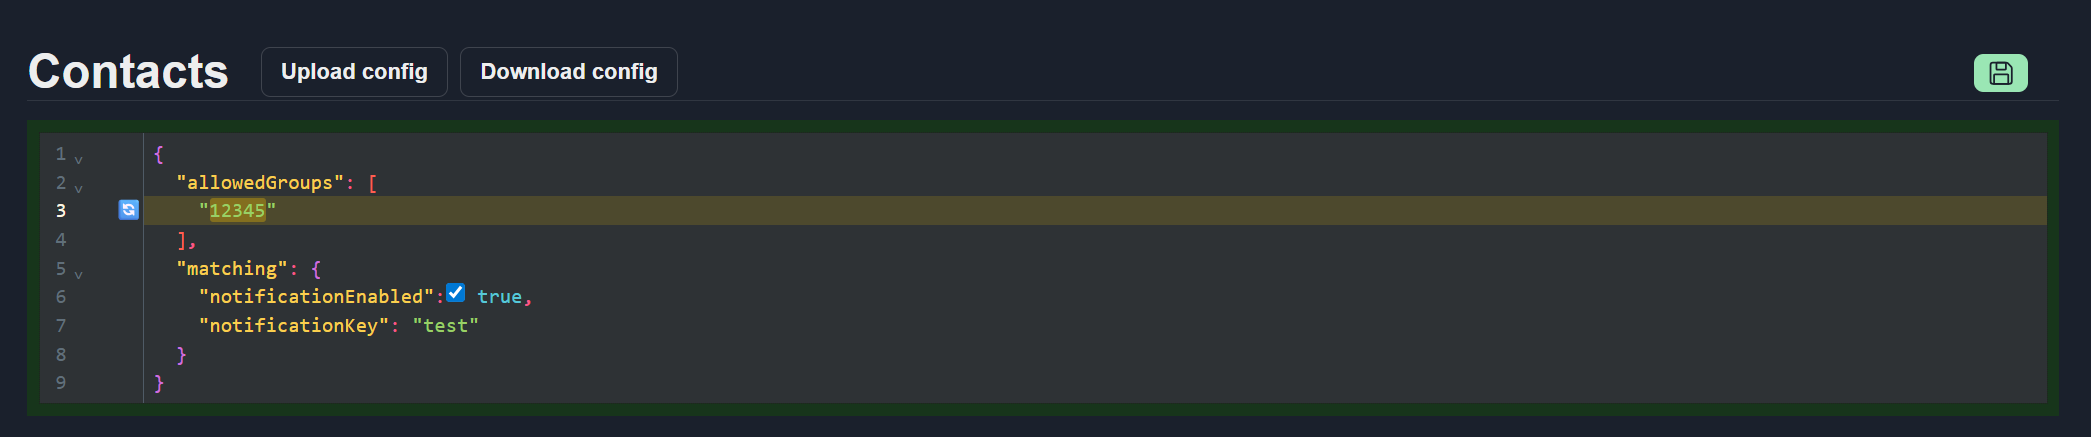
To save the changes, click the Save button.
Upload Configuration
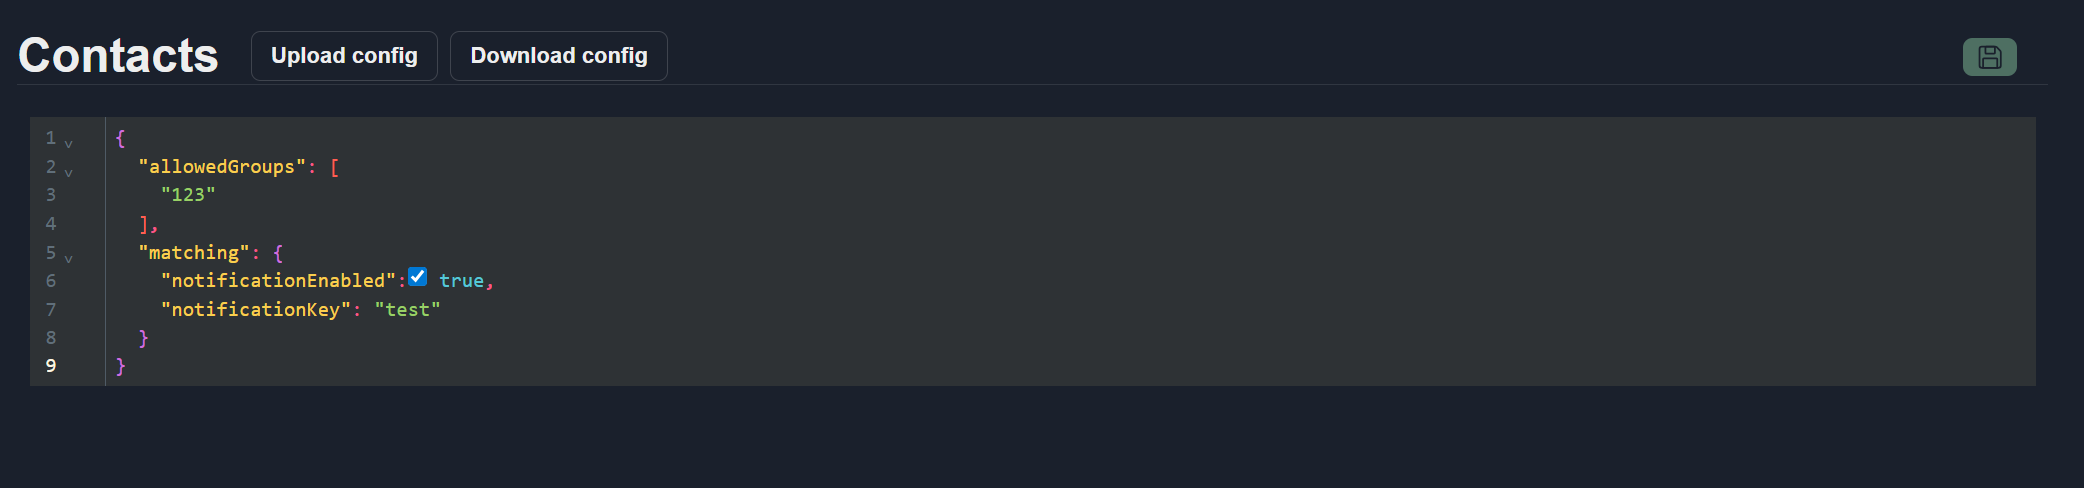
To upload configurations from a local directory, click the Upload config button and select a file.
Download Configuration
To download configurations to a local directory, click the Download config button.
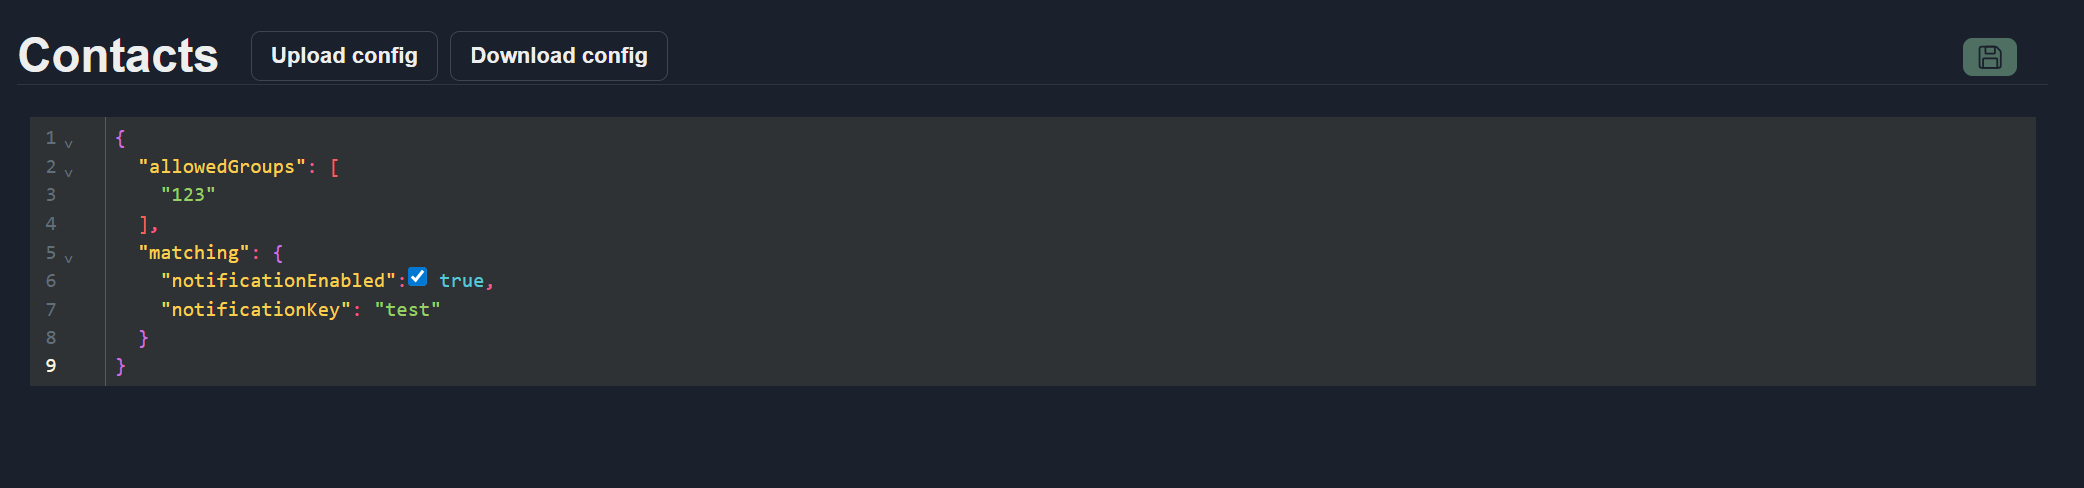
The editor supports syntax highlighting, code completion, error markers, and change markers.
Includes
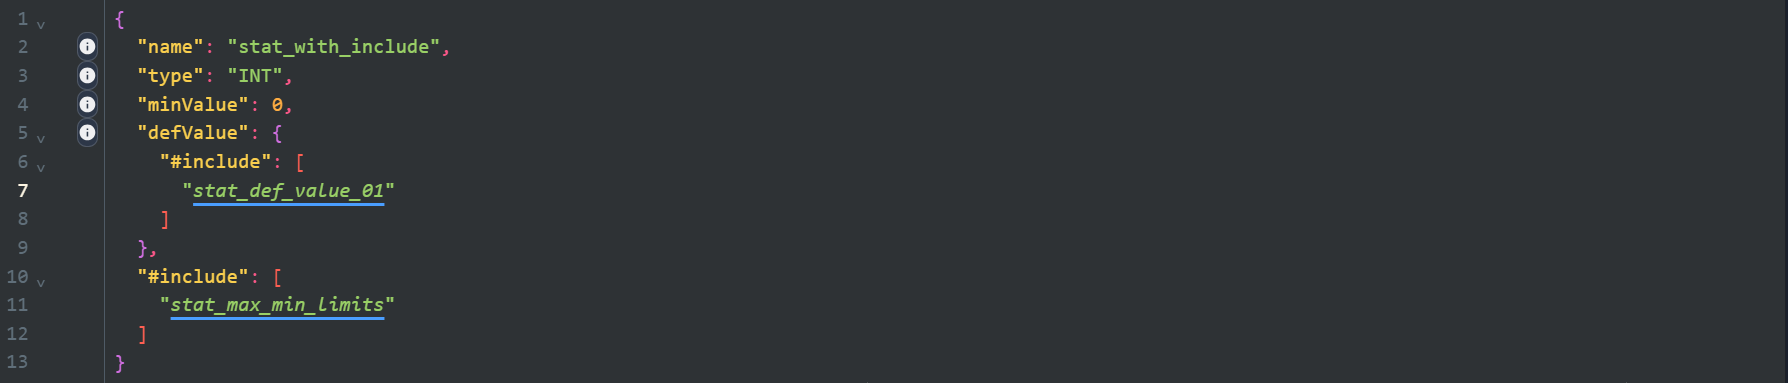
The Includes mechanism enables reuse and sharing of common configuration parts across multiple configs. It is structured in the same way as a standard multi-element configuration.
For example, if multiple stat elements require identical minimum and maximum limits, these values can be defined once in the Includes section and reused across all relevant elements instead of being duplicated.
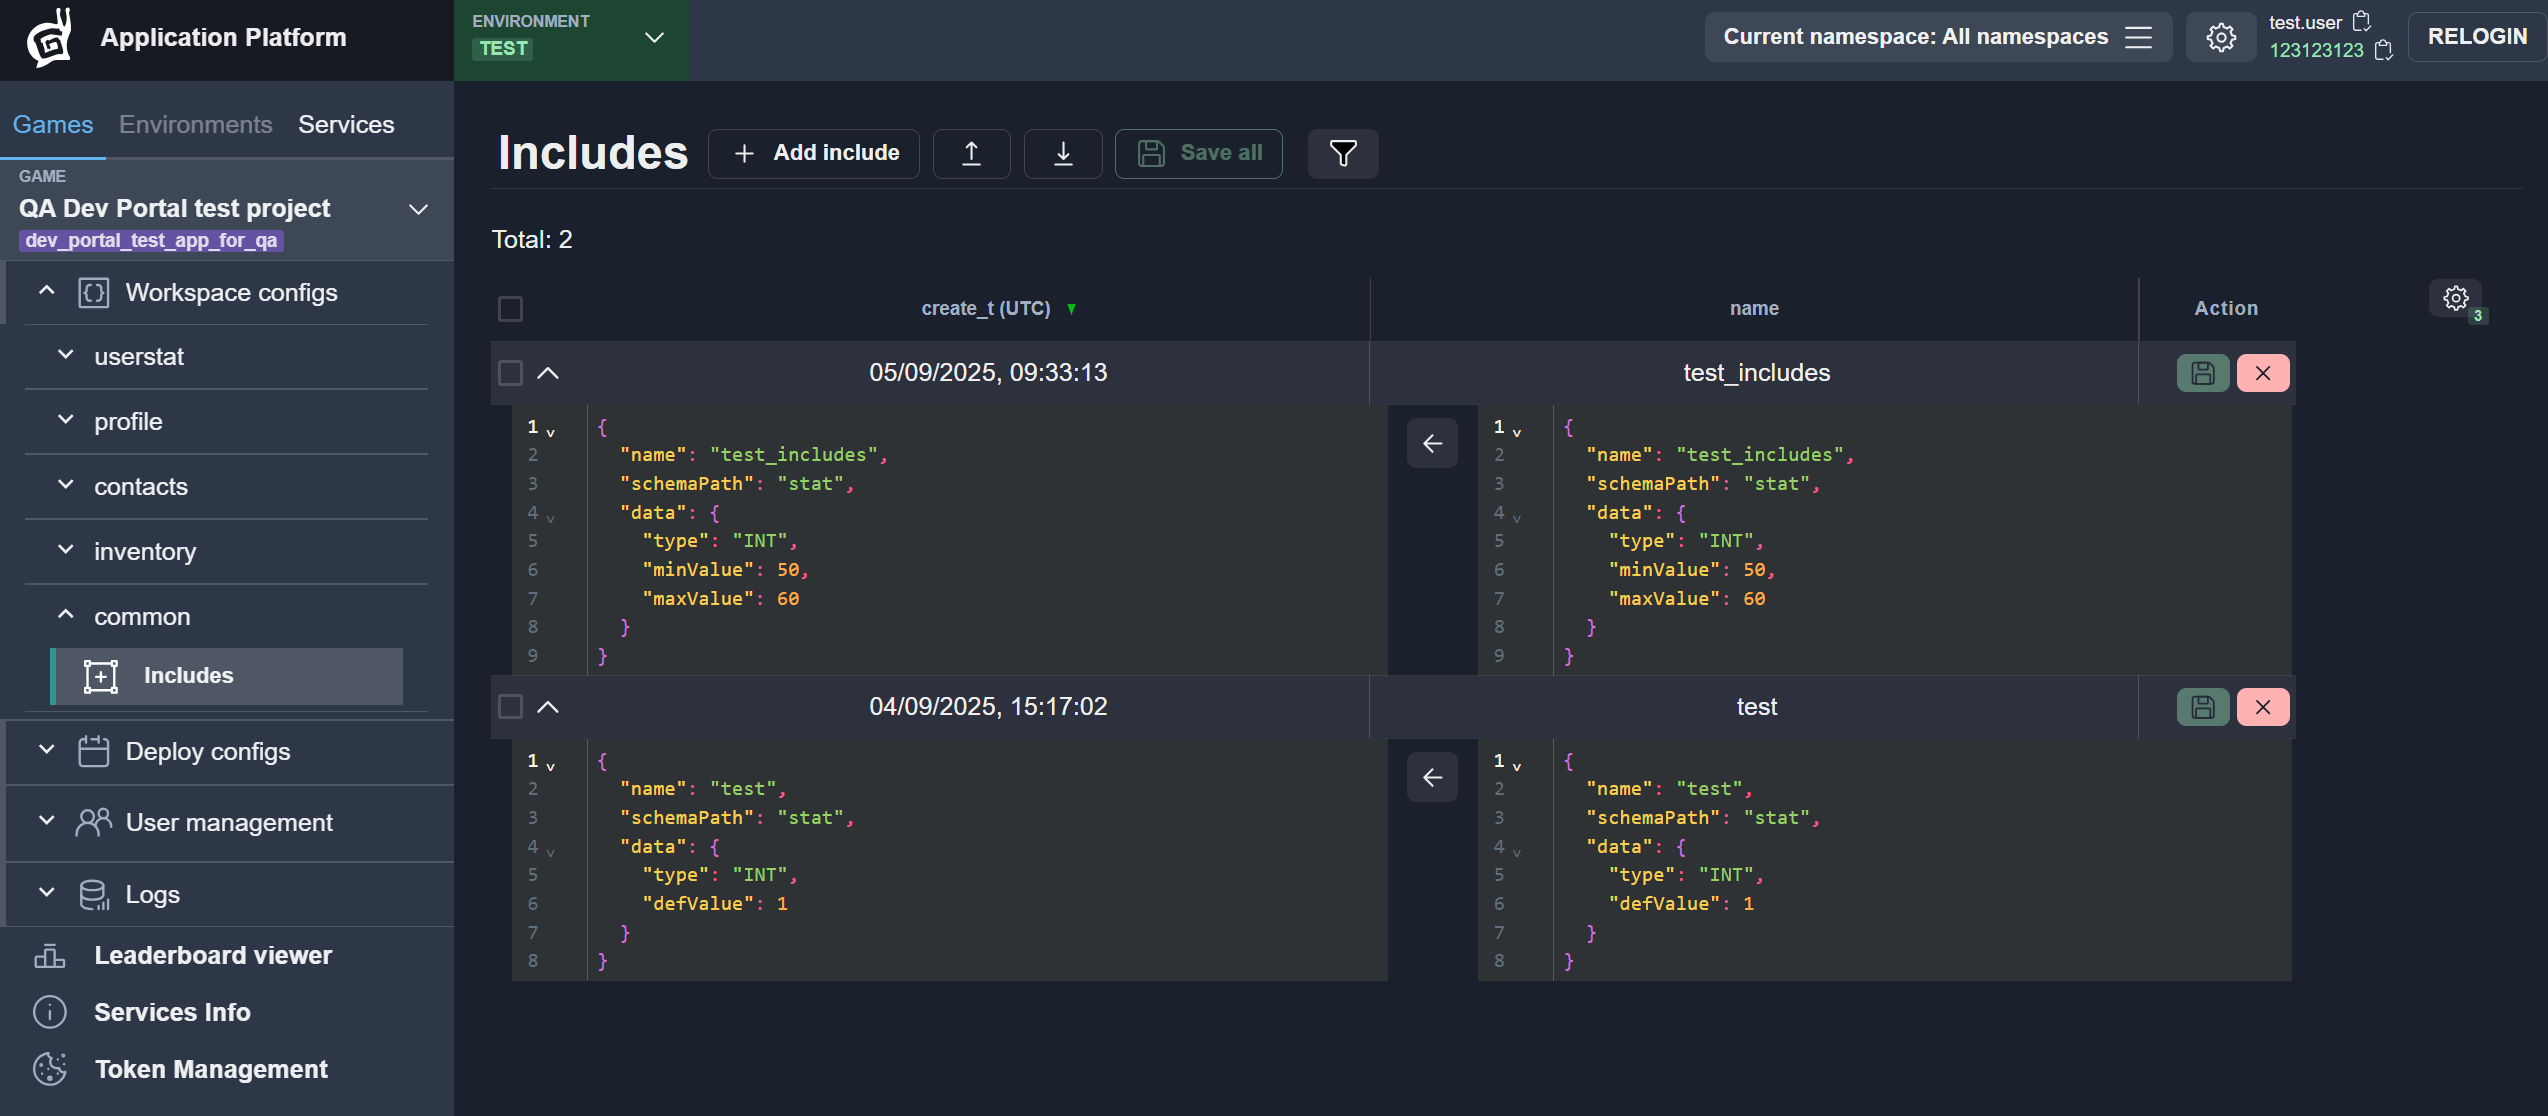
After an include is defined, it can be referenced in a stat element by its name. The resulting element, validated against the schema, can be viewed by enabling the UI settings / Show resolved #includes option.
Include templates can be created either for entire elements or for specific
fields. This is done by selecting the appropriate schema in the schemaPath
values. To view the list of available schemas, start typing or press
Ctrl+Space.
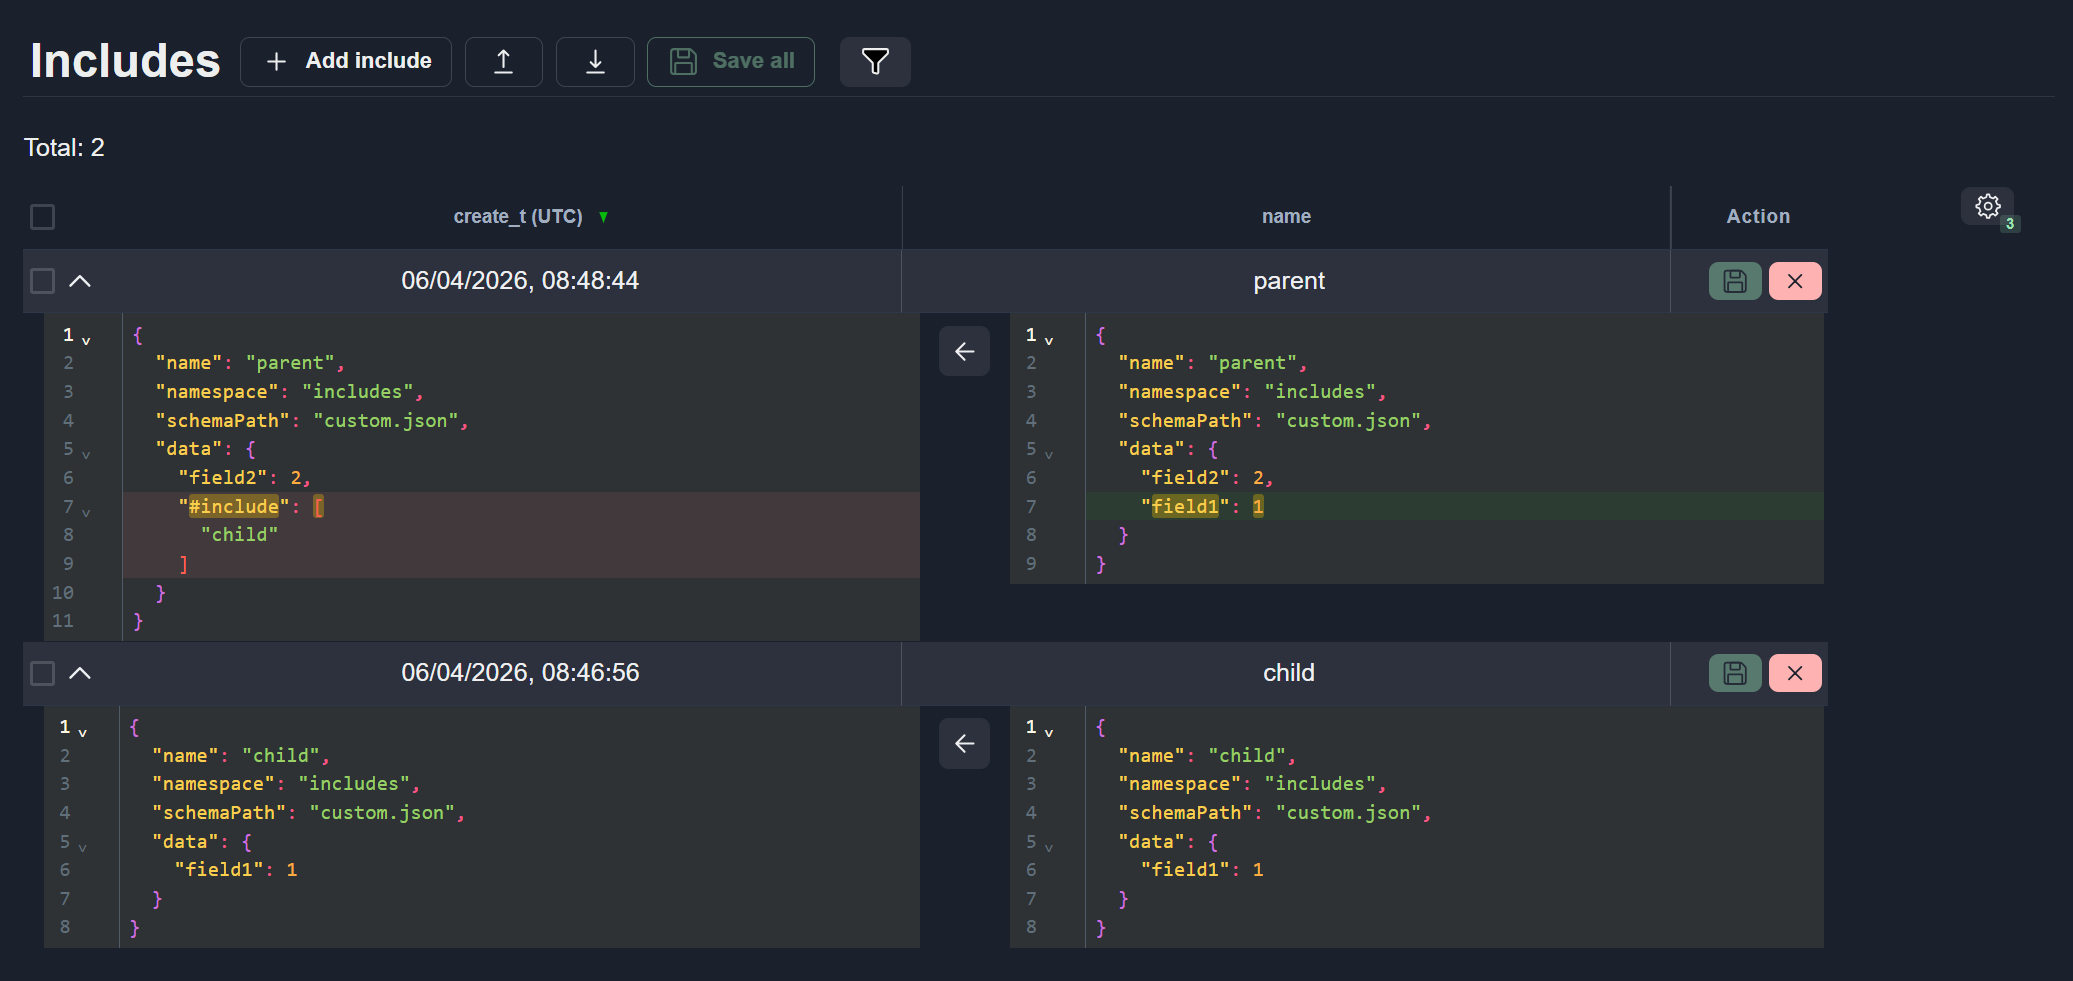
To replace the config value with the resolved block value, click the button.
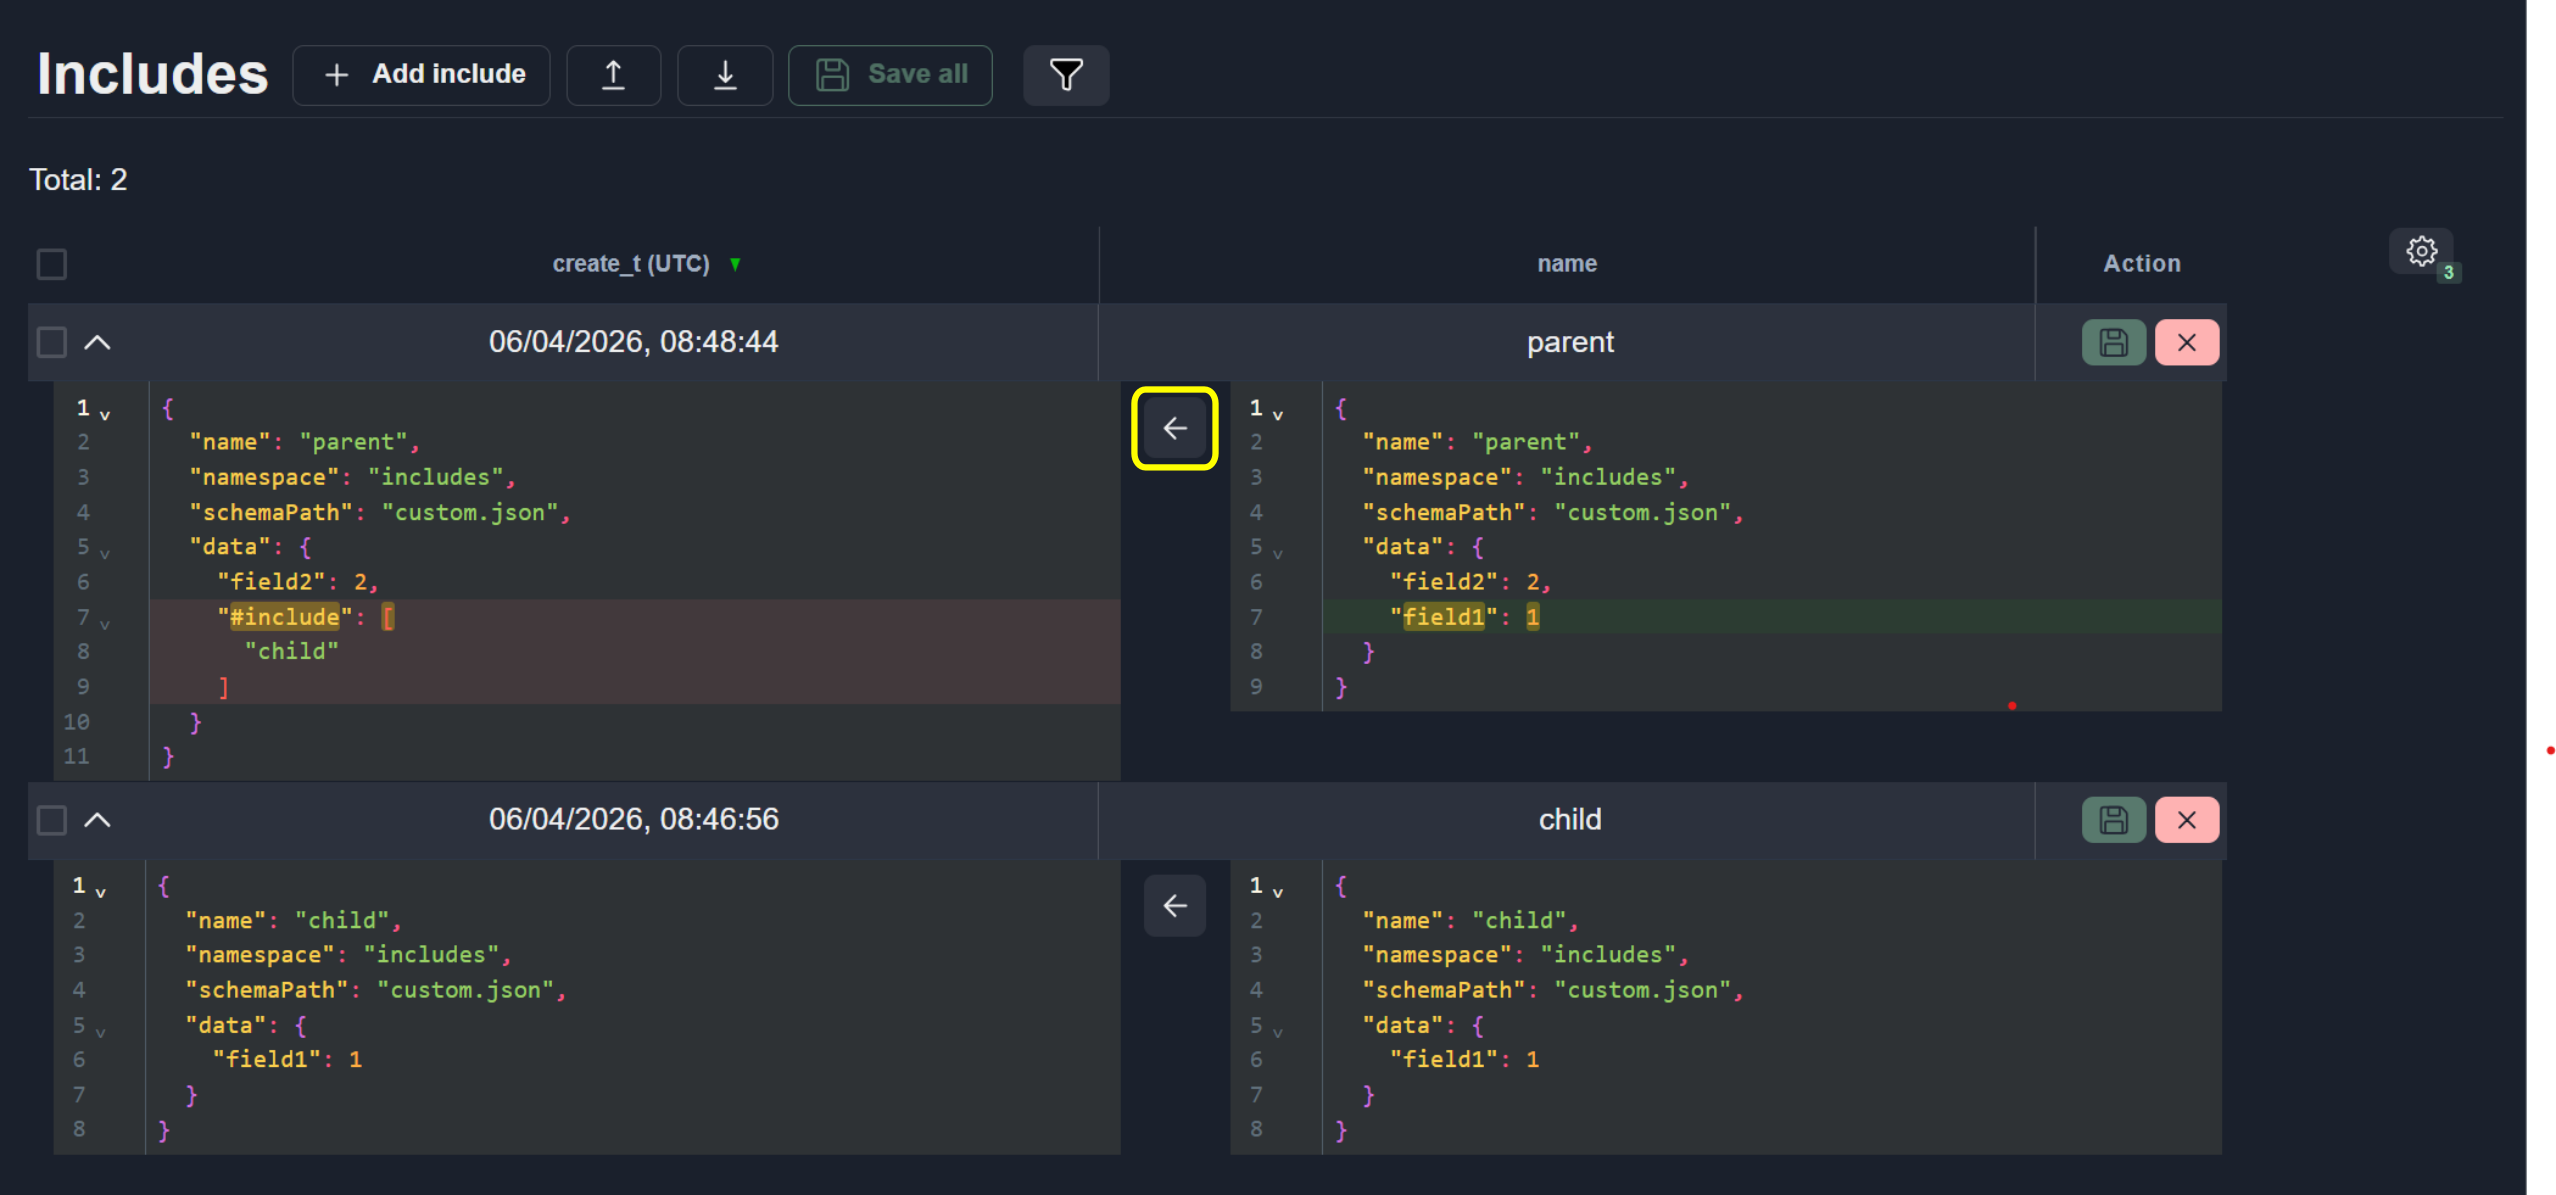
An include may reference another include; however, the nesting depth is limited.
Note
Root-level key values have the highest priority and override values defined in includes.
The include list is merged before being applied to the element. If the same keys are defined in multiple includes, values from later includes override those from earlier ones.
The environment placeholder can be used to define environment-specific
variables. This allows the same configuration to be reused across multiple
environments.
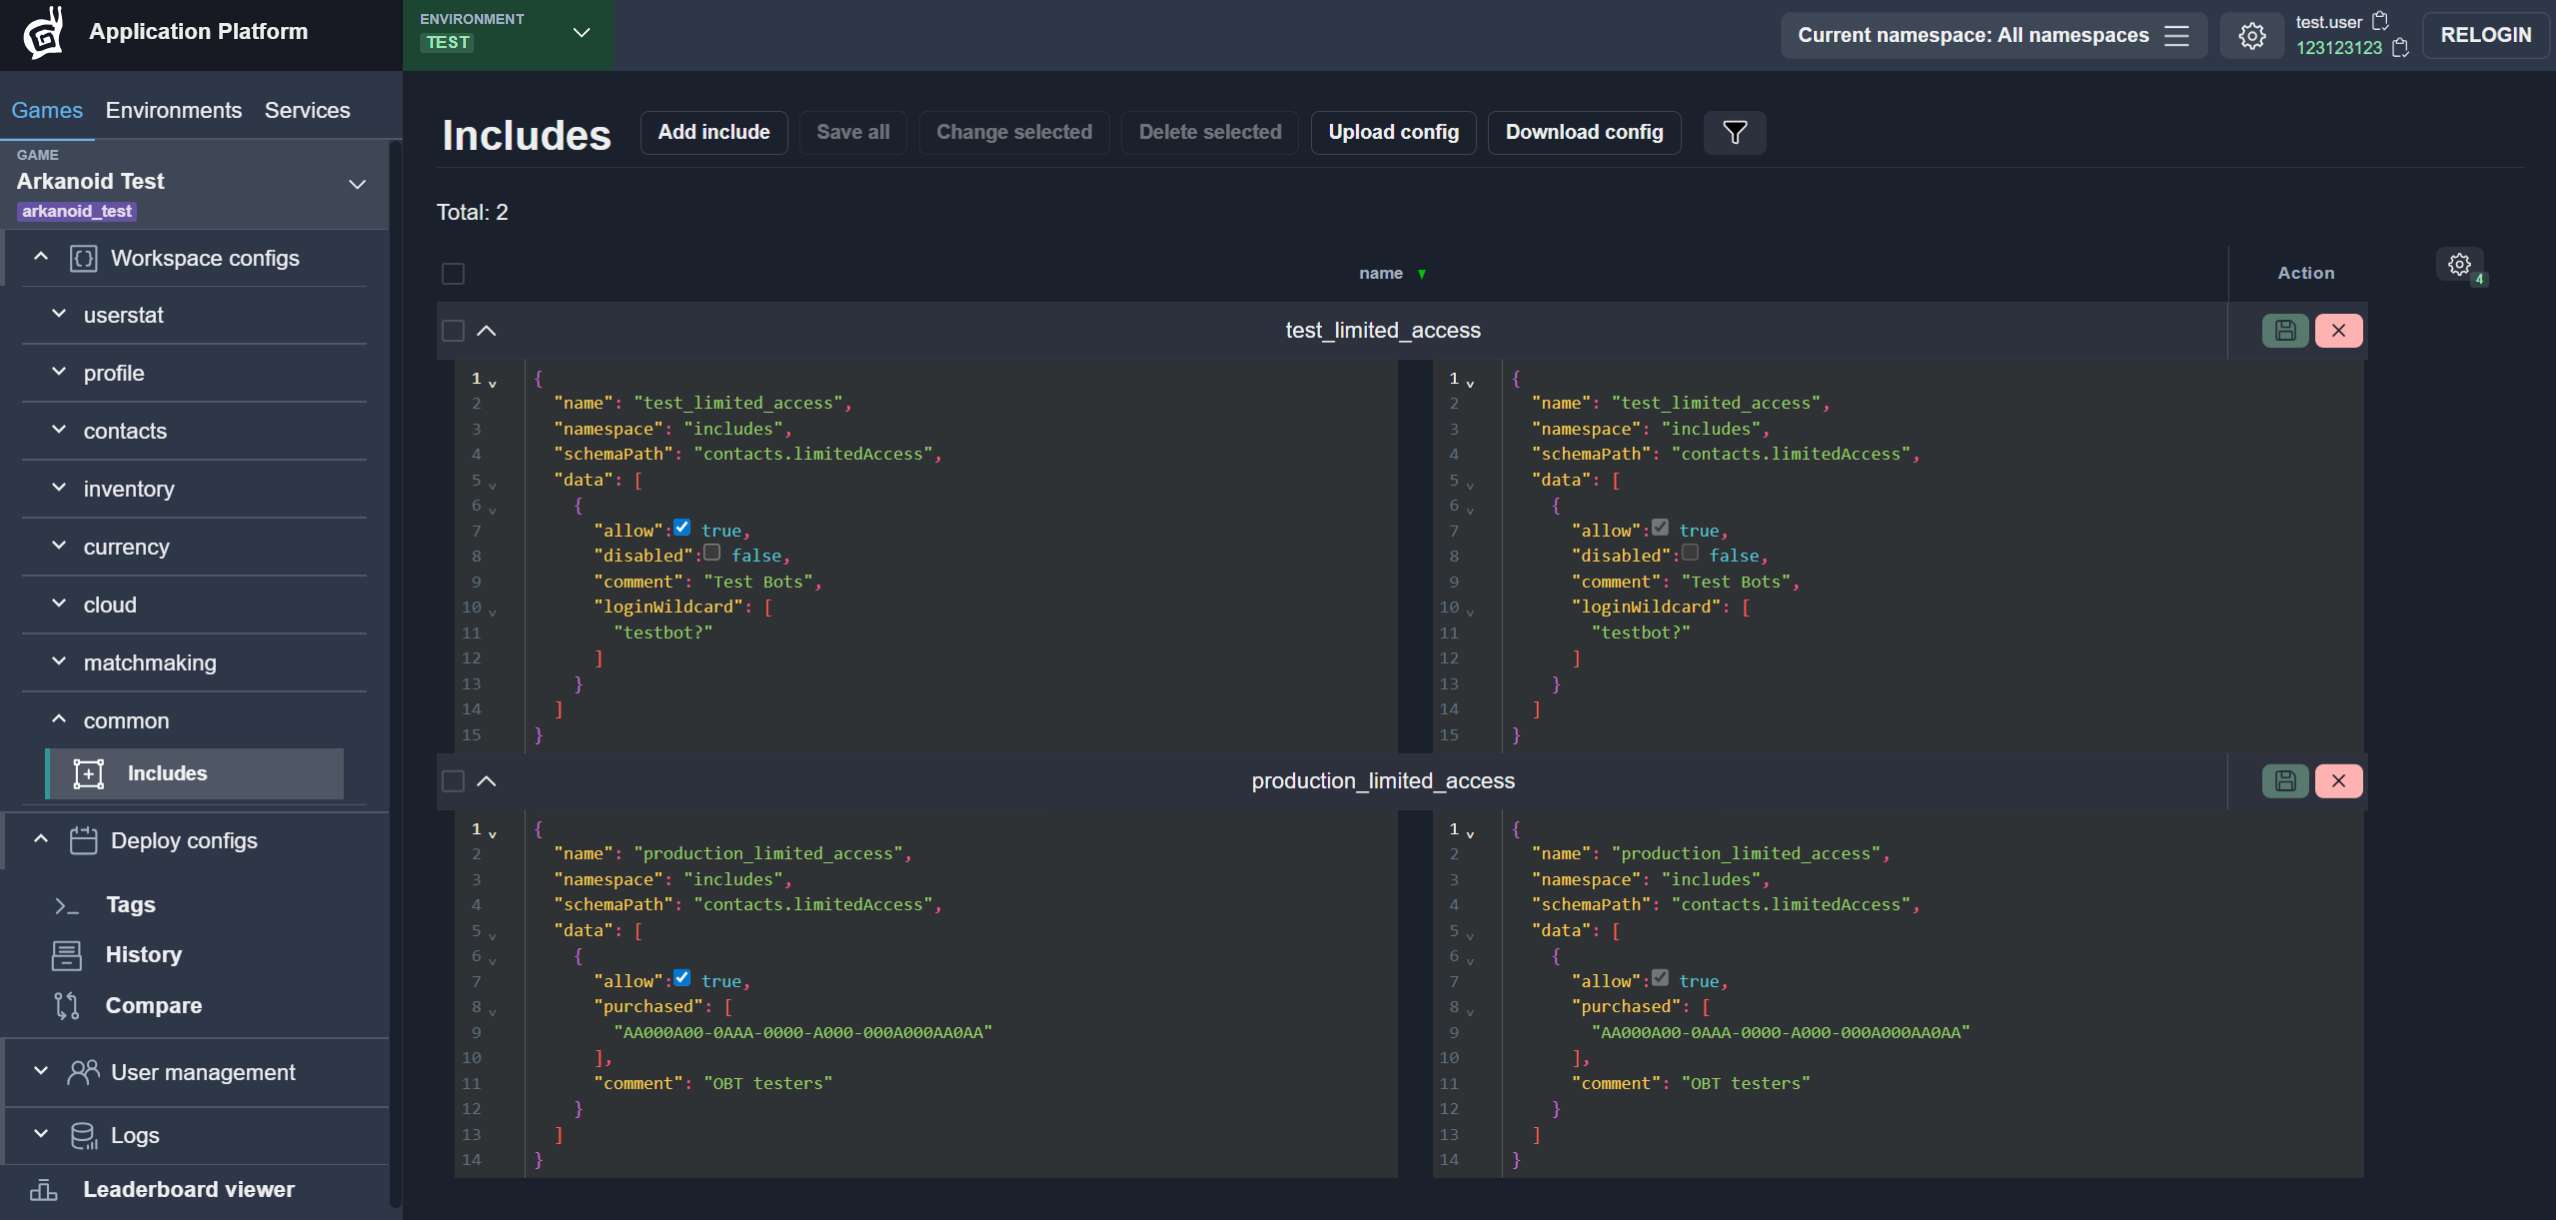
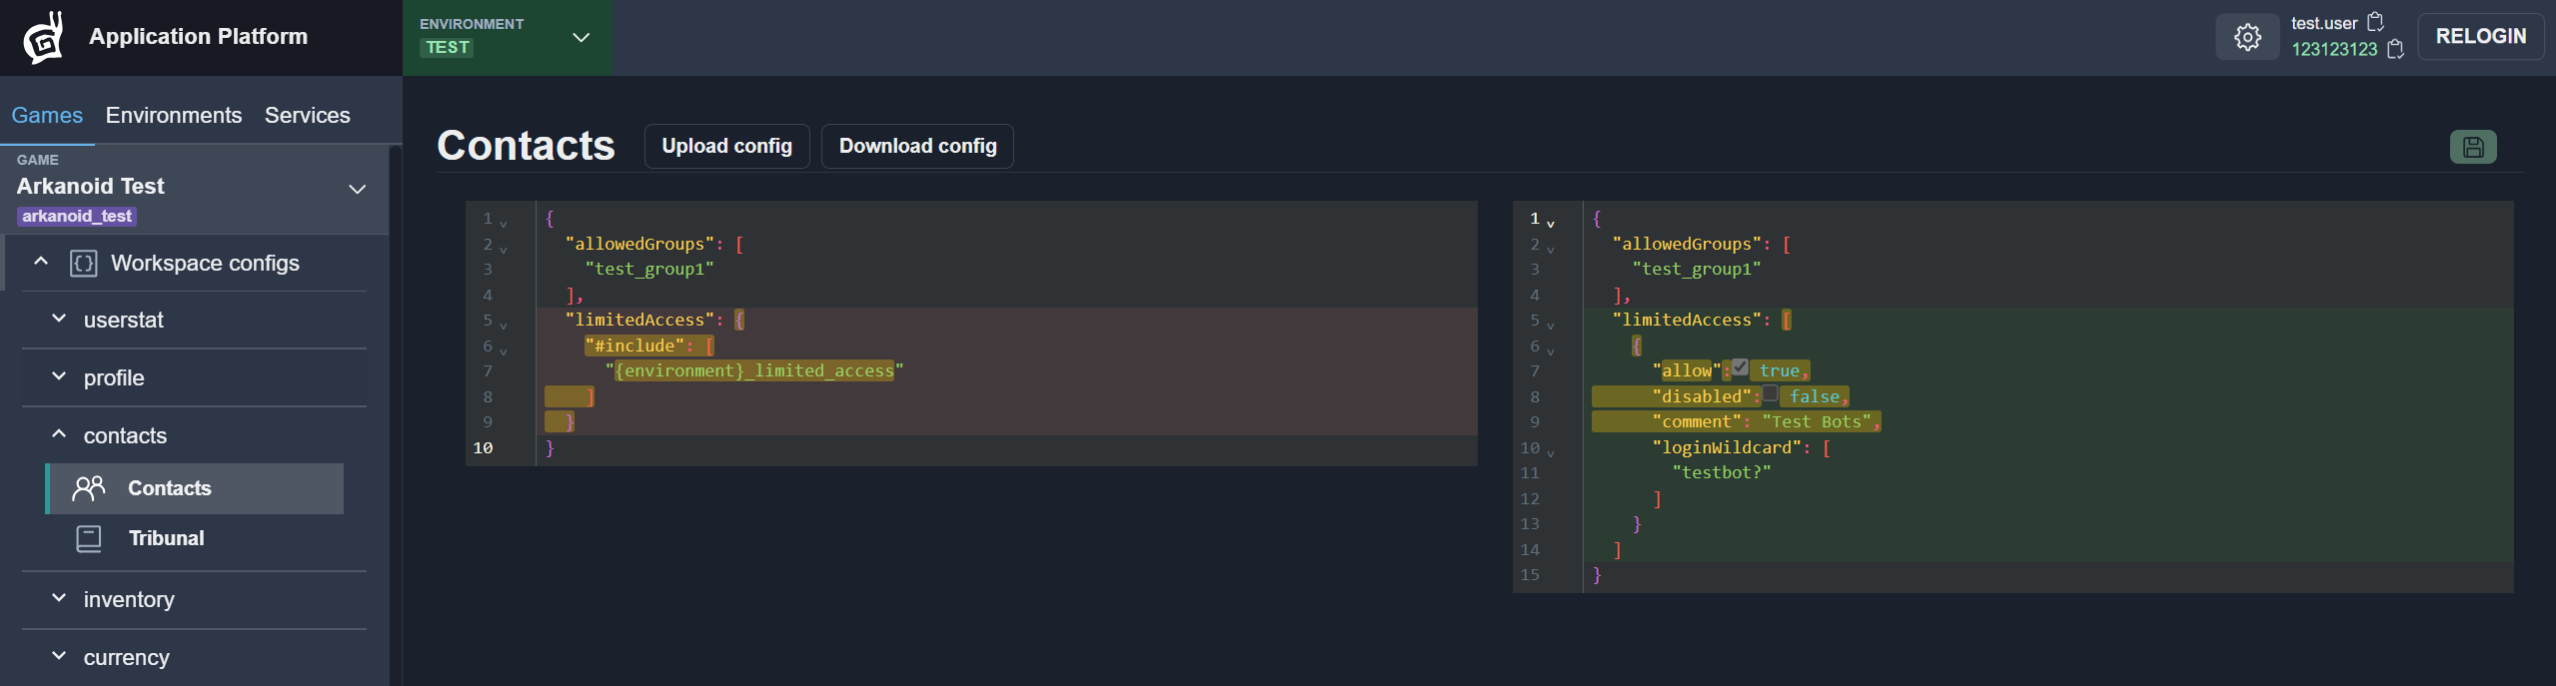
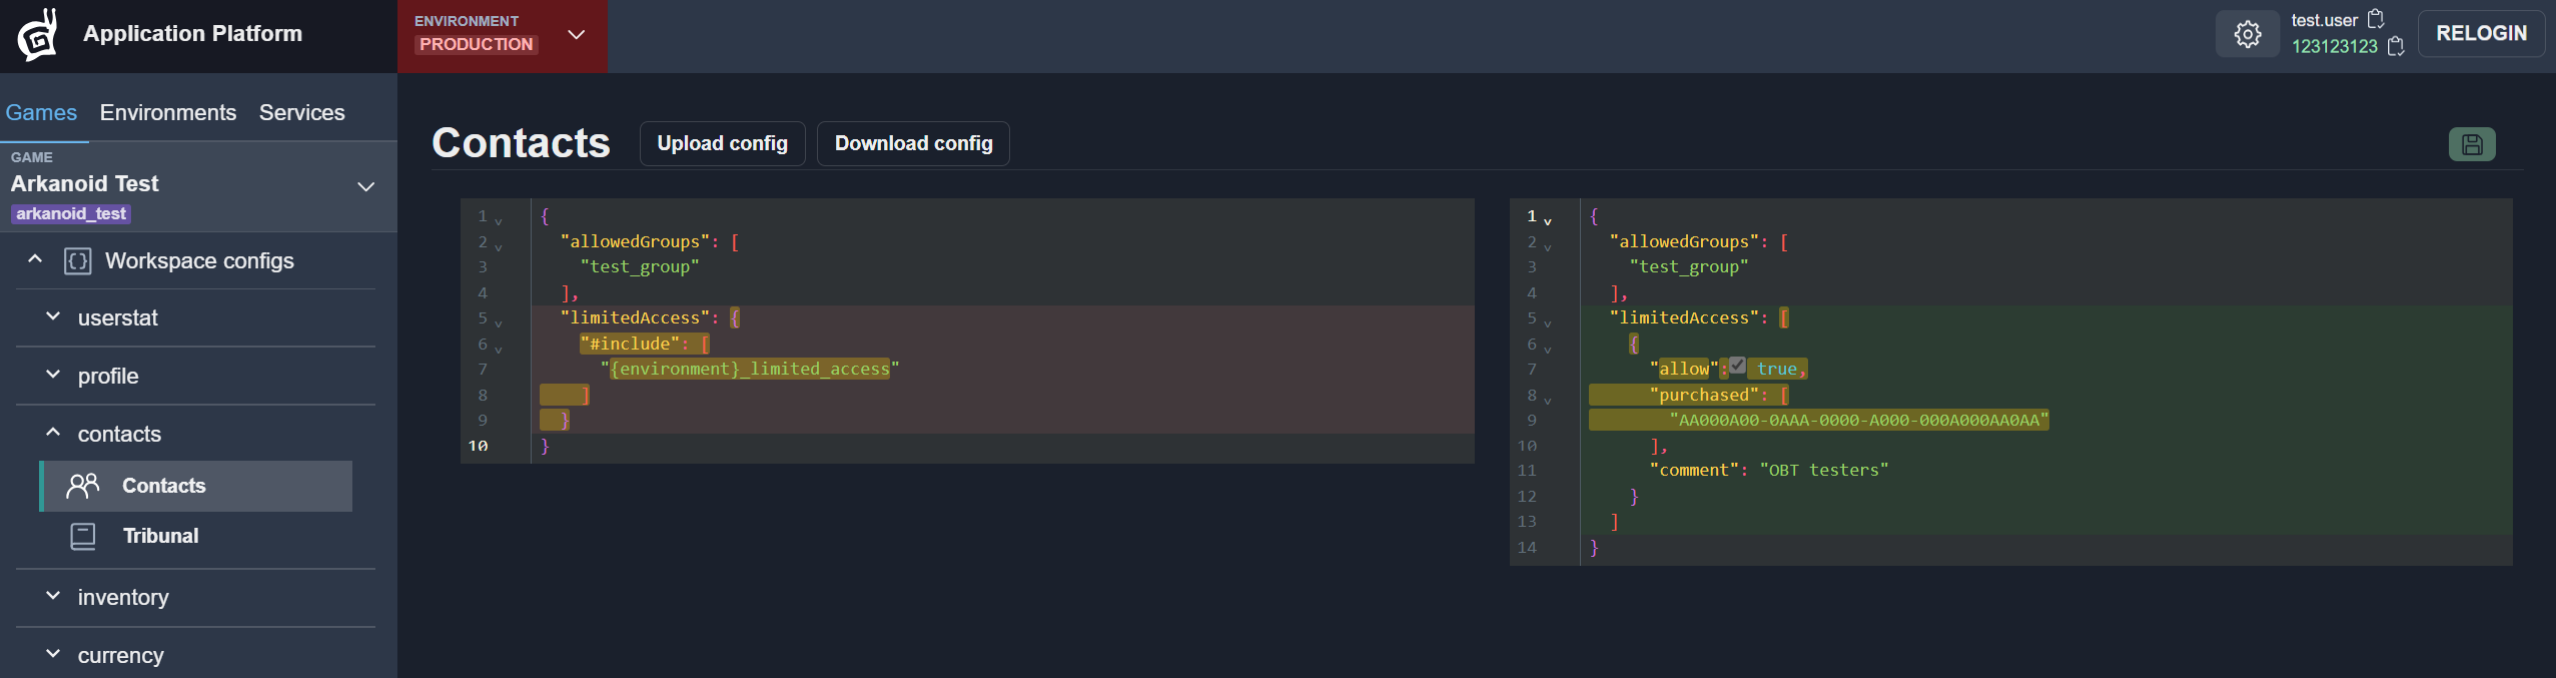
As a result, the same tag can be deployed to different environments:
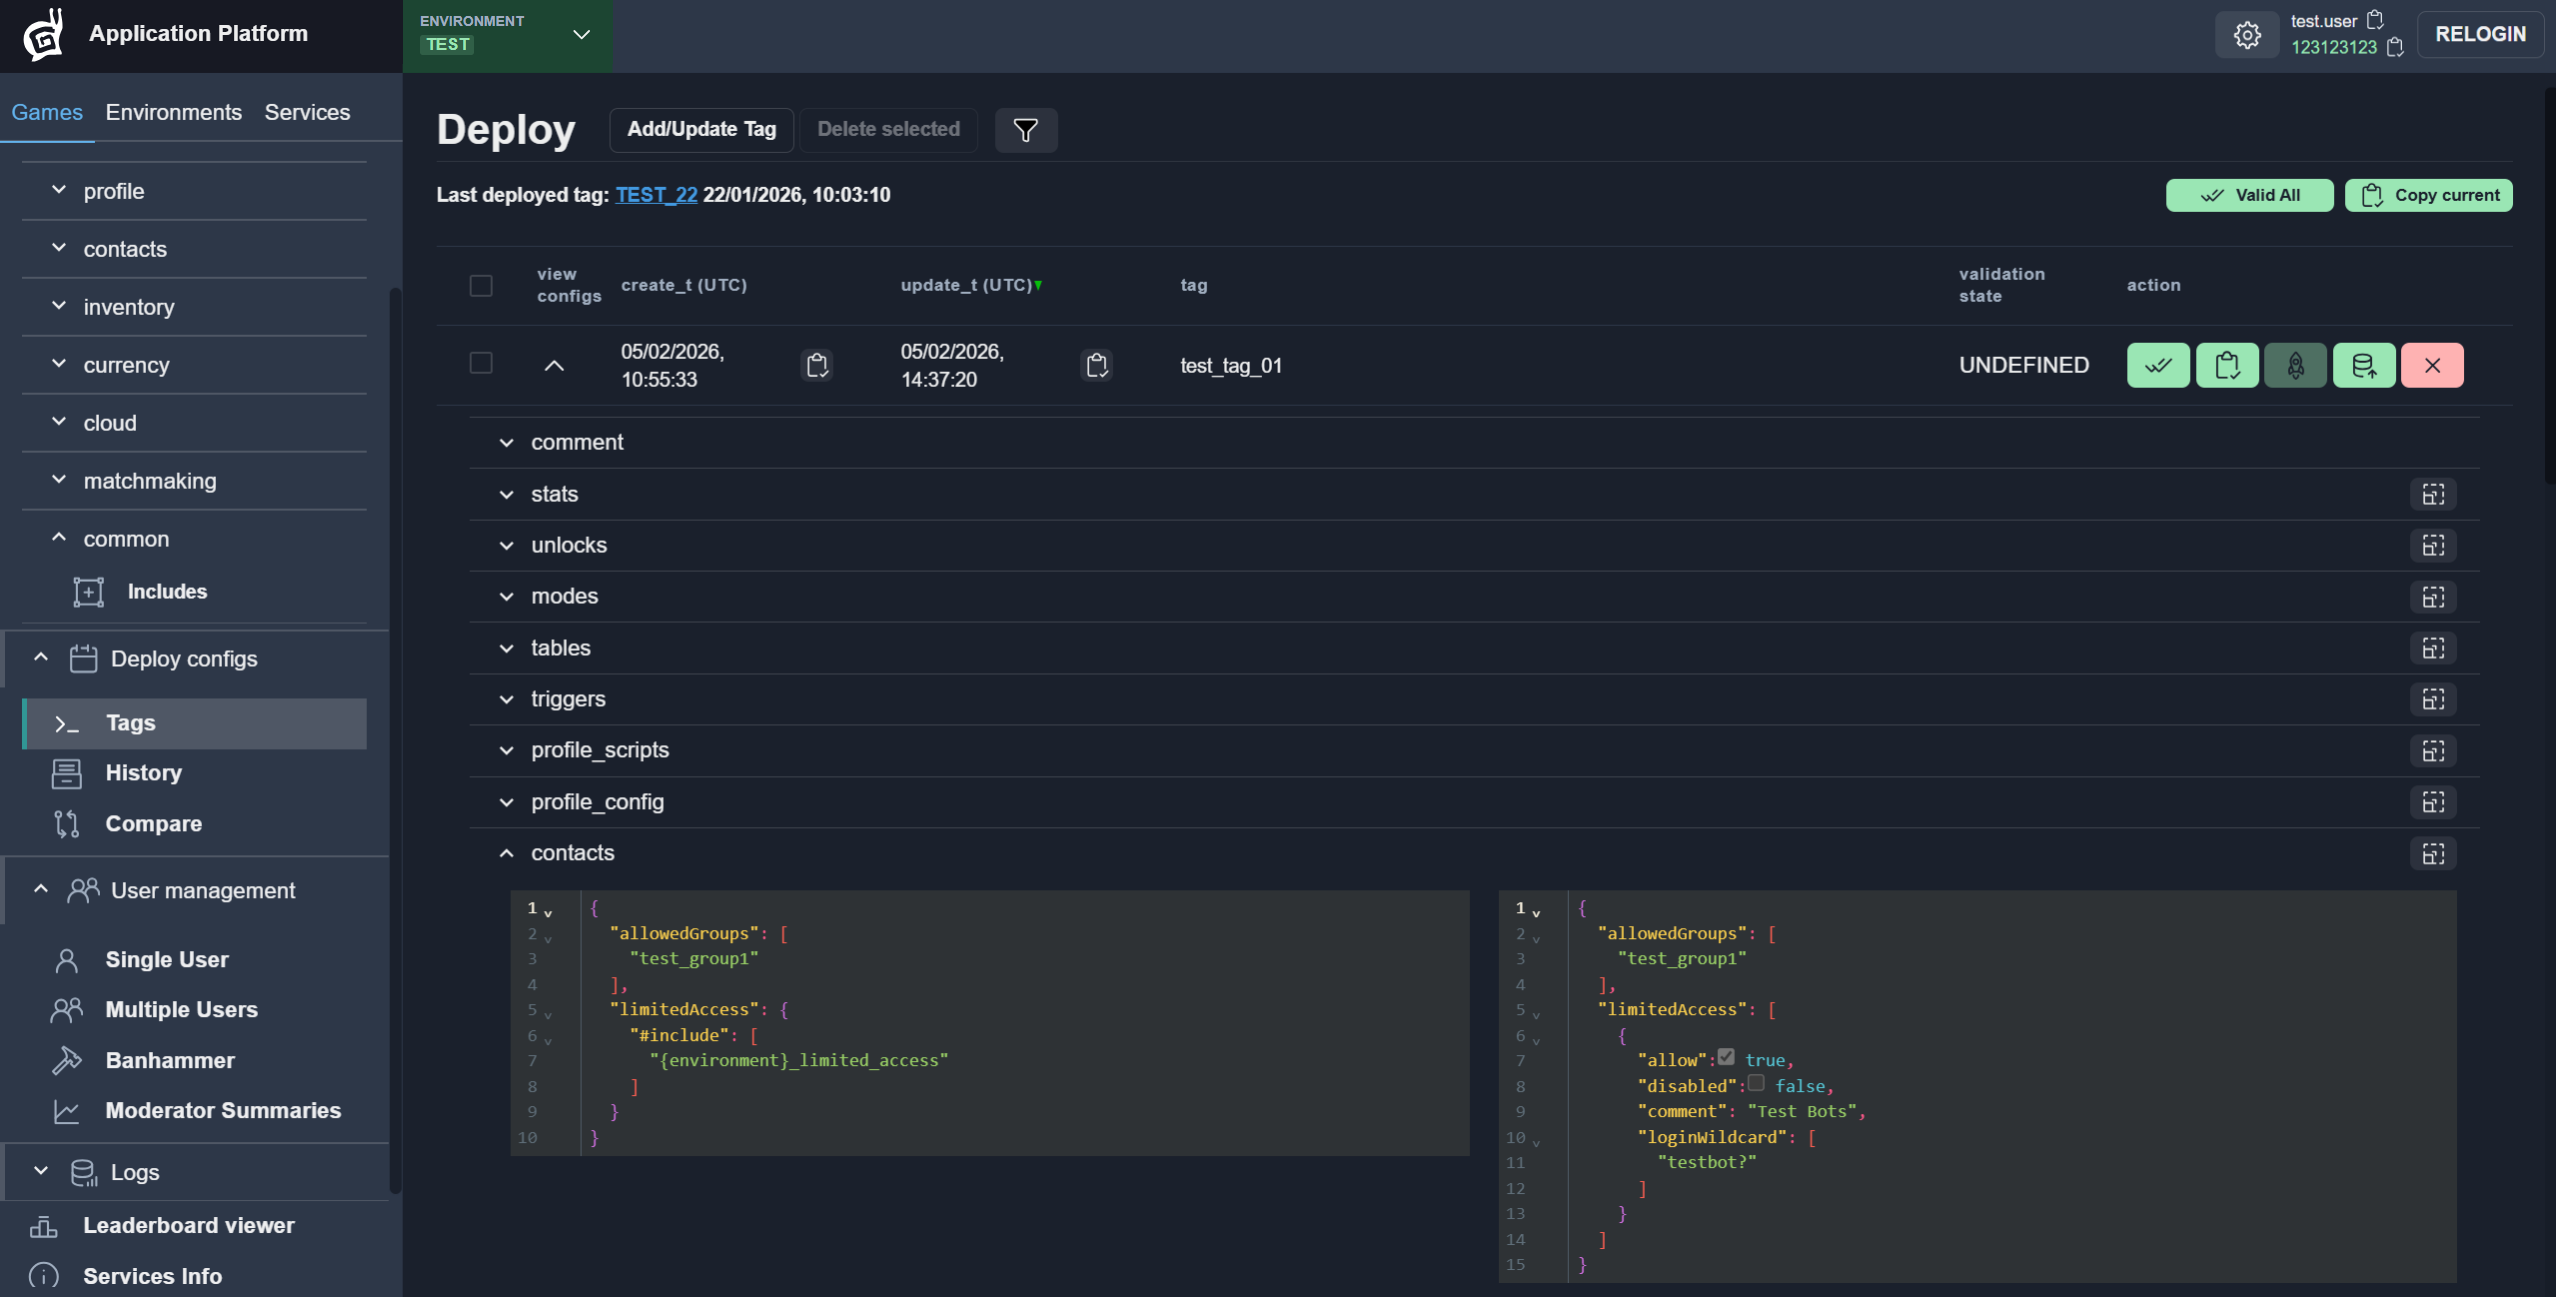
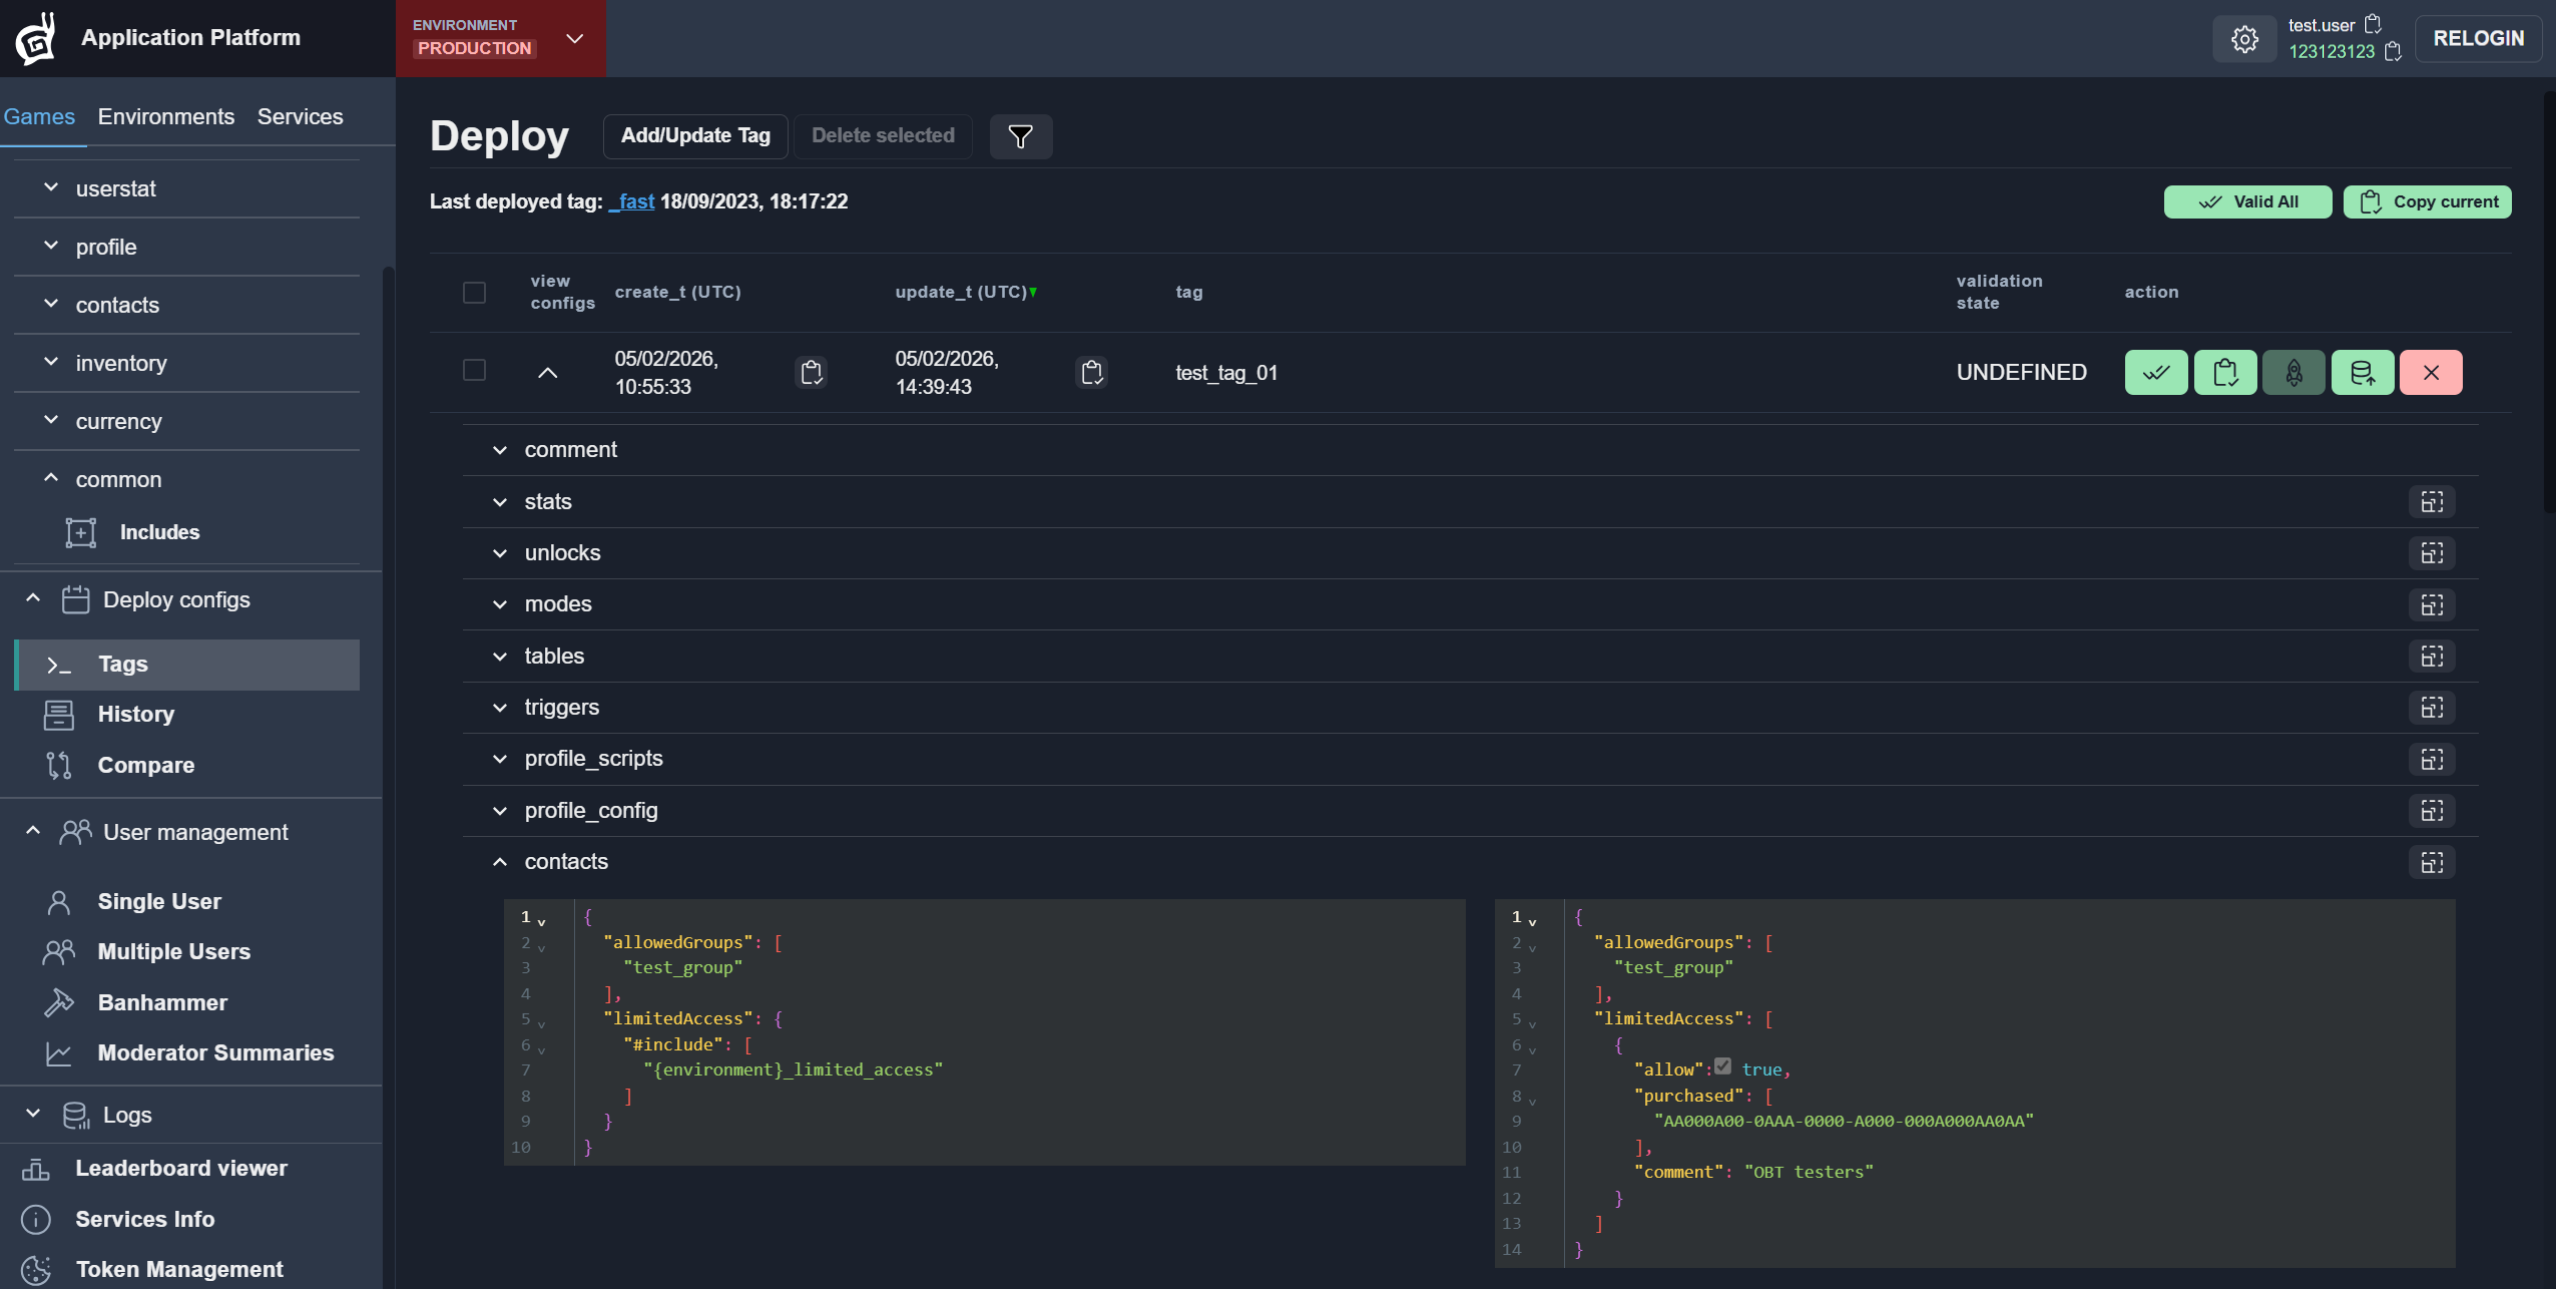
Includes are fully resolved during the validation stage. Therefore, creating and validating a tag remains the recommended way to ensure configuration consistency and correctness.
Namespace Includes
The namespace includes mechanism is conceptually similar to Includes but has additional specifics. It is intended for splitting a large configuration into multiple namespace-based sections.
Consider a configuration defined as a single file:
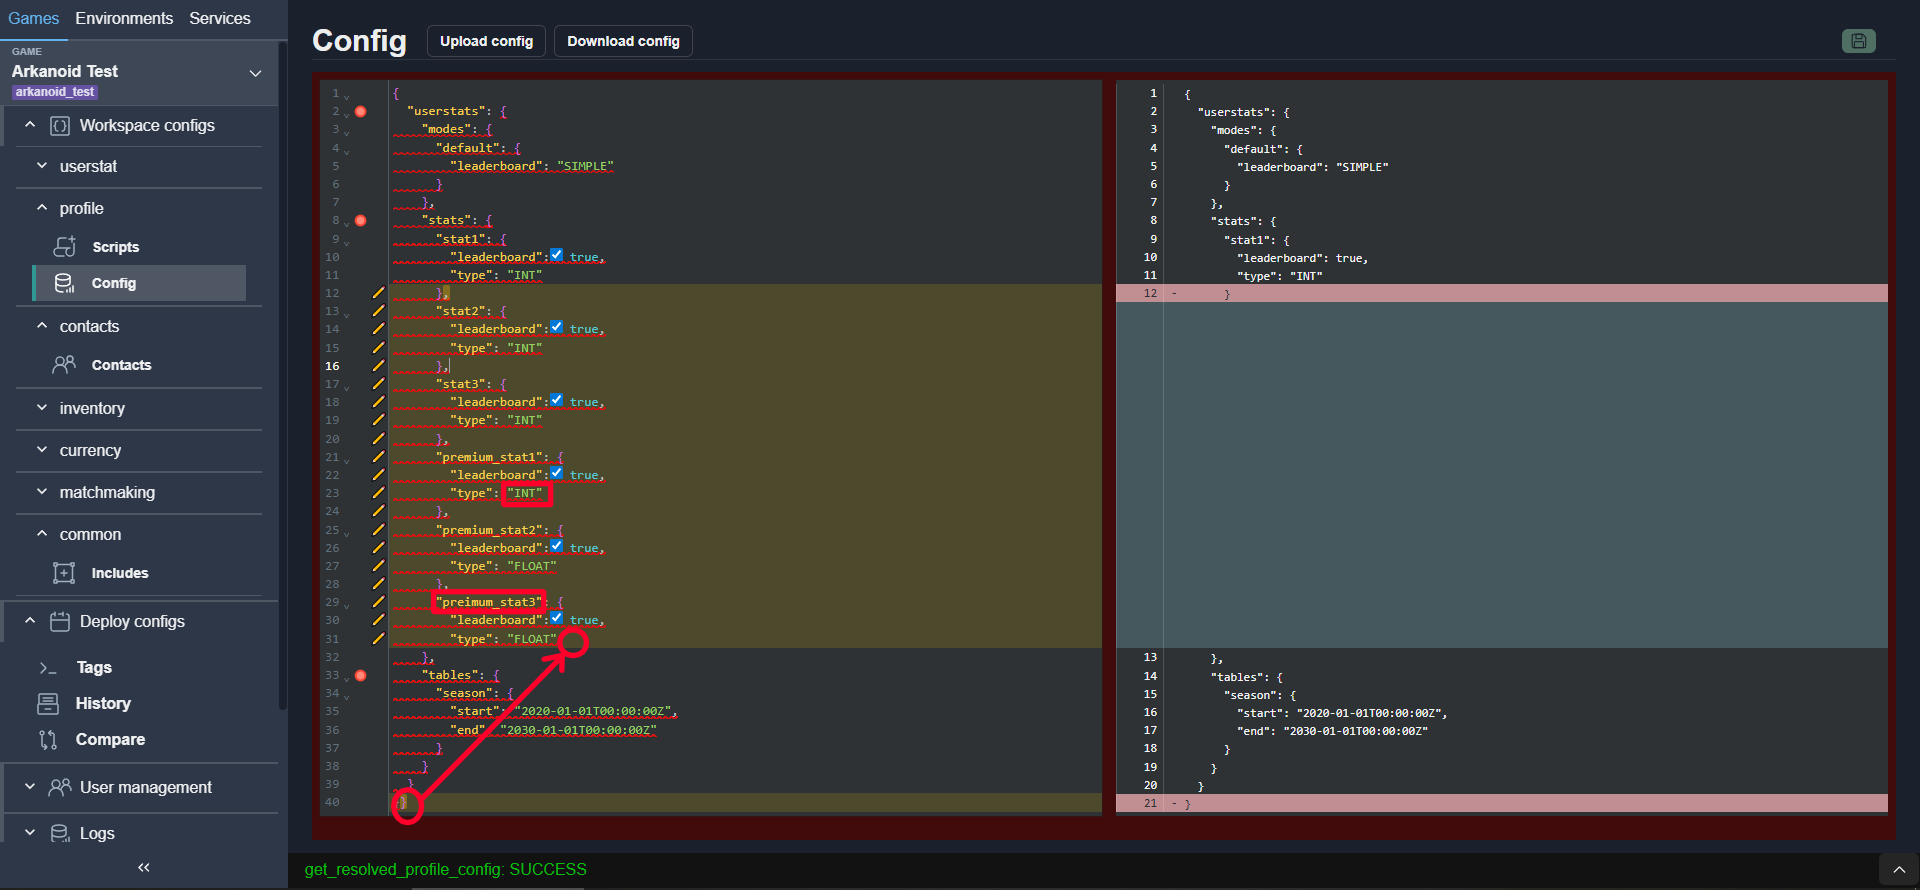
When a configuration becomes large and contains many branches, managing and formatting it as a single monolithic structure can be difficult. In such cases, namespace includes can be used to improve organization.
The configuration can be split into multiple elements across different namespaces using base templates:
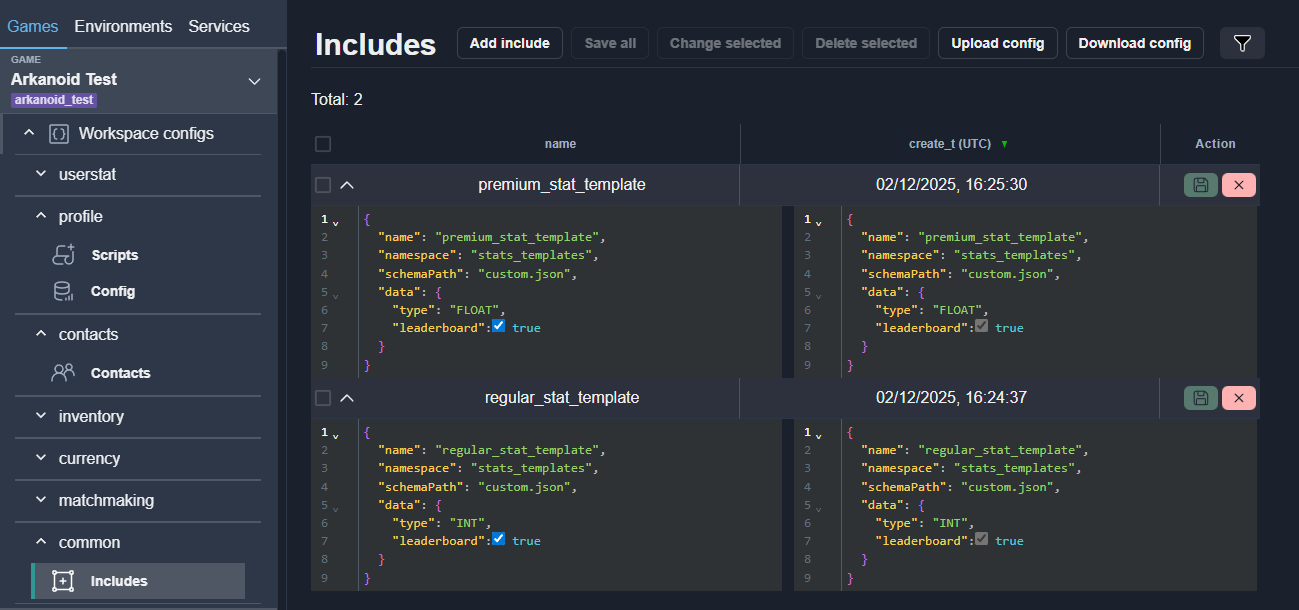
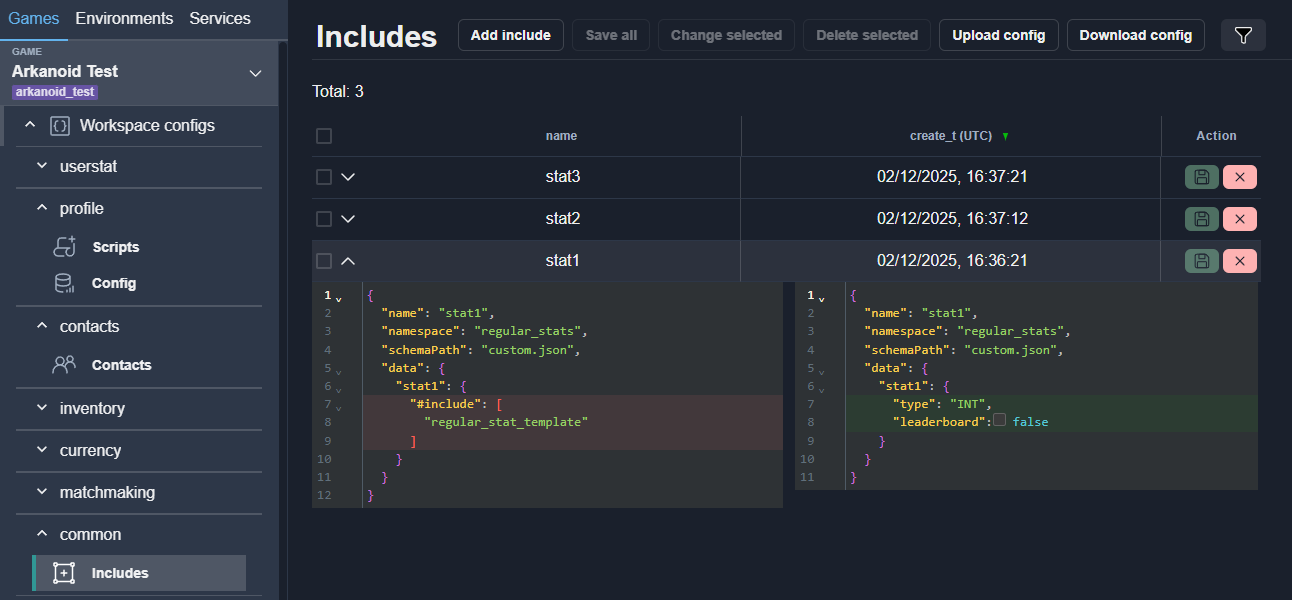
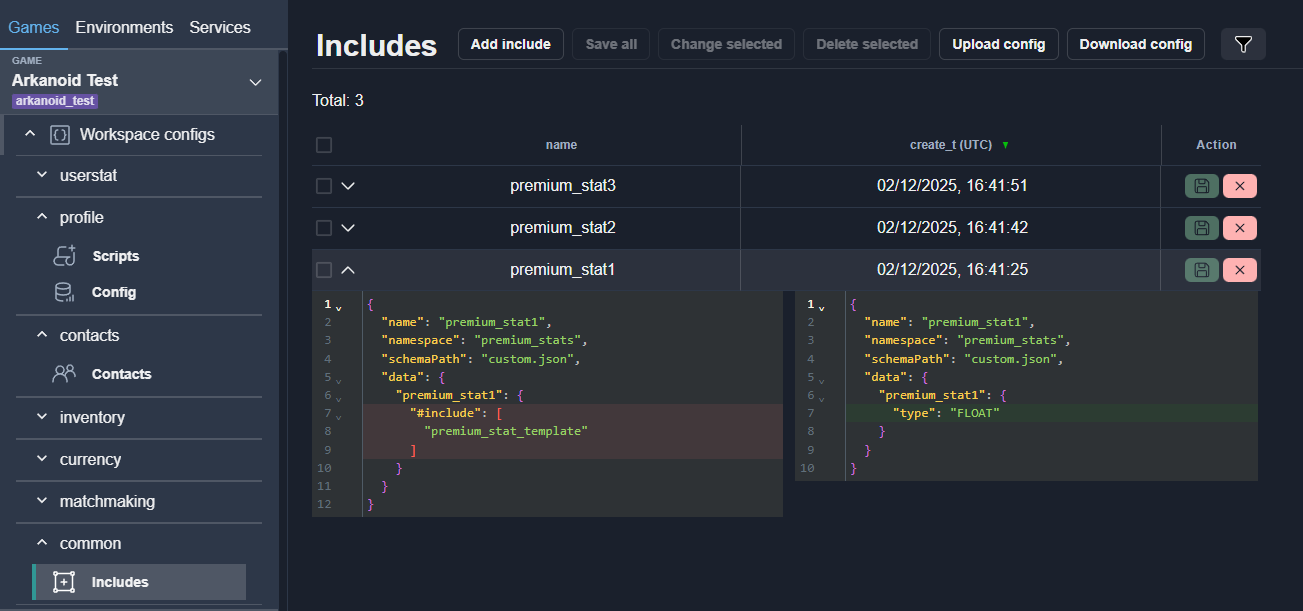
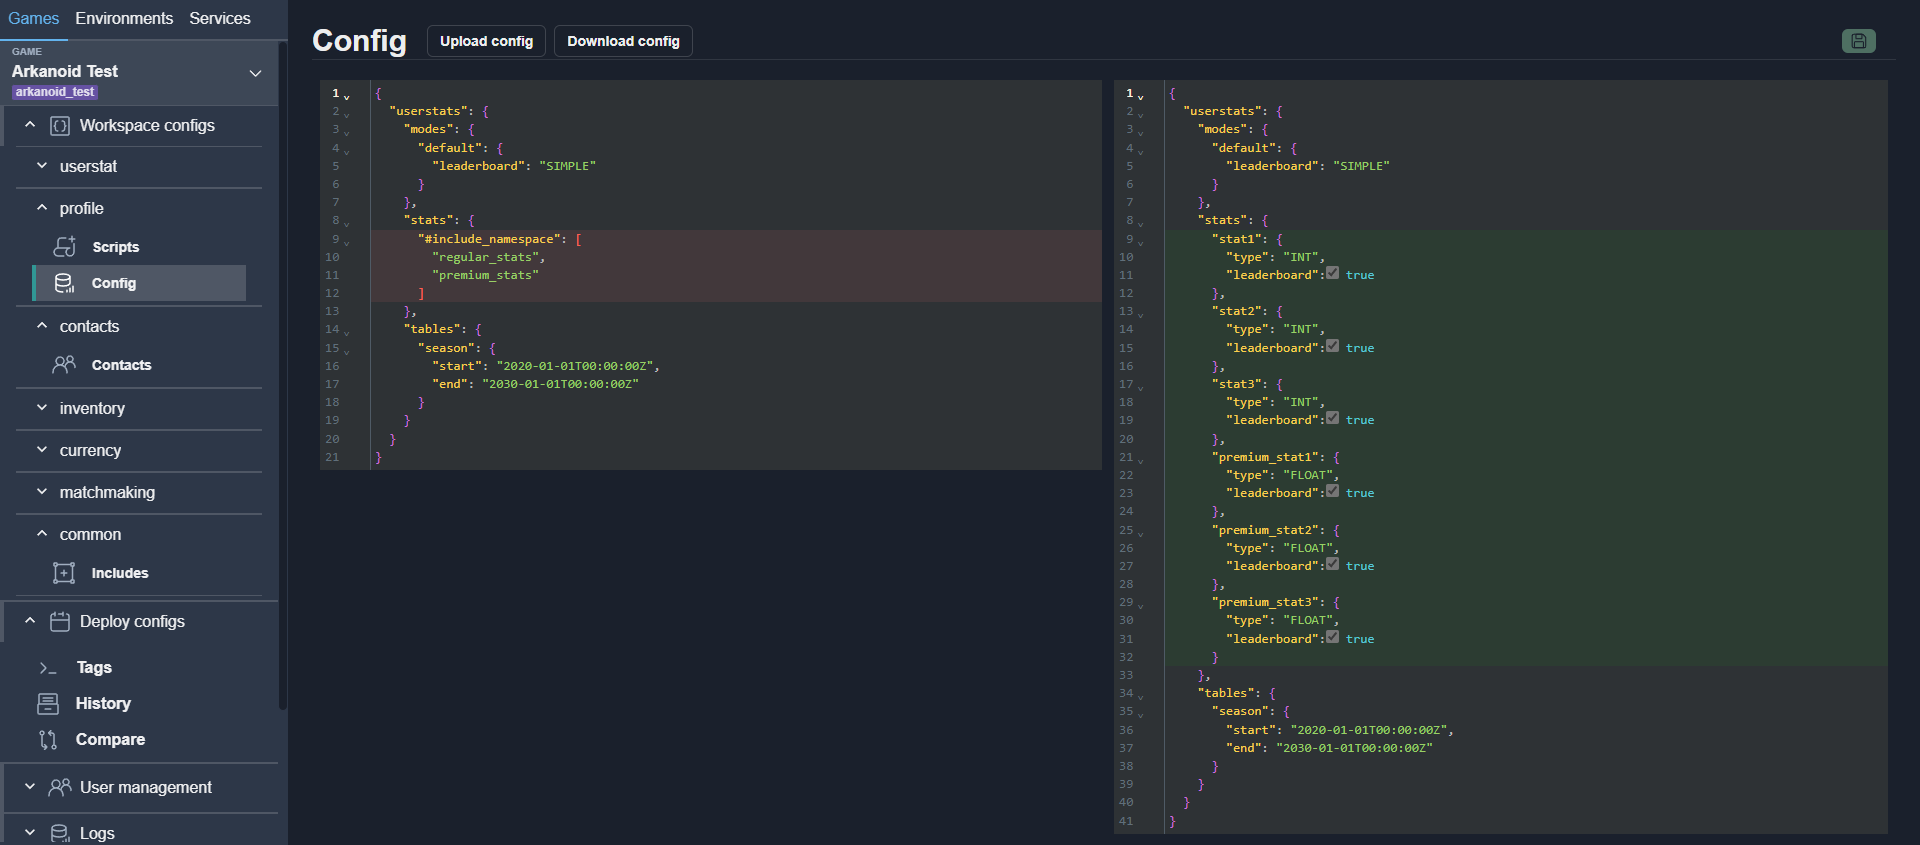
All parts can then be combined using the #include_namespace keyword by listing
the namespaces to be included:
Navigate to an Include from a Config
You can navigate to a specific include from a config by clicking the link in its name.
Note
Left-clicking the link opens the config on the same page. Ctrl + left-click opens the config in a new browser window.
Script Configurations
Script configurations are used to manage executable logic associated with player profiles.
Scripts (see format)
The profile server uses script configurations written in the daScript language.
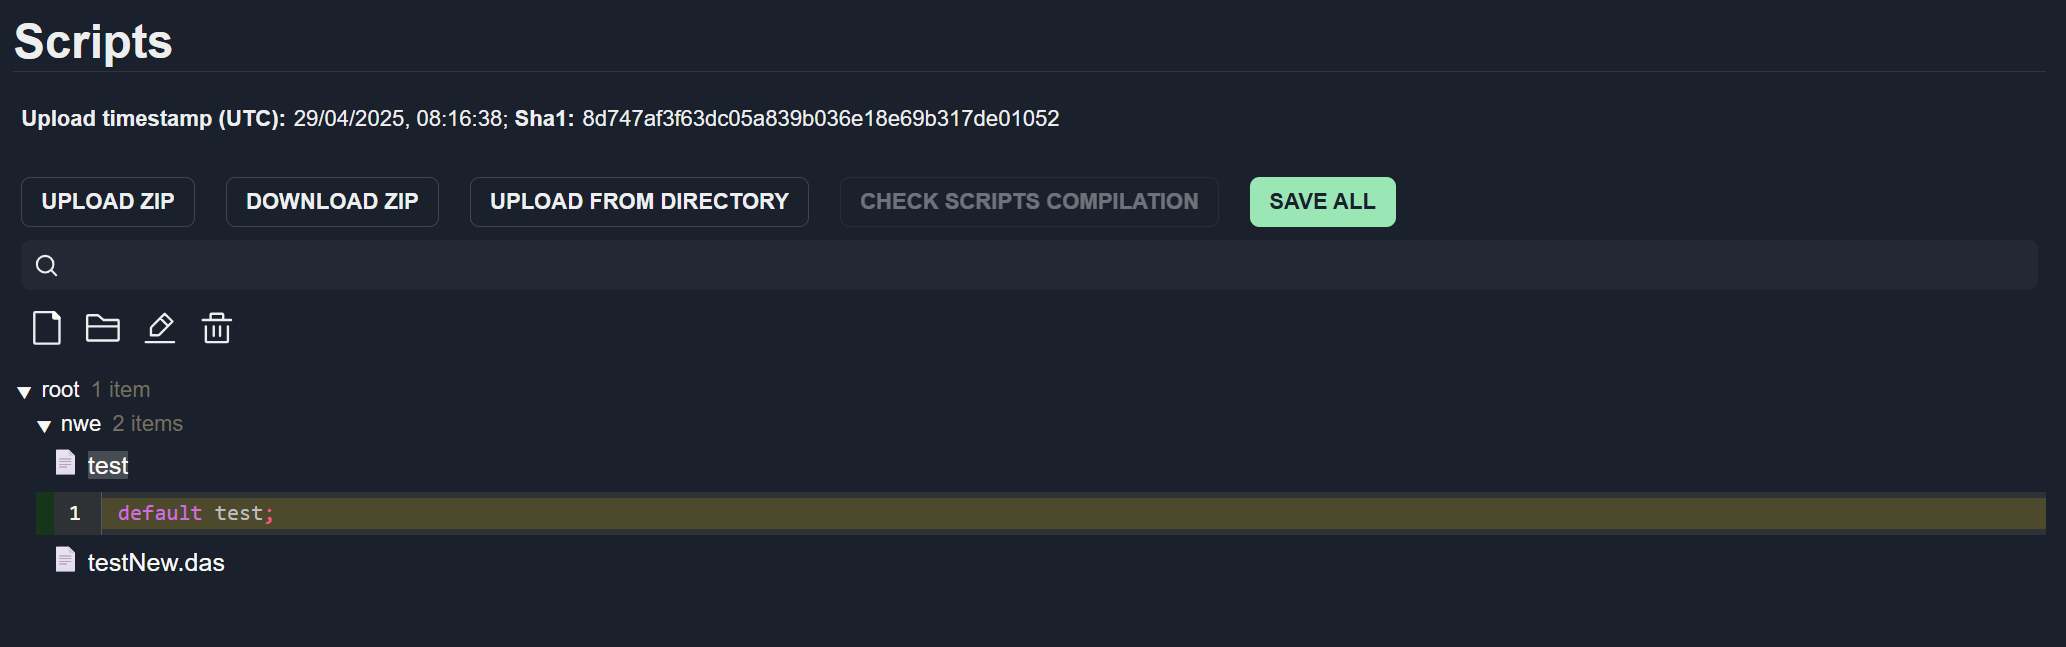
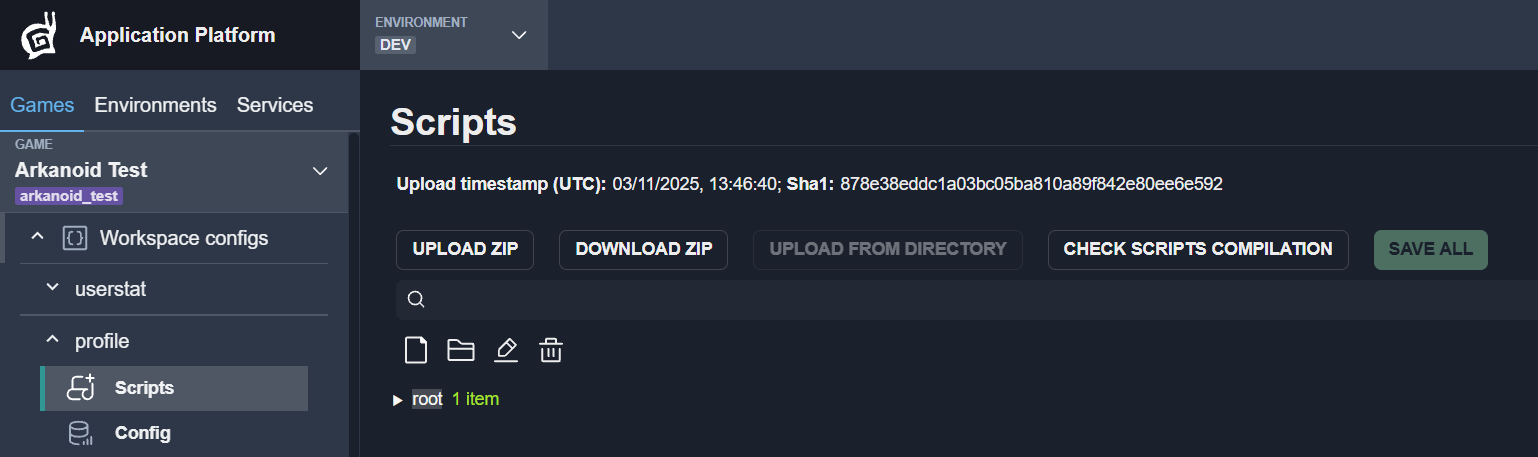
Scripts Upload, Download, and Validation
Scripts are uploaded and downloaded as a ZIP archive containing a directory with script files:
Upload ZIP — Uploads scripts as a ZIP archive containing a directory with script files.
Download ZIP — Downloads the current scripts as a ZIP archive.
Upload from directory — Uploads scripts by creating a ZIP archive directly from a local directory (supported only in Chrome and Edge).
Check scripts compilation — Checks that all uploaded scripts compile successfully.
Save all — Saves all changes made to the scripts.
Scripts Archive
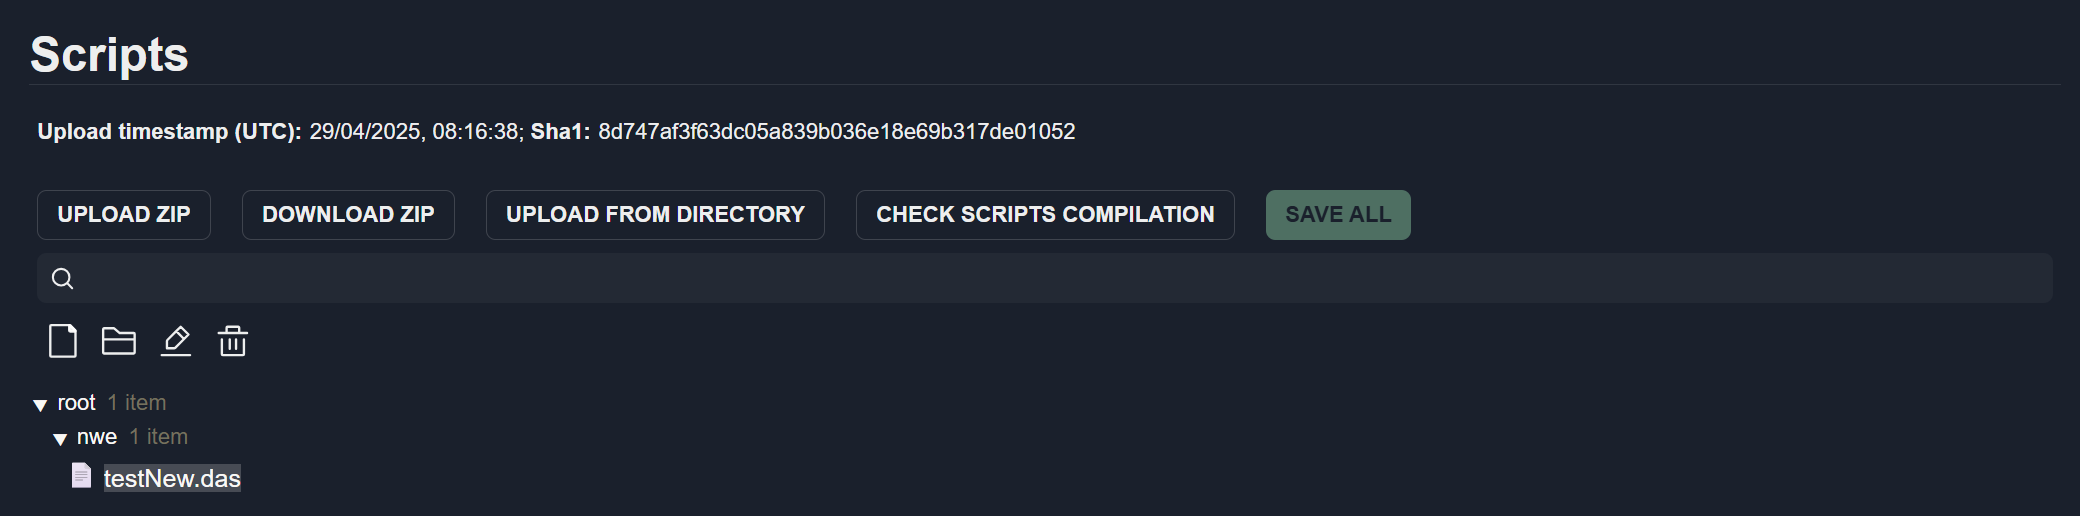
Scripts Tree
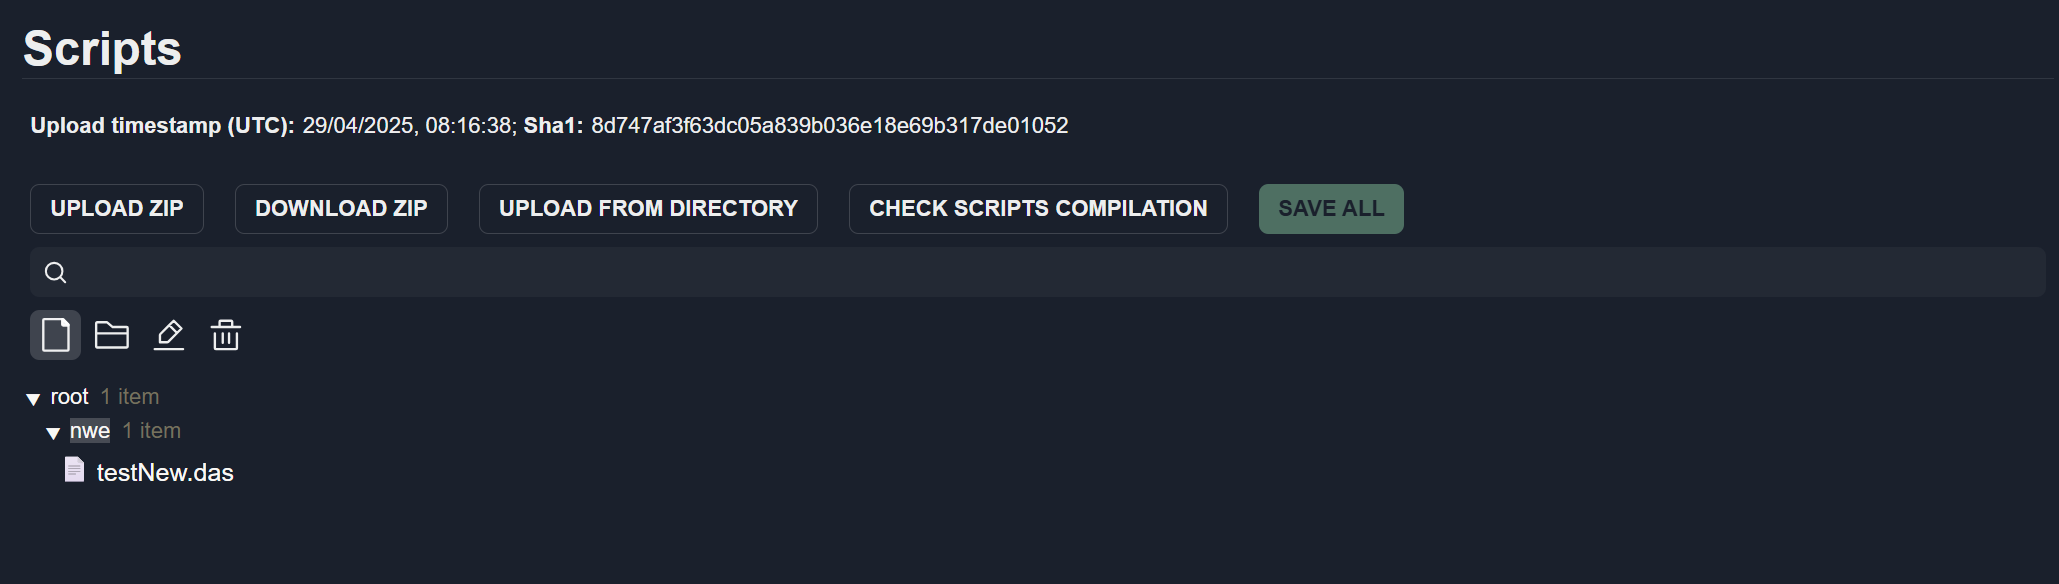
Scripts are displayed as a directory tree.
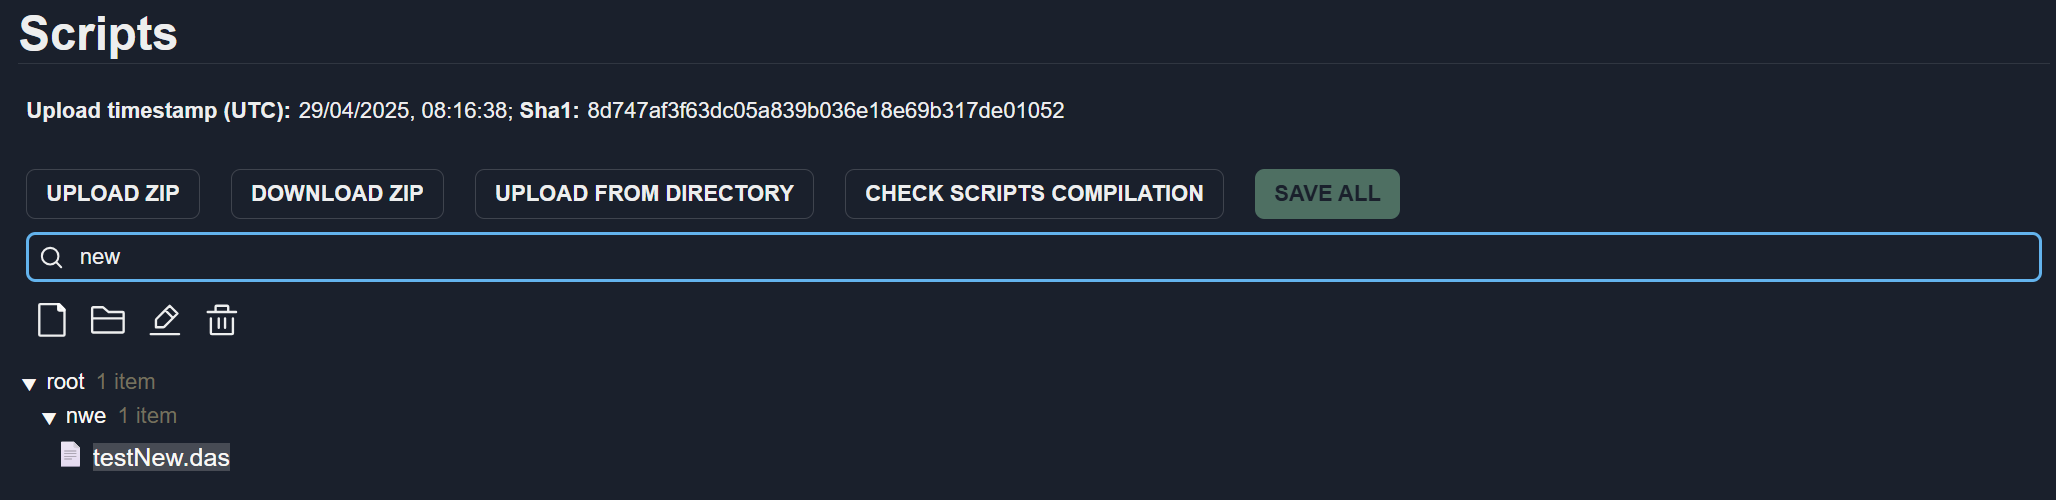
Search Scripts
To search for a script file, enter its name in the search field.
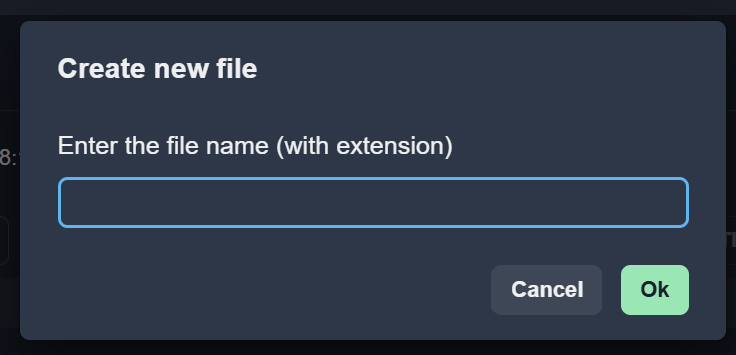
Create New File
To create a new file in the selected directory, click the New File button.
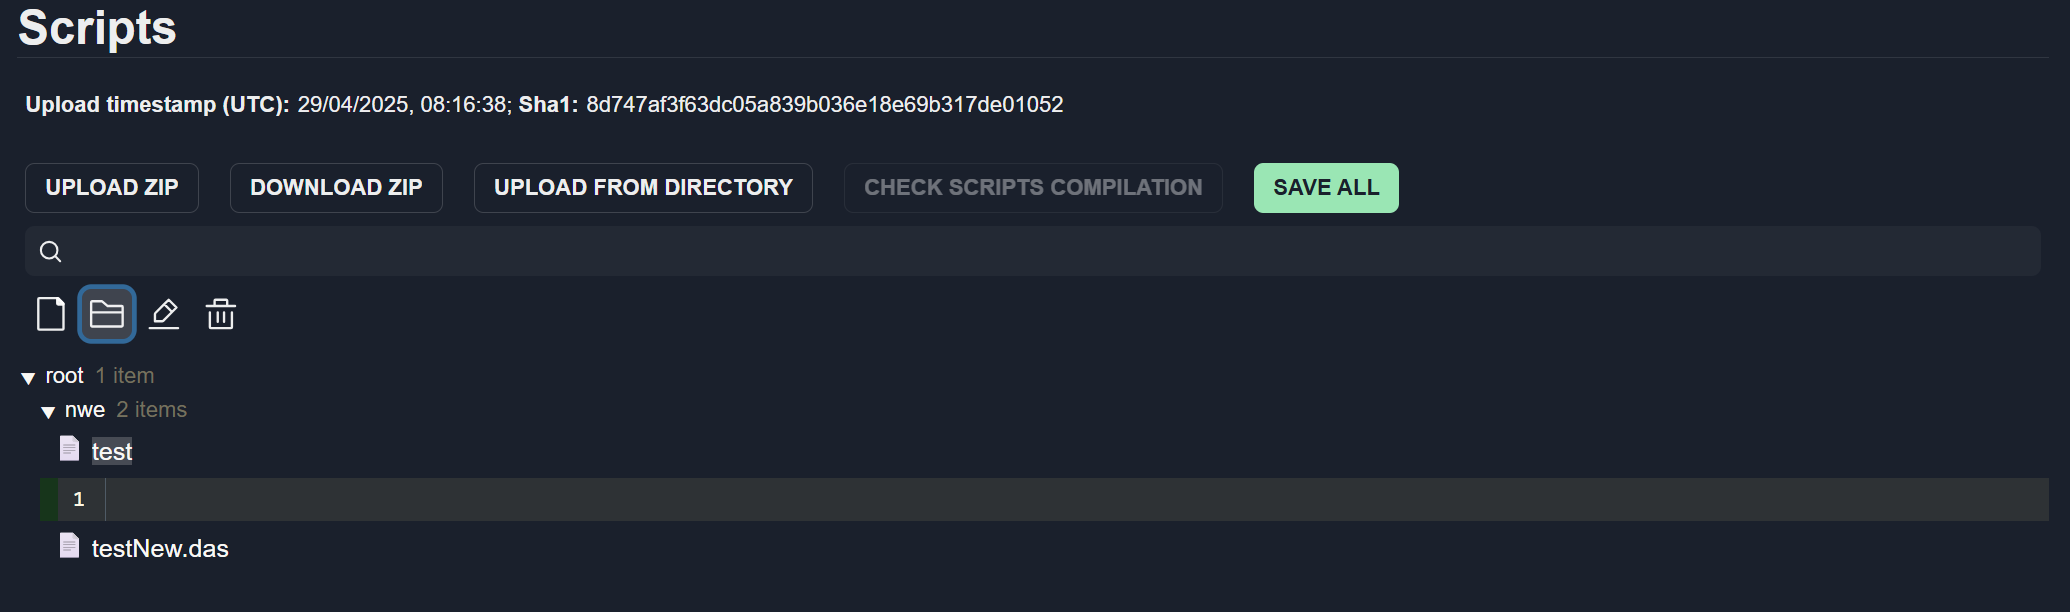
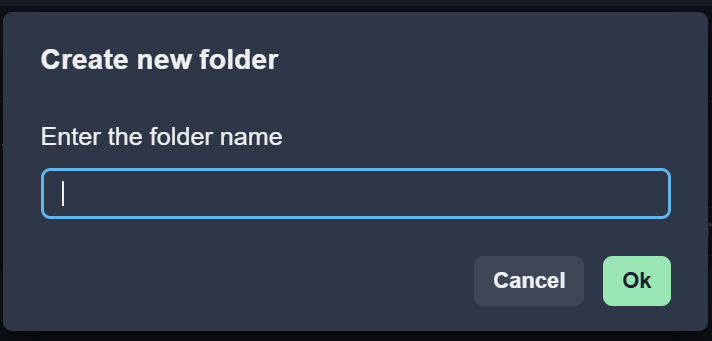
Create New Folder
To create a new folder in the selected directory, click the New Folder button.
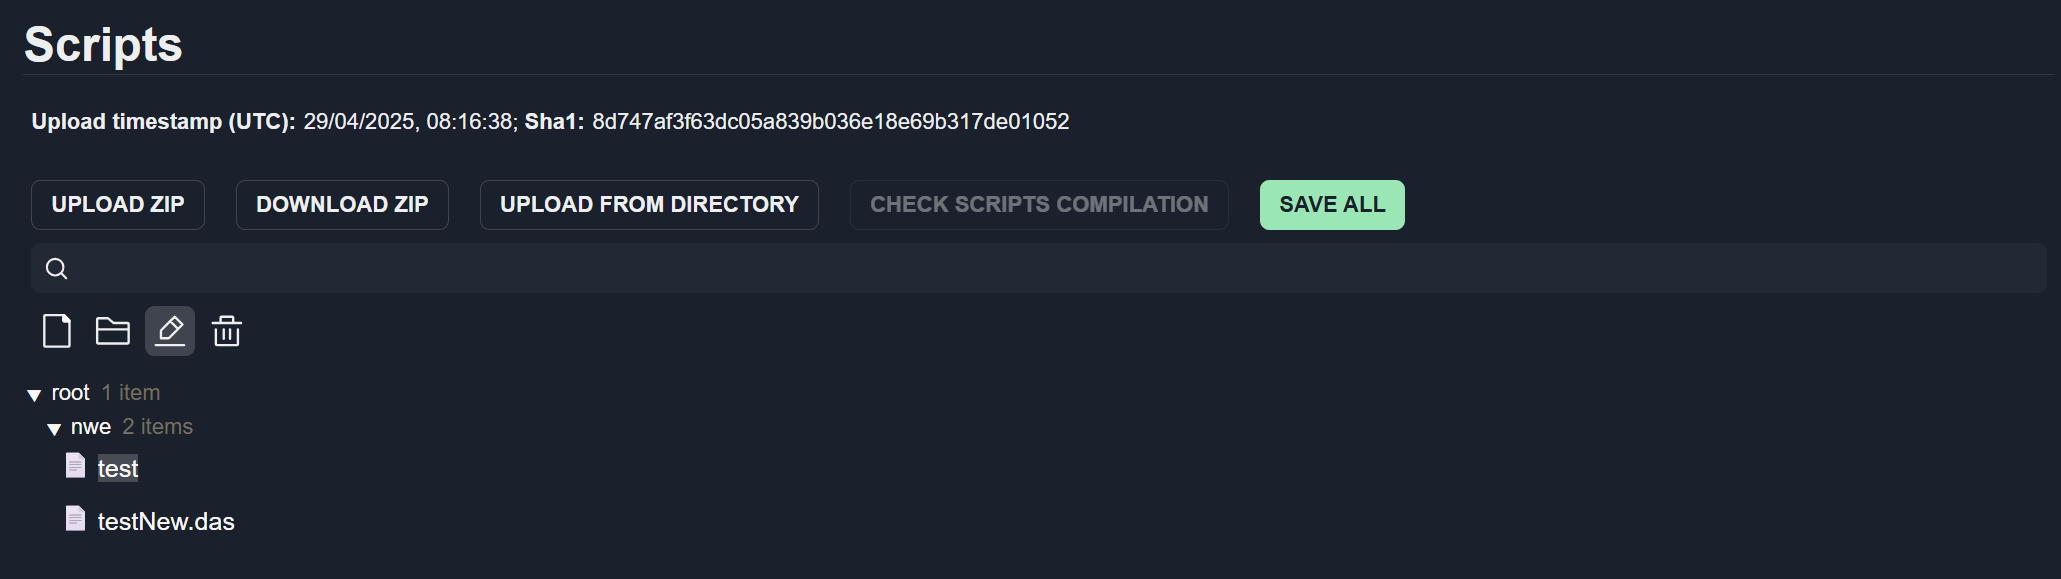
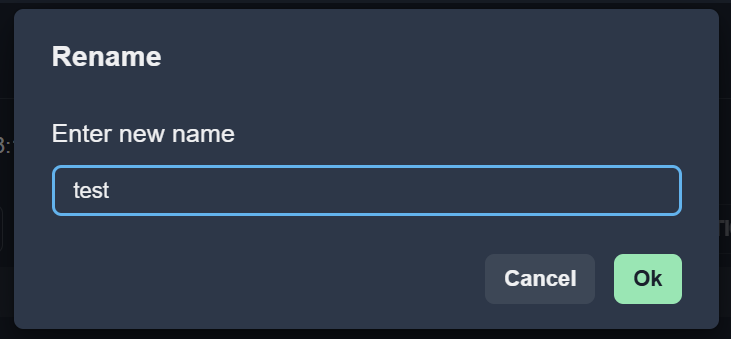
Rename Files and Folders
To rename a file or folder, click the Rename button.
Delete Files and Folders
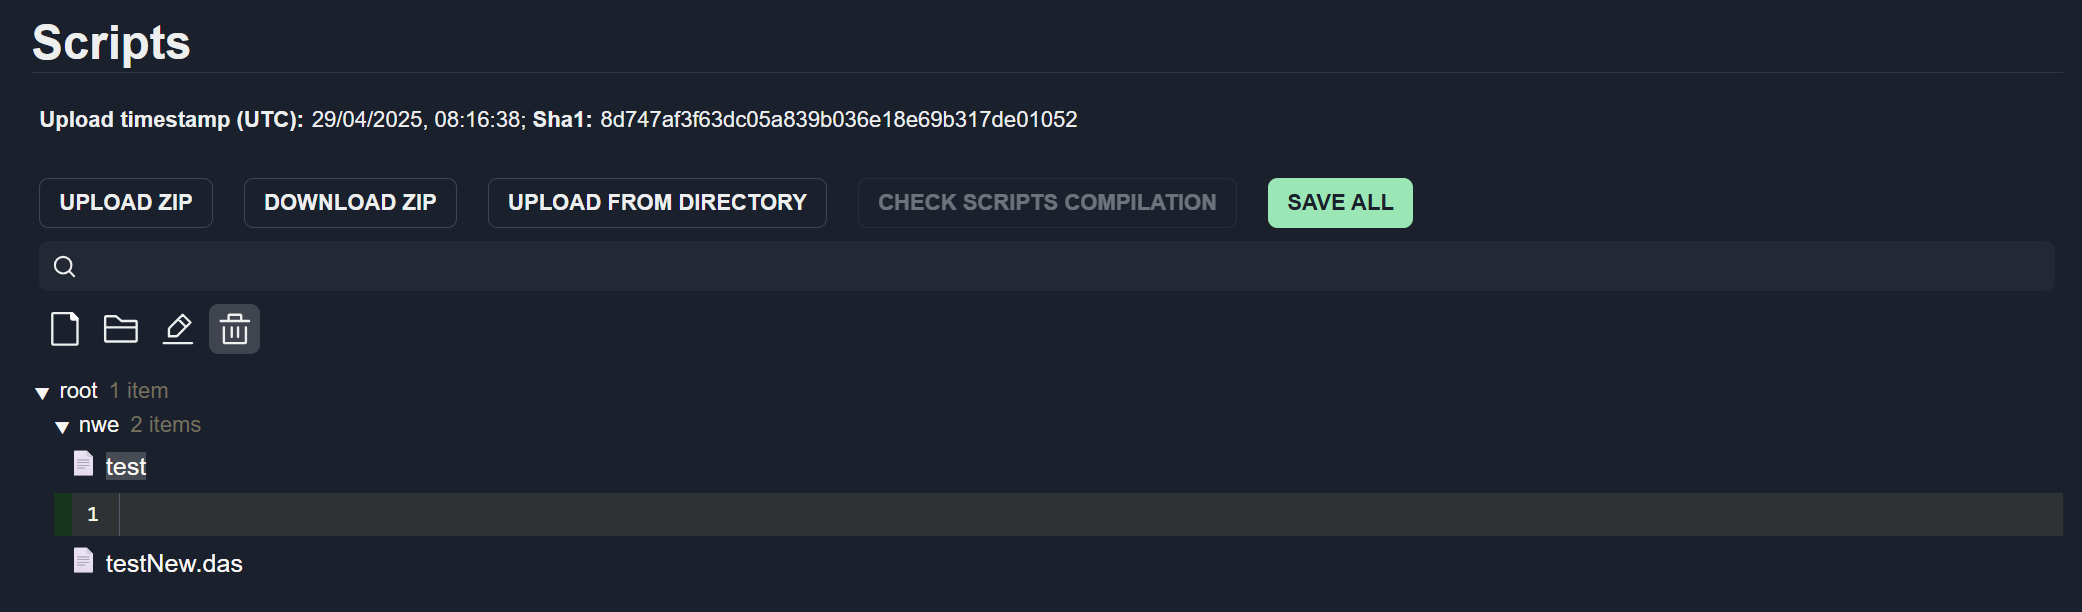
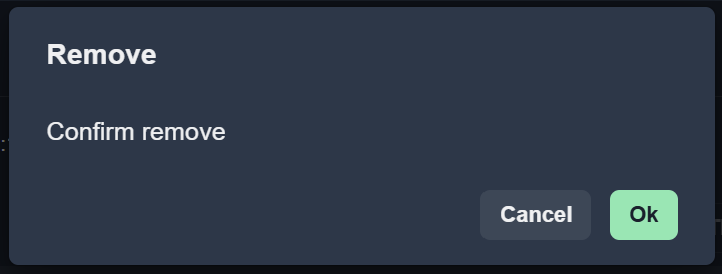
To delete a file or folder, click the Delete button.
Save Script Changes
To save script changes, click the Save button.